To install a soundbar with a mount, first, position your TV and gather all necessary hardware specific to soundbars. Use a stud finder to locate and mark wall studs for secure mounting. Center the soundbar beneath the TV, marking bracket holes with masking tape to ensure precise alignment. Drill pilot holes or use wall anchors if required, then install the bracket designed for soundbars. Finally, attach the soundbar to the bracket, reconnect your TV, and tidy up any visible cables. Follow these detailed steps for a seamless installation process that enhances your sound experience.
Key Takeaways
- Use a stud finder to locate wall studs and mark them with masking tape for secure mounting of your soundbar.
- Center the soundbar below your TV for optimal audio alignment, then mark the bracket holes with masking tape.
- Drill pilot holes to confirm the presence of studs; if no stud is available, use heavy-duty wall anchors for added support.
- Install the mounting bracket, ensuring it is level before securing it to the wall for proper sound projection.
- Connect HDMI and power cables, then carefully mount the soundbar and organize any excess cables for a clean and tidy setup.
Preparation Steps for Installation
Before you start installing your soundbar, it’s essential to follow a few preparation steps to ensure a smooth process.
First, position your TV at the desired height to confirm proper alignment with the soundbar, centering it with the middle of the TV screen for aesthetic balance.
Position your TV at the ideal height, ensuring the soundbar is centered with the middle of the screen for visual harmony.
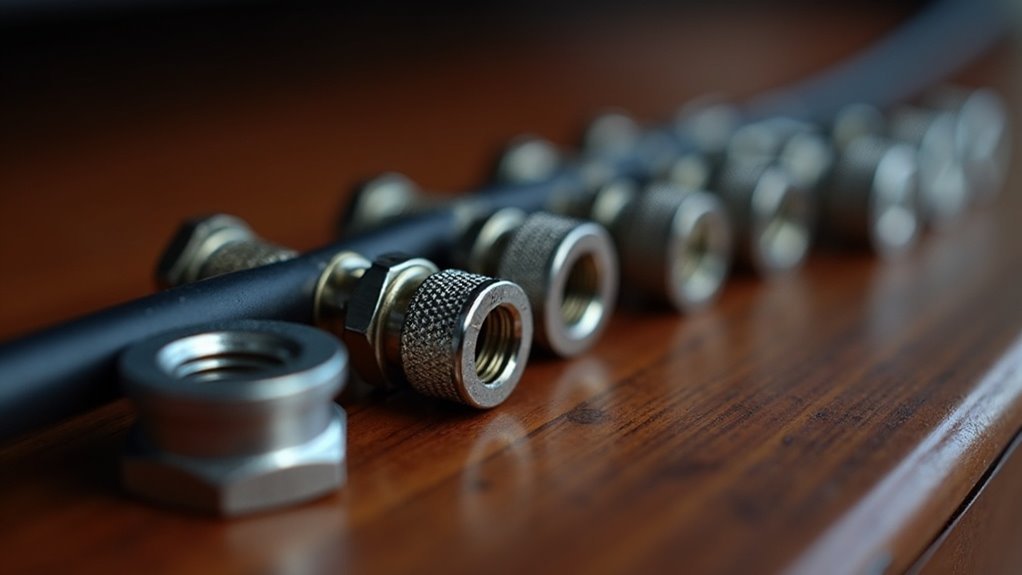
Gather all necessary hardware, including brackets, screws, and the installation guide specific to your soundbar model.
Use a stud finder to locate and mark wall studs below the TV, ensuring a secure wall mounting for your soundbar.
Finally, collect essential tools like a Phillips head screwdriver, drill, level, and masking tape to facilitate the soundbar installation process effectively.
Finding and Marking Wall Studs
Accurately locating and marking wall studs is essential for a successful soundbar installation. Use a stud finder to pinpoint wooden studs, ensuring a secure mount for your soundbar behind the TV.
Mark the edges of each stud with masking tape for easy visualization and to prevent drilling into gaps. Remember that most soundbars have two mounting points, so make sure at least one aligns with a stud for ideal support.
- Use heavy-duty wall anchors if you can’t mount directly to a stud.
- Double-check alignment before drilling.
- Confirm stability for your soundbar.
- Position carefully to avoid damaging the wall.
Positioning the Soundbar
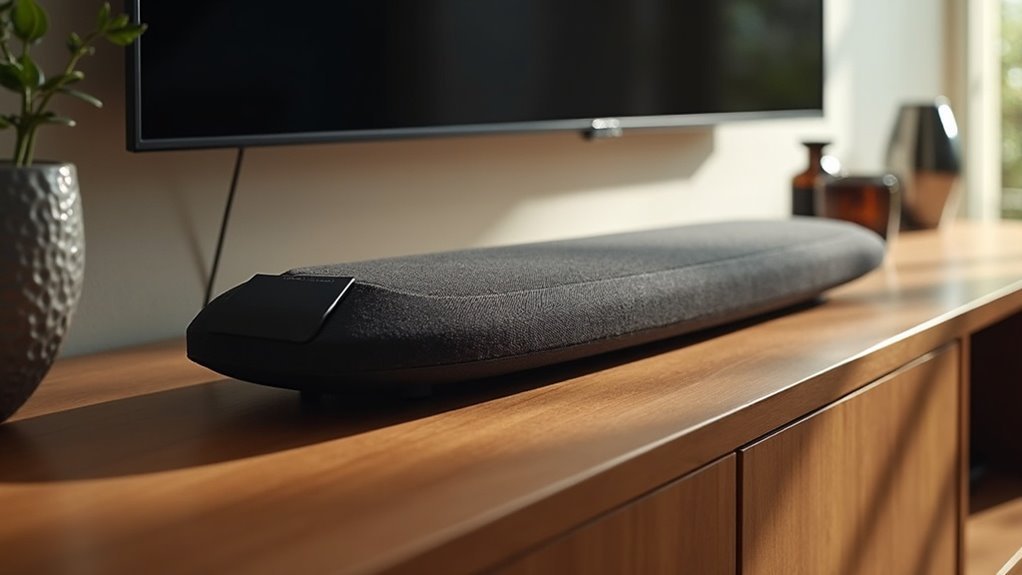
Once you’ve located and marked the wall studs, it’s time to focus on positioning your soundbar for optimal audio performance. Center the soundbar with the middle of your TV screen to ensure maximum audio alignment. If your soundbar features upward-firing speakers, be sure to leave some space between it and the TV to allow for effective sound reflection. To achieve precise installation, consider using masking tape to mark the bracket holes, ensuring they align accurately with the bottom of your TV. While personal preferences may vary, keeping the soundbar close to the TV typically enhances the overall sound experience.
| Positioning Tips | Description |
|---|---|
| Centering | Align with the middle of the TV screen |
| Cable Management | Mount closer to conceal cables |
| Space for Speakers | Allow room if using upward-firing speakers |
| Marking Bracket Holes | Use masking tape for precise installation |
Installing the Mounting Bracket
To install the mounting bracket for your soundbar, start by locating the wall studs with a stud finder, as this guarantees a secure and stable installation.
Use masking tape to mark the desired position of the bracket, ensuring it aligns with the bottom of your TV for optimal sound projection.
Drill a pilot hole with a 3mm bit to confirm stud presence; if wood is detected, proceed to screw the bracket into the stud for maximum support.
If no stud is found, drill a 10mm hole for jib locks to securely mount the bracket.
Finally, be sure to verify that the bracket is level before fully securing it to ensure your soundbar performs at its best.
- Mark stud locations
- Align with bottom of the TV
- Drill pilot holes
- Check for levelness
Finalizing the Installation
Finalizing the installation of your soundbar involves a few essential steps to guarantee optimal performance.
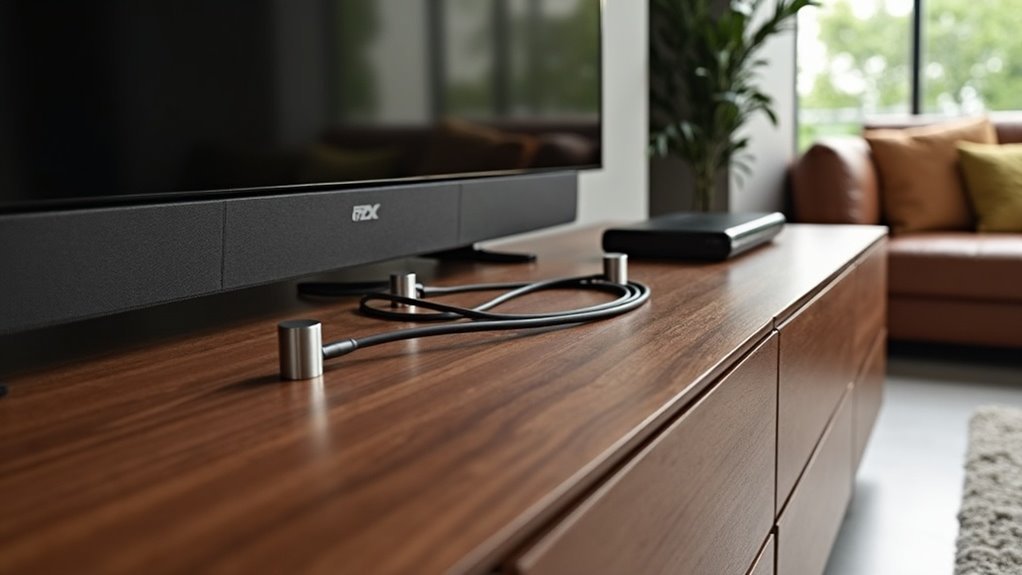
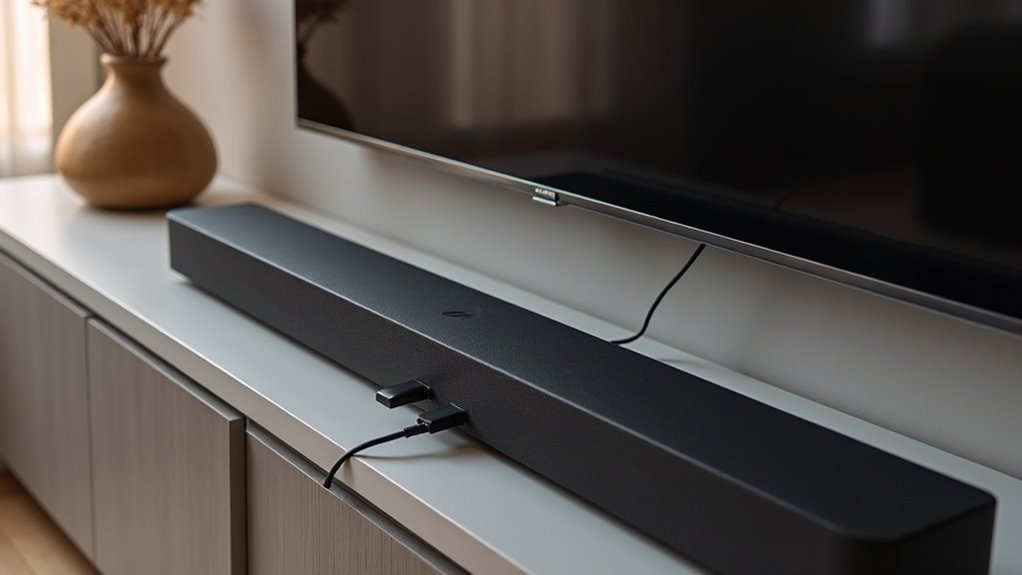
First, ensure that all HDMI and power cables are securely connected to prevent any disconnections in the future.
Next, carefully place the soundbar onto the wall bracket, following the manufacturer’s instructions for secure attachment.
After that, reinstall your TV on its bracket, making sure it aligns perfectly with the soundbar for the best audio and visual experience.
Organize any excess cables behind the TV and use cable ties to maintain a neat and tidy setup.
Finally, power on the system to confirm that both the TV and soundbar are functioning correctly, allowing you to enjoy immersive sound quality.