To install a soundbar under a projector screen, mount it between 36 to 42 inches off the ground for optimal audio performance. Ensure it aligns directly with the projector for clear sound distribution. Choose a suitable mounting method that can support the soundbar’s weight while allowing easy access to ports. Connect the soundbar to the projector using high-quality cables, and don’t forget to configure the audio settings for the best listening experience. Keep reading to discover more tips to enhance your soundbar setup!
Key Takeaways
- Mount the soundbar between 36 to 42 inches off the ground for optimal sound direction and clarity.
- Position the soundbar below the projector screen to utilize ceiling reflections for an enhanced audio experience.
- Ensure the soundbar is angled downwards to effectively direct sound towards the audience.
- Use compatible mounting brackets that support the soundbar’s weight and permit easy access to ports.
- Implement neat cable management solutions to maintain aesthetics and prevent signal interference.
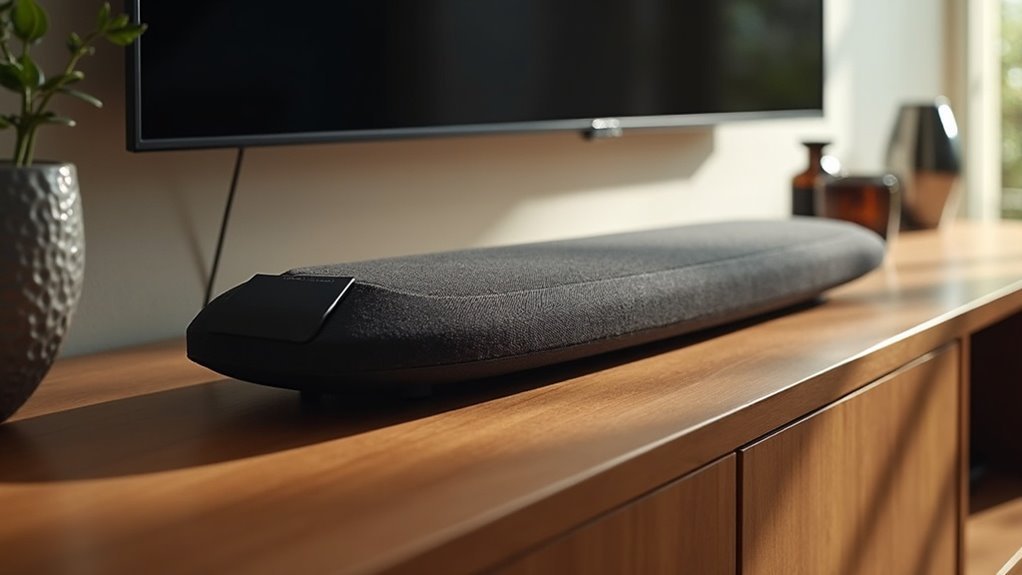
Determining the Ideal Height for the Soundbar
When determining the ideal height for your soundbar, it’s vital to consider the listening experience to ensure optimal sound clarity. Typically, you should mount your soundbar around ear level, which is approximately 36 to 42 inches off the ground.
If you’re using a projector, aim for a height of 7 to 7.5 feet, angling the soundbar downwards to direct the sound effectively. For Atmos-enabled models, position the soundbar below the projector screen to take advantage of ceiling reflections for an immersive audio experience.
Avoid high-mounted placements to prevent sound dispersion issues, and ensure a clear line of sight for uninterrupted viewing.
Choosing the Right Mounting Method
When selecting a mounting method for your soundbar, it’s essential to consider both the height and compatibility with your viewing setup.
For optimal sound distribution, aim for a mounting height of about 7-7.5 feet. Ensure that the design of your soundbar supports the chosen orientation, whether it’s wall-mounted or placed on a stand.
Additionally, choose a mounting solution that can safely accommodate the soundbar’s weight and provides easy access to its ports and controls for seamless functionality.
Mounting Height Considerations
How do you determine the ideal mounting height for a soundbar under your projector screen? Aim for a height of 7-7.5 feet to ensure an excellent listening experience without obstructing the image.
Consider your soundbar’s design; for instance, models like the SONOS Playbar allow for upside-down mounting, which ensures the correct downward speaker angle. If you’re using Atmos-enabled soundbars, position them below the projector screen to enhance ceiling reflection.
Always evaluate mounting brackets for weight support and stability, and consult your soundbar’s specifications to confirm the recommended installation heights. This will help guarantee that audio quality and functionality remain uncompromised.
Soundbar Compatibility Factors
After determining the ideal mounting height for your soundbar, the next step involves evaluating compatibility factors that influence your installation method.
Consider these key aspects:
- Soundbar compatibility: Ensure your soundbar supports upside-down mounting if it will be positioned above the projector screen.
- Audio input options: Verify that your soundbar has HDMI ARC, optical connection, or RCA compatibility with your projector for optimal functionality.
- Dimensions and weight: Choose a mounting bracket that can securely hold your soundbar while accommodating its design for the best acoustic performance.
Assessing these factors will help maximize audio quality and facilitate a seamless integration with your projector setup.
Preparing the Soundbar and Projector
Before you start the installation, assess the ideal mounting height for your soundbar to ensure it enhances your audio experience.
Make sure to implement effective cable management solutions to keep the setup tidy and functional.
Finally, verify compatibility between the soundbar and your other audio devices to facilitate a smooth integration.
Assessing Mounting Height Options
To achieve ideal audio projection and clarity with your soundbar, you should mount it approximately 7 to 7.5 feet above the ground. This height enhances sound directionality and aligns well with the projector screen for an immersive viewing experience.
Consider the following:
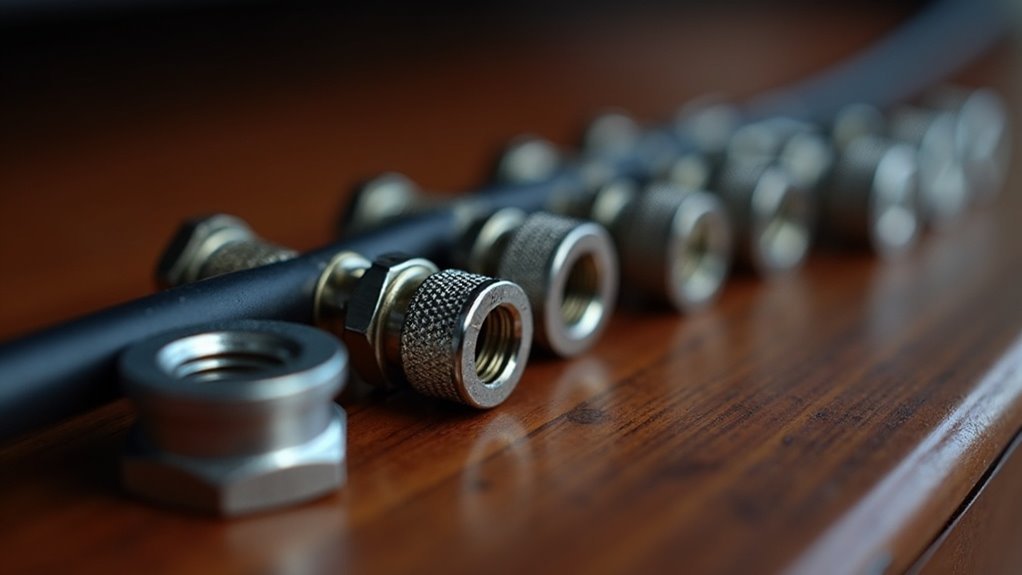
- Ensure that the soundbar’s mounting hardware is compatible with your wall for stability.
- Models like the SONOS Playbar can be mounted upside-down to improve downward sound angles.
- Verify that the projector lens height aligns with the soundbar to maintain an unobstructed audio pathway, which is especially essential for Atmos-enabled soundbars to achieve peak performance.
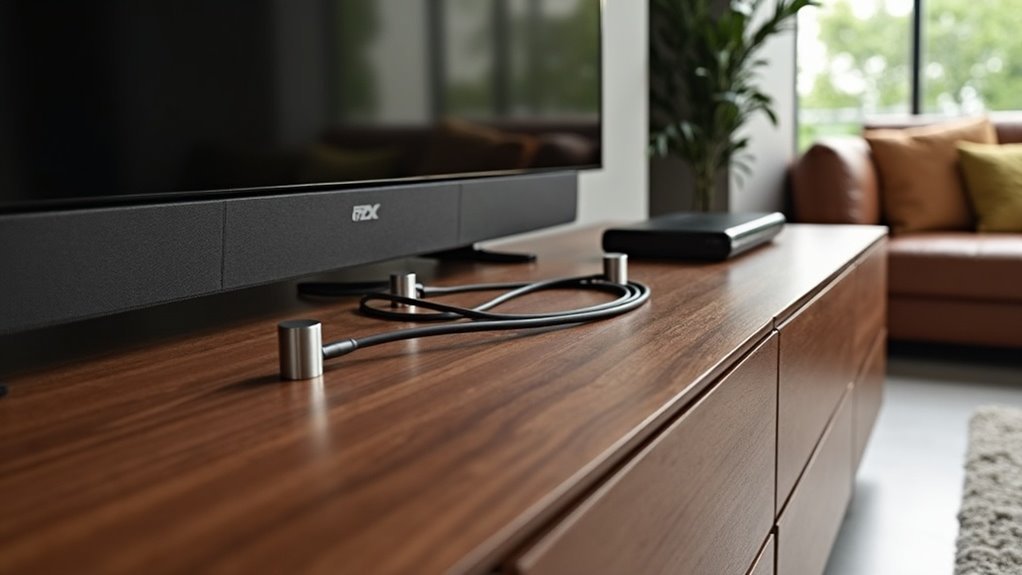
Ensuring Cable Management Solutions
While planning your soundbar setup, effective cable management is essential for both aesthetics and functionality. Run wiring along the picture rail molding or wall to maintain a clean look. Use cable management clips or raceways to secure and hide cables, ensuring they’re neatly routed from your devices to the soundbar. Opt for high-quality HDMI or optical cables to prevent signal interference and guarantee excellent sound quality. Finally, test all connections in the settings menu to confirm everything’s configured for an impressive audio experience.
| Task | Tools Needed |
|---|---|
| Plan cable route | Measuring tape |
| Secure cables | Cable clips/raceways |
| Connect soundbar | HDMI/optical cables |
| Test audio settings | Remote control/settings menu |
Verifying Compatibility and Connections
Verifying your soundbar’s compatibility with various devices is essential for achieving the best audio performance.
Start by checking for compatible ports to facilitate proper audio transmission:
- Verify HDMI, optical, or RCA connections for seamless integration with your devices.
- Ascertain that your projector or TV has adequate audio output, as many may lack HDMI ARC.
- Confirm that the soundbar has multiple input options to support various devices.
Use high-quality cables to maintain audio fidelity and minimize signal loss.
By taking these steps, you’ll enhance your soundbar’s usability and enjoy high-quality sound that complements your viewing experience.
Proper connections make all the difference in performance and enjoyment.
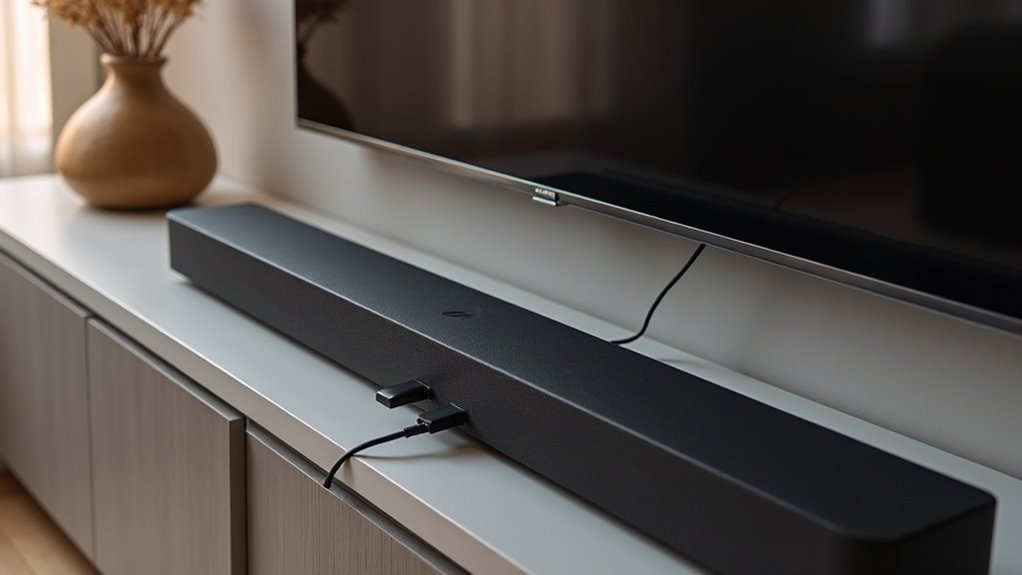
Connecting the Soundbar to the Projector
Connecting a soundbar to a projector requires matching compatible audio output ports, such as HDMI, optical, or 3.5mm audio jacks.
For the best audio experience, using an HDMI cable is recommended, as it supports both audio signals and two-way communication through HDMI ARC, allowing for convenient volume control.
If HDMI isn’t an option, consider using an optical audio cable for a reliable digital connection that delivers high-quality sound.
Alternatively, a 3.5mm audio jack can be used, provided both the soundbar and projector have the necessary ports.
For those who prefer wireless setups, Bluetooth connectivity is available; however, be mindful of possible audio latency issues that could cause synchronization problems with your projector’s video output.
Configuring Audio Settings for Optimal Sound
After successfully connecting your soundbar to the projector, it’s essential to configure the audio settings for optimal sound quality.
Begin by adjusting the audio output settings on the projector to select the soundbar as the primary audio device. If you’re utilizing HDMI ARC, make sure to enable HDMI-CEC for seamless audio switching.
To achieve the best sound experience through your soundbar, consider the following:
- Calibrate the soundbar’s equalizer (EQ) based on the type of media you’re enjoying.
- Make use of auto-calibration features that analyze room acoustics and adjust the soundbar’s settings accordingly.
- Regularly check for firmware updates on both your soundbar and projector to enhance performance and resolve any potential audio issues.
Ensuring these settings are optimized will help you get the most out of your soundbar experience.
Testing the Setup for Functionality
Testing the setup for functionality is essential to guarantee your soundbar integrates seamlessly with the projector. Start by ensuring all connections, including HDMI, are secure and correctly configured for the best audio output from your soundbar.
Power on both devices and select the appropriate input source on the soundbar. Conduct a test by playing various audio-visual content, checking for audio clarity and synchronization with the projector’s visuals.
Adjust the soundbar settings, particularly the equalizer and surround sound options, to enhance performance. If issues arise, troubleshoot by verifying cable integrity, checking the projector’s audio output settings, and ensuring the soundbar isn’t muted or misconfigured for optimal audio experience.
Final Adjustments and Enhancements
Once you’ve confirmed that your soundbar is functioning correctly, it’s time to fine-tune the audio setup for an exceptional experience.
For optimal audio quality, follow these final adjustments:
- Position the soundbar at ear level, typically 3-4 feet above the ground, to ensure the best sound delivery.
- Connect the soundbar and adjust the settings to match the audio output sources, ensuring compatibility with formats like PCM or Dolby Digital for an enhanced listening experience.
- Utilize the calibration feature available on your soundbar to tailor the sound based on your room’s acoustics, maximizing audio performance.
Lastly, regularly check the volume levels on your soundbar and consider implementing acoustic treatments, such as sound panels, to further improve audio clarity in your space.