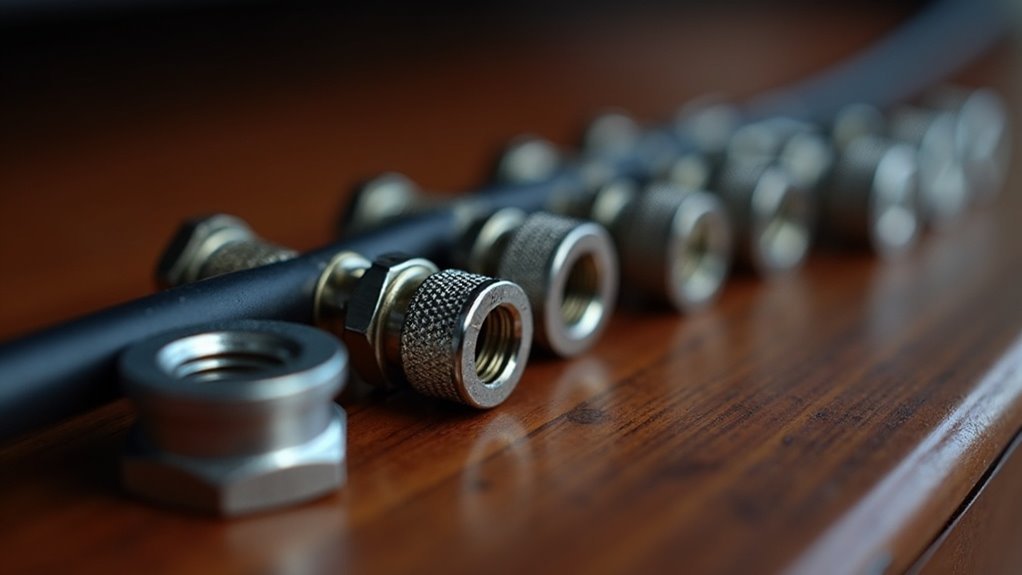
To install a soundbar on a wall, first confirm you have the right components, including M5 screws at least 35mm long. Assess the wall for strength and use suitable anchors if necessary to ensure stability. Position the Wall Mount Guide, mark drill holes accurately, and attach the Bracket-Wall Mounts securely to the soundbar. After securing the soundbar, maintain a 2-inch gap below your TV for optimal sound quality. Follow these steps for a flawless installation and explore additional setup tips to enhance your sound experience.
Key Takeaways
- Ensure the wall can support the soundbar’s weight and use appropriate screws or anchors that are suitable for your wall type before installation.
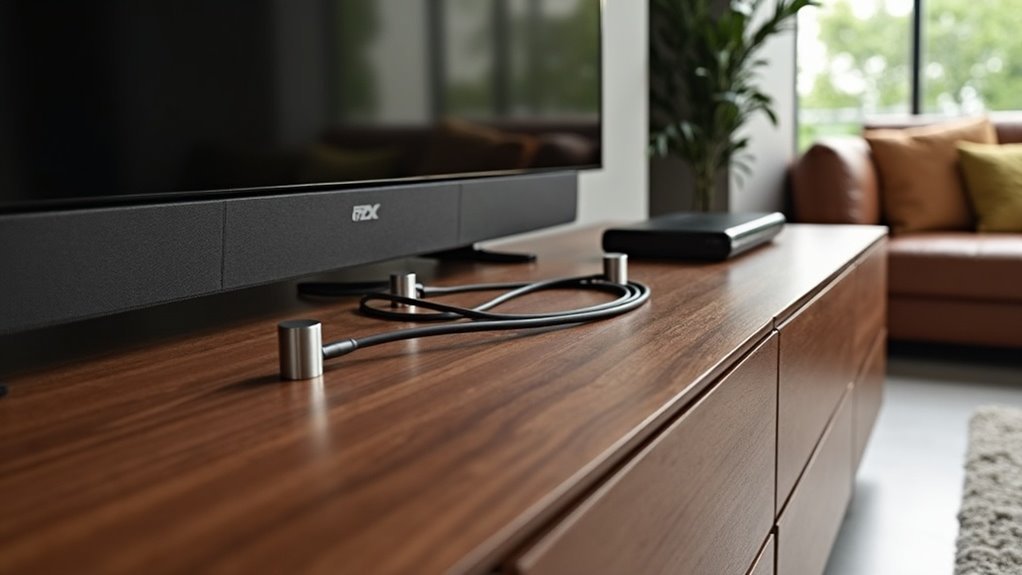
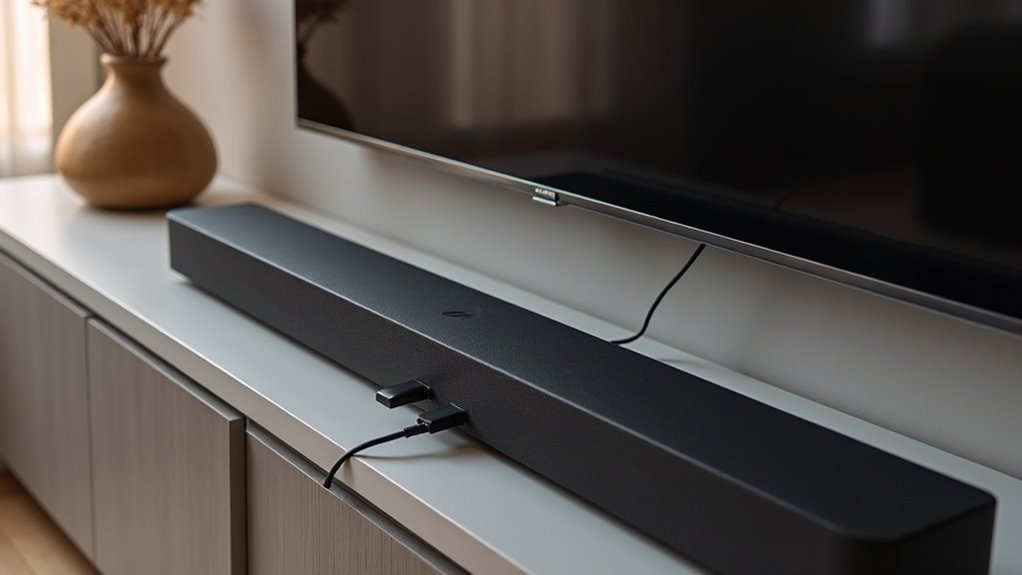
- Connect all necessary cables to the soundbar and any external devices before mounting it on the wall for a clean and organized setup.
- Use a level to mark and drill holes for screws, ensuring the soundbar is straight and correctly positioned for optimal audio performance.
- Attach the mounting bracket to the soundbar with the recommended screws, maintaining at least 2 inches of space below the TV for proper alignment.
- After installation, double-check the mounting hardware for stability and manage cables effectively to prevent tripping hazards and maintain a tidy appearance.
Installation Precautions
Before you begin the installation of your soundbar, it’s crucial to take specific precautions to guarantee a safe and effective setup.
First, always mount your soundbar on a vertical wall for ideal support and stability. Avoid areas with high temperatures or humidity, as these can damage your soundbar.
Assess the wall’s strength to verify it can bear the weight; reinforce if needed. Use the appropriate fixing screws or anchors designed for your wall type, whether plasterboard or concrete.
Finally, connect all cables to external devices before installing the soundbar wall mount for a cleaner, hassle-free finish.
Wallmount Components
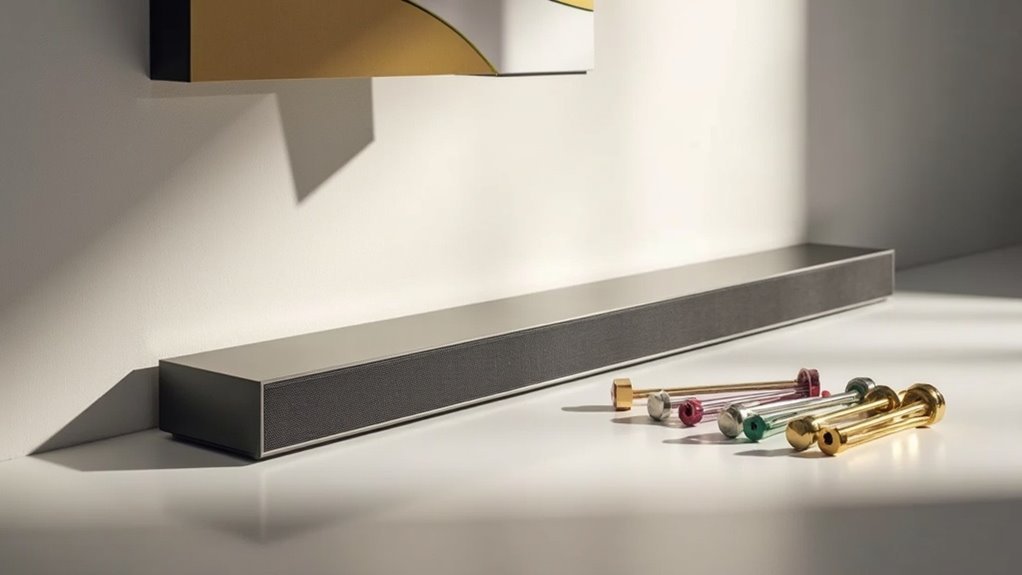
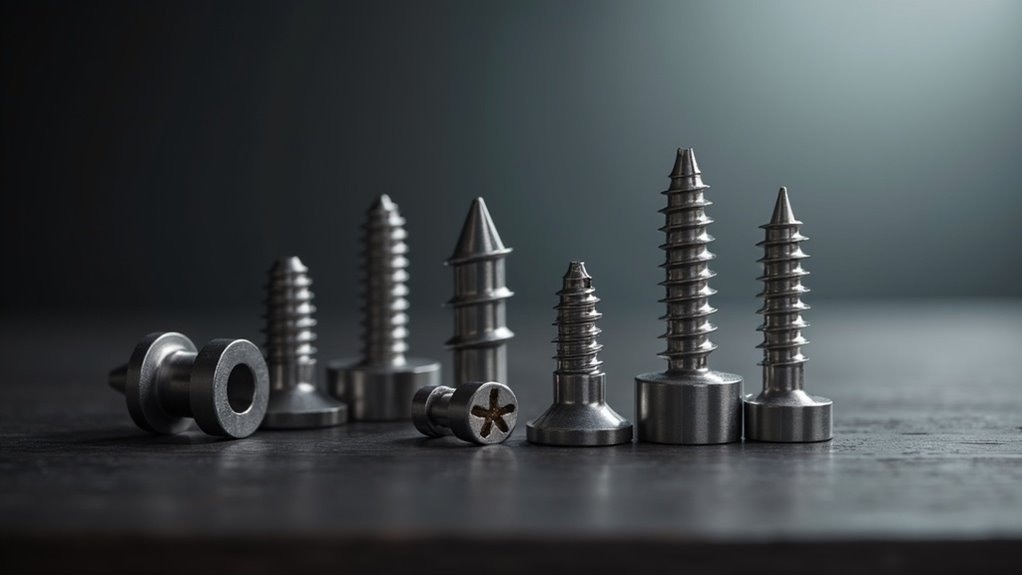
When installing a soundbar, you’ll need several key wallmount components to guarantee a secure and stable setup. Confirm you have M5 mounting screws, ideally 35mm in length or longer, depending on your wall type and thickness.
It’s essential to select wall mounting screws or anchors suited to the specific wall material, whether it’s plasterboard, iron board, or wood. Before beginning your installation, verify that all necessary components are included to prevent interruptions.
If your wall lacks studs, use anchors or mollies to adequately support the soundbar’s weight, ensuring a strong and reliable wall mounting solution for your soundbar setup.
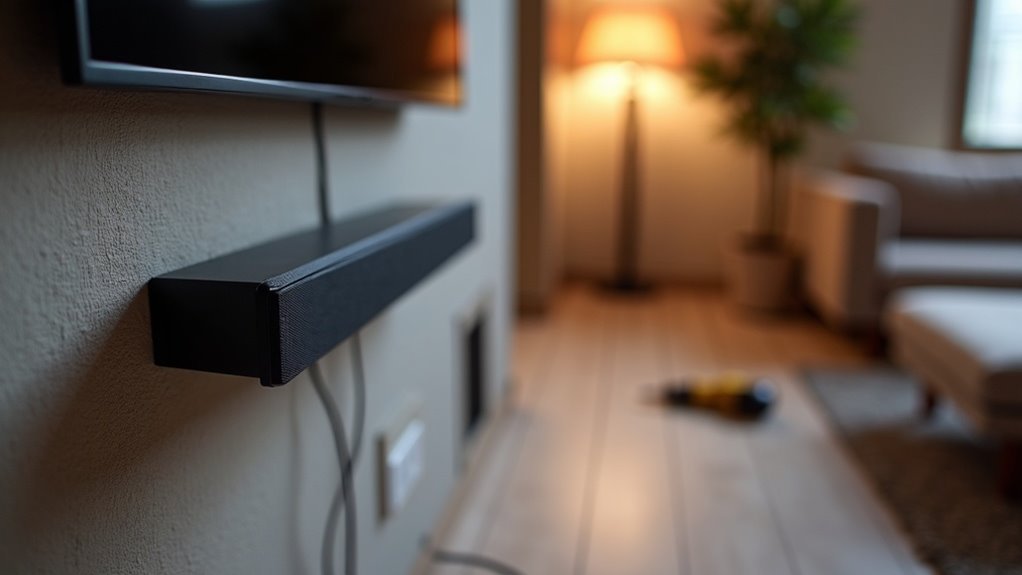
Mounting Your Soundbar
To mount your soundbar effectively, start by positioning the Wall Mount Guide against the wall, ensuring it’s level and aligned with the center of your TV if you’re installing it beneath.
Use a pen or pencil to mark the holes for supporting screws through the A-TYPE images included in the mounting kit.
Drill holes at each marked location and insert anchors or mollies if you’re not drilling into studs.
Next, attach the Bracket-Wall Mounts to the soundbar using the recommended screws, making sure the bumps align with the holes on the soundbar.
For optimal sound quality, maintain at least 2 inches of space below the TV.
Detaching the Soundbar From the Wall
To detach your soundbar from the wall, push it in the direction indicated by the mount’s arrow while tilting it slightly away from the wall.
Prioritize safety by ensuring cables are out of reach and confirming that the soundbar is securely mounted before you begin.
After removing the soundbar, inspect the mounting hardware for any damage to ensure it’s ready for future use.
Proper Detachment Technique
Detaching a soundbar from the wall requires careful attention to technique to prevent damage or accidents. Follow these steps for a proper detachment:
- Ensure the soundbar is securely mounted to avoid unexpected falls.
- Push the soundbar in the direction indicated by the arrow on the mount.
- Tilt the soundbar slightly while pulling it away from the wall.
- Check that all cables are managed and out of reach of children to prevent accidental disconnections.
Avoid holding onto the installed unit during the detachment process.
After removal, inspect the wall mount for integrity, confirming it’s ready for future use.
Safety Precautions Required
When detaching a soundbar from the wall, it’s crucial to prioritize safety to prevent injury or damage. First, ensure that the soundbar is securely mounted; this minimizes the risk of accidental falls.
Use the indicated arrow to push the soundbar, tilt it slightly, and pull it away gently. Avoid hanging onto the soundbar during detachment to prevent striking or dropping it.
Keep connecting cables out of reach of children to reduce accident risks. Furthermore, maintain a distance of at least 2 inches (5 cm) below the mounted TV to ensure optimal performance during both detachment and reattachment.
Following these safety precautions diligently is essential for a safe and effective soundbar handling experience.
Cable Management Considerations
Effective cable management is essential for maintaining both safety and aesthetics during the detachment of a soundbar from the wall. Follow these steps to ensure a smooth process:
- Keep connecting cables out of children’s reach to prevent accidents.
- Push the soundbar in the direction of the arrow, tilt slightly, and pull away from the wall, avoiding contact with the installed unit.
- Maintain at least 2 inches (5 cm) of space below the mounted soundbar for ideal performance.
- After detaching, inspect cable management to organize cables and eliminate tripping hazards, guaranteeing safety and cleanliness in your setup.
Need More Help?
Need assistance with your soundbar installation? If you’re looking for more help, consider accessing our Chat Support for real-time assistance with installation questions and troubleshooting.
For personalized guidance, you can contact our technical experts at 1300 362 603, who’ll provide tailored advice specifically for soundbar setups.
Don’t forget to check the User Manual available through Manuals & Downloads; it contains detailed installation procedures and tips for your soundbar.
Additionally, explore options for connecting a subwoofer to your sound system, which can significantly enhance your audio performance.
With these resources, you’ll ensure a successful soundbar installation and elevate your home entertainment experience.
How to Connect a Soundbar to a Samsung TV
To connect your soundbar to a Samsung TV, start by using an HDMI ARC cable for the best audio quality, linking the HDMI ARC port on the TV to the soundbar’s HDMI OUT.
If HDMI ARC isn’t an option, set up an optical cable between the TV’s optical audio output and the soundbar’s optical input.
For wireless connections, enable Bluetooth on both devices and select the soundbar from the TV’s Bluetooth settings.
This guide will help you achieve the best sound experience with your soundbar setup.
HDMI ARC Connection
Connecting a soundbar to a Samsung TV via HDMI ARC is a straightforward process that significantly enhances your audio experience.
Follow these steps to ensure optimal sound quality:
- Verify that both the soundbar and TV support HDMI ARC, which is typically found on the port labeled “ARC.”
- Use a high-speed HDMI cable to connect the TV’s HDMI ARC port to the soundbar’s HDMI OUT (ARC) port.
- Access the TV’s settings, navigate to the Sound menu, and select HDMI ARC as the output option for audio.
- Enable CEC (Consumer Electronics Control) on both devices to allow control of the soundbar using the TV remote.
Finally, test the soundbar by playing audio to confirm that everything is functioning correctly and to enjoy an enhanced audio experience with your soundbar.
Optical Cable Setup
Optical cable connections provide an excellent method to improve audio quality when connecting your soundbar to a Samsung TV.
To begin, locate the optical audio output port on the back of your TV, which is typically labeled as “Optical” or “Digital Audio Out.” Next, connect one end of the optical cable into this port, and the other end into the corresponding input on your soundbar.
Once both your TV and soundbar are powered on, navigate to the TV’s audio settings and select “External Speakers” or “Optical.” Make sure your soundbar’s input source is set to “Optical” as well.
Lastly, adjust the volume levels and activate any sound enhancement features for optimal audio performance with your soundbar.
Bluetooth Pairing Process
If you want to elevate your audio experience by pairing your soundbar with a Samsung TV via Bluetooth, the process is simple and effective.
Follow these steps to establish the connection:
- Ensure your soundbar is powered on and in pairing mode; you should see a blinking light indicating it’s ready to connect.
- On your Samsung TV, navigate to the “Settings” menu, then select “Sound,” and choose “Sound Output.”
- From the list of available Bluetooth devices, select your soundbar. If prompted, enter the pairing code, which is typically “0000” or “1234.”
- If your soundbar doesn’t appear on the list, make sure it’s within range and not connected to another device, then attempt the pairing process again.
Enjoy enhanced sound quality and a seamless audio experience with your soundbar!
Connect the Subwoofer to Your Samsung Soundbar
To successfully connect a subwoofer to your Samsung soundbar, ensure both devices are powered on and positioned within a reasonable range, ideally under 30 feet for a wireless setup. Use the soundbar remote to navigate to the “Settings” menu, select “Sound,” and choose “Subwoofer” to initiate the pairing process. For a wired connection, connect an RCA cable from the subwoofer to the soundbar’s dedicated output. For optimal bass performance, position the subwoofer near a corner while avoiding any furniture obstructions. Finally, adjust the subwoofer level in the settings to achieve balanced audio.
| Connection Type | Steps | Ideal Location |
|---|---|---|
| Wireless | Pair via settings | Near a corner |
| Wired | Connect RCA cable | Avoid furniture blockage |
| Adjust Level | Set subwoofer level in menu |