To install a soundbar on TV mount brackets, first gather your tools and ensure the brackets are compatible with your soundbar. For easier access, remove the TV from the mount. Then, align and securely attach the soundbar to the brackets, using longer screws if necessary. Check that the soundbar is level and allows for easy access to controls. Make any final adjustments for both aesthetics and functionality. By following these steps, you’ll achieve a neat and organized setup while enhancing your audio experience. Keep reading for more tips on optimizing your soundbar for the best sound quality.
Key Takeaways
- Before installation, ensure that the sound bar is compatible with the TV mount brackets for a secure and stable fit.
- Gather all necessary tools and materials, and consider attaching the sound bar to the brackets prior to remounting the TV for convenience.
- Align the mounting screws with the brackets on the TV, using longer screws if necessary to achieve the proper depth for a secure hold.
- Utilize a level tool to confirm that the sound bar is perfectly horizontal for improved visual appeal and optimal sound quality.
- Maintain adequate space between the sound bar and TV to allow for easy access to controls, and make any final adjustments for the best placement.
Sound Bar Mounting Options
When it comes to sound bar mounting options, you typically have a few choices to enhance your audio experience.
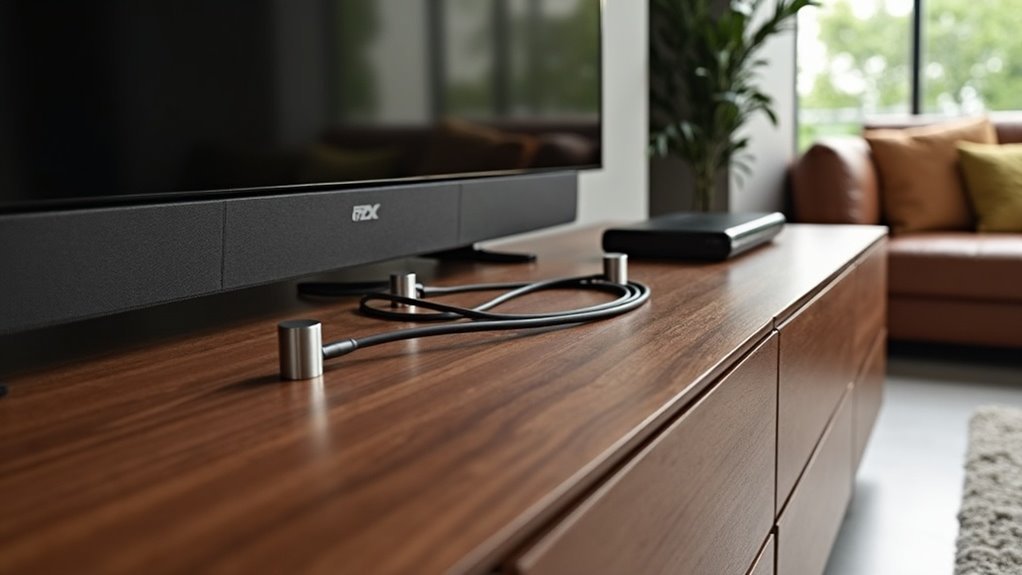
The most preferred method is to have the sound bar mounted to the TV, which creates a cleaner look and simplifies cable management. This setup avoids extra wall screws and keeps wires neatly organized.
Mounting the sound bar to the TV offers a sleek appearance and streamlined cable management, eliminating extra wall screws.
If you want flexibility, consider using an articulating mount to adjust the sound bar’s position for ideal sound quality. Before you attach the sound bar, verify the bracket fits properly.
For balance, install one side first, confirming it’s level and accessible for controls.
Preparing for Installation
Before you start the installation of your sound bar, make sure to gather all necessary tools and materials.
If your TV is wall-mounted, it’s important to remove it to attach the sound bar mount brackets effectively. Verify your sound bar’s compatibility with the brackets regarding size and weight to ensure a proper fit.
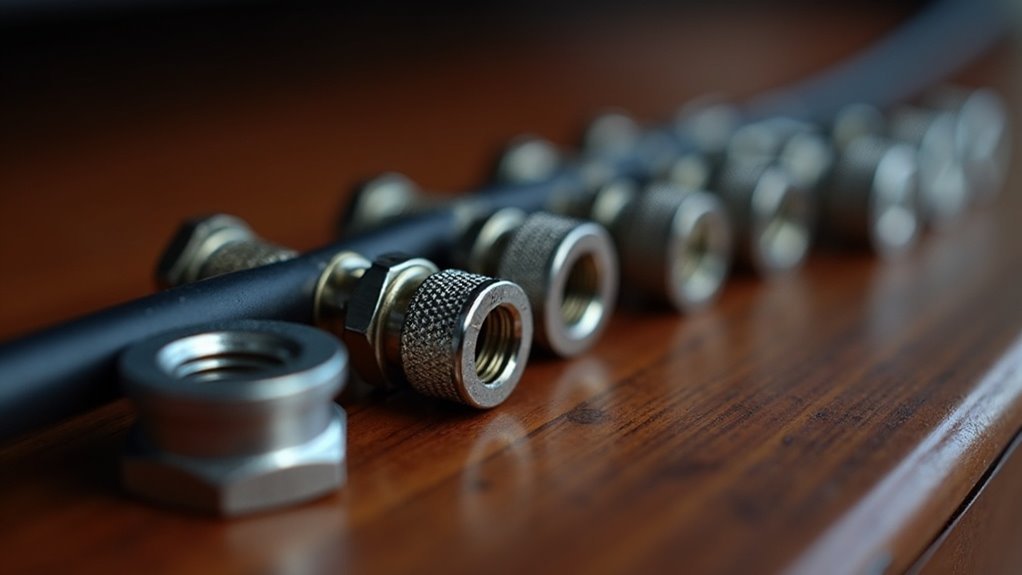
You may need longer screws due to the added depth from the brackets, so have them ready for a secure installation. Adjust the articulating mount’s angle to achieve the best sound quality and aesthetics.
For convenience, consider attaching the sound bar to the brackets before remounting the TV to the wall, especially if you’re using a flat or tilt mount.
Steps for Mounting the Sound Bar
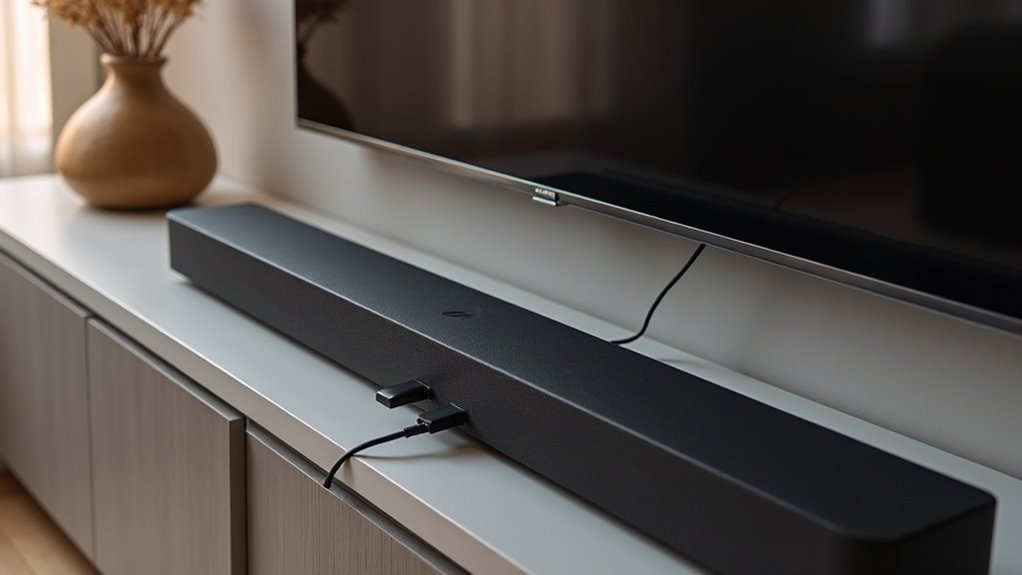
To start mounting your sound bar, first ensure that the mounting screws on the sound bar align properly with the brackets attached to the back of your TV.
If your sound bar isn’t already mounted, use longer screws as needed to accommodate the depth created by the brackets.
Begin by installing one side of the sound bar first to maintain balance and prevent slippage.
After installation, check that the sound bar is level for both aesthetic appeal and optimal functionality.
Finally, leave enough space around it for easy access to buttons and controls, enhancing usability post-installation.
Ensuring Proper Alignment and Leveling
Ensuring Proper Alignment and Leveling of Your Sound Bar
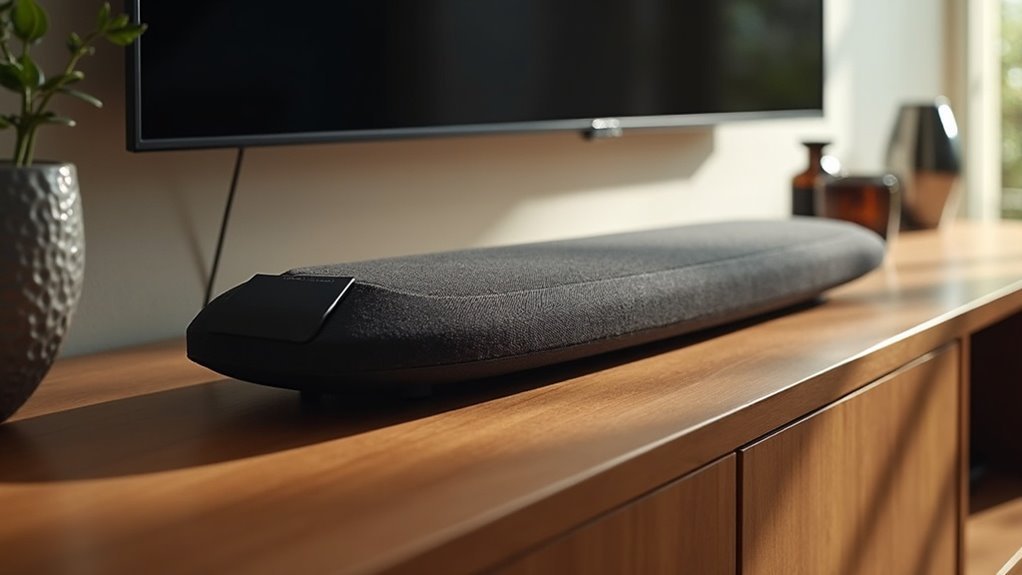
Making sure your sound bar is properly aligned and leveled not only enhances its appearance but also improves sound quality.
Proper alignment and leveling of your sound bar enhances both its visual appeal and overall sound quality.
First, verify that the mounting screws align precisely with the brackets for a secure fit. Use a level tool to check that the sound bar is horizontally straight, preventing any visual imbalance.
Adjust the angle of the mount for the best sound projection and aesthetic alignment with the bottom of the TV. If possible, install one side first and check for levelness before securing the other side.
Finally, confirm there’s enough clearance for easy access to buttons or controls on your sound bar.
Final Adjustments and Tips
Once you’ve installed your sound bar, take a moment to make final adjustments for a polished look and optimal audio performance.
Adjust the brackets to ensure the sound bar aligns seamlessly with your TV setup. Maintain adequate space between the sound bar and the TV for easy access to buttons and ports.
If you’re utilizing a flat or tilt mount, consider attaching the sound bar before mounting the TV to simplify the installation process.
Double-check that the sound bar is level to avoid visual imbalance and enhance your viewing experience.