To install a soundbar on drywall, you’ll need a screwdriver, power drill, stud finder, and the right wall mount. First, measure and mark 2-3 inches below your TV, ensuring it’s centered for optimal sound projection. Locate studs or prepare wall anchors, then drill holes for the mount. Securely attach the mount, ensuring it’s level to enhance audio performance. Finally, fix the soundbar to the mount and adjust for the best sound experience. Interested in learning more about maximizing audio quality and maintenance tips for your soundbar?
Key Takeaways
- Choose a soundbar mount that is compatible with your soundbar’s design and weight capacity for secure installation.
- Measure and mark the wall approximately 2-3 inches below the TV, aligning with the ideal eye level of 42.5 inches for optimal audio experience.
- Use a stud finder to locate wooden studs for support, or opt for wall anchors if installing on drywall without studs to ensure stability for your soundbar.
- Drill holes for the mounting brackets, ensuring they are level, then securely attach the soundbar to the wall mount, maximizing sound quality.
- After installation, check sound quality to ensure optimal performance, confirm alignment with your TV, and manage cables for a clean appearance, enhancing your soundbar setup.
Tools Required for Installation
To successfully install a soundbar on drywall, you’ll need a few essential tools that ensure a secure and efficient setup.
Start with a screwdriver and a power drill fitted with appropriate drill bits for creating holes. A stud finder is vital for locating wall studs, ensuring your soundbar wall mount is anchored securely.
Begin with a screwdriver and power drill, and use a stud finder to locate wall studs for secure mounting.
Don’t forget a level for alignment, measuring tape for precise positioning, and a pencil for marking drill holes.
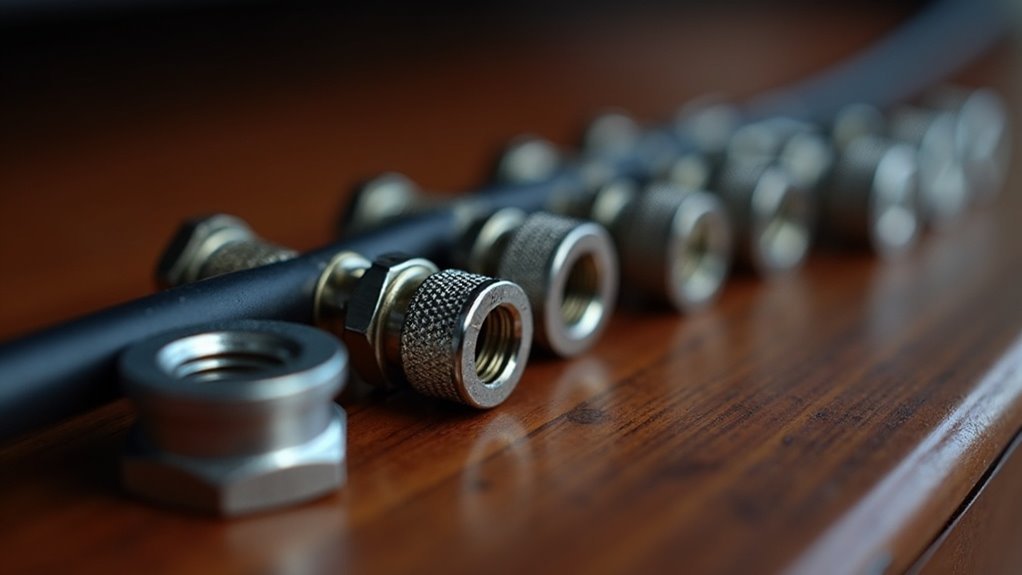
If you’re mounting without studs, have wall anchors or mollies ready.
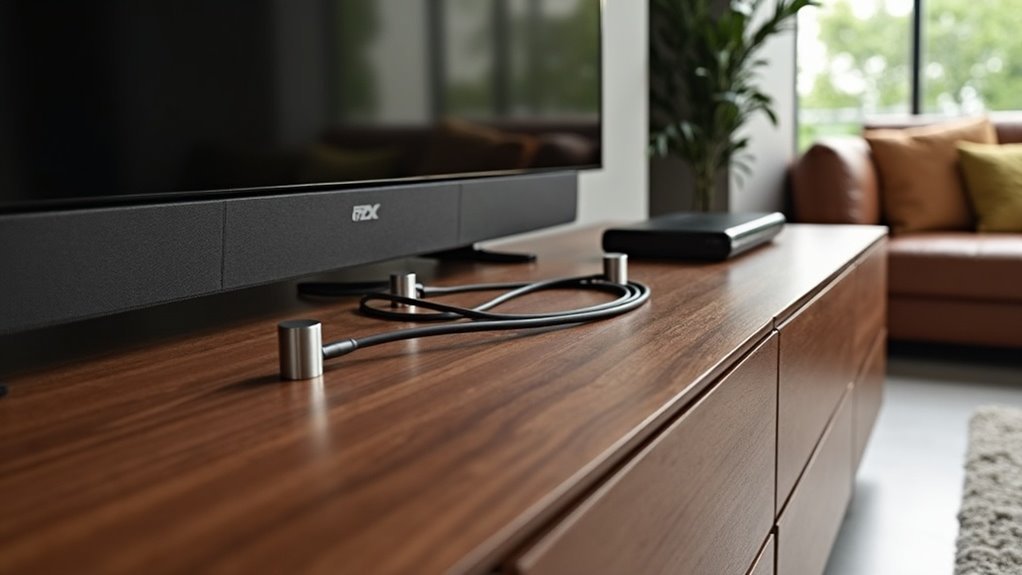
For neat cable management, consider cable clips or adhesive organizers to keep your soundbar setup tidy and professional.
Choosing the Right Soundbar Mount
When selecting a soundbar mount, ensure it matches your soundbar’s design and mounting holes for optimal stability and ease of installation.
Look for adjustable options that can accommodate various sizes and allow you to fine-tune the sound placement for the best audio experience.
Additionally, verify that the mount aligns with your TV’s VESA pattern to create a cohesive and aesthetically pleasing setup.
Soundbar Compatibility Requirements
How do you ensure your soundbar is compatible with the mount you select?
First, examine the back or bottom of your soundbar for mounting holes; these should align with your TV’s VESA pattern.
It’s advisable to choose adjustable soundbar mounts that can accommodate a variety of sizes and designs, enabling optimal height and depth positioning.
Always check the mount’s weight capacity to ensure it can adequately support your soundbar.
Additionally, take into account the mount’s depth for proper placement below the TV, particularly for models that utilize Dolby Atmos technology.
Finally, select a mount that comes with all necessary hardware for secure installation on drywall.
Mounting Options Available
Choosing the right soundbar mount is essential for achieving ideal audio performance and visual appeal in your space. You can select from various options, including universal mounts that align with your soundbar’s VESA pattern. Adjustable mounts offer flexibility for different sizes and depth adjustments. Always confirm the mount supports your soundbar’s weight by checking the specifications. Additionally, consider mounts with cable management features to maintain a tidy look. For drywall installation, look for options that use toggle bolts or molly anchors to secure mounting holes when studs aren’t available.
| Mount Type | Features | Weight Capacity |
|---|---|---|
| Universal Mount | VESA compatible | Check specs |
| Adjustable Mount | Size and depth flexibility | Check specs |
| Cable Management | Hides cables | Varies |
Installation Ease Considerations
When selecting the right soundbar mount for drywall, ease of installation is a crucial factor to consider.
Look for mounts that eliminate the need for a stud finder, simplifying the installation process and reducing potential wall damage. Opt for mounts that accommodate a range of soundbar sizes, providing flexibility for your audio setup.
Adjustable depth settings are also essential for optimal sound placement, particularly for Dolby Atmos speakers. Ensure that the mount securely attaches to drywall with suitable anchors to prevent any accidents.
Additionally, keep in mind the aesthetic appeal; a well-designed mount can seamlessly integrate with your decor while ensuring stability.
Marking the Installation Height
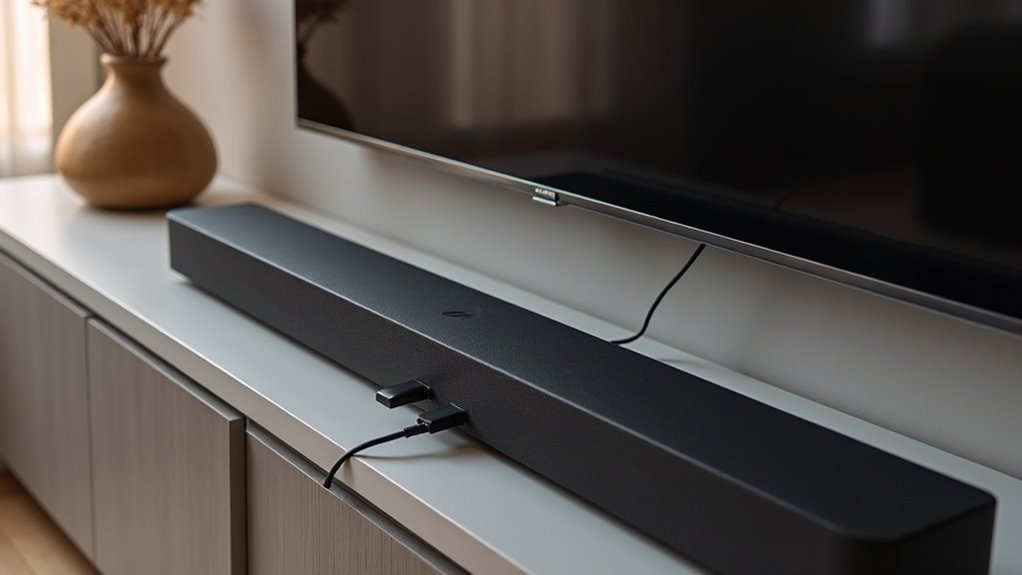
To mark the installation height for your soundbar, start by measuring 2-3 inches below the bottom of your mounted TV for optimal sound projection.
Ensure the soundbar aligns with the ideal eye level of approximately 42.5 inches for seated viewers, making adjustments based on your TV’s height.
Use a level to draw a straight line on the wall, keeping the soundbar centered with the TV for a sleek and cohesive look.
Ideal Height Guidelines
Mounting your soundbar at the right height is essential for achieving perfect sound quality and alignment with your TV.
Follow these guidelines for ideal placement:
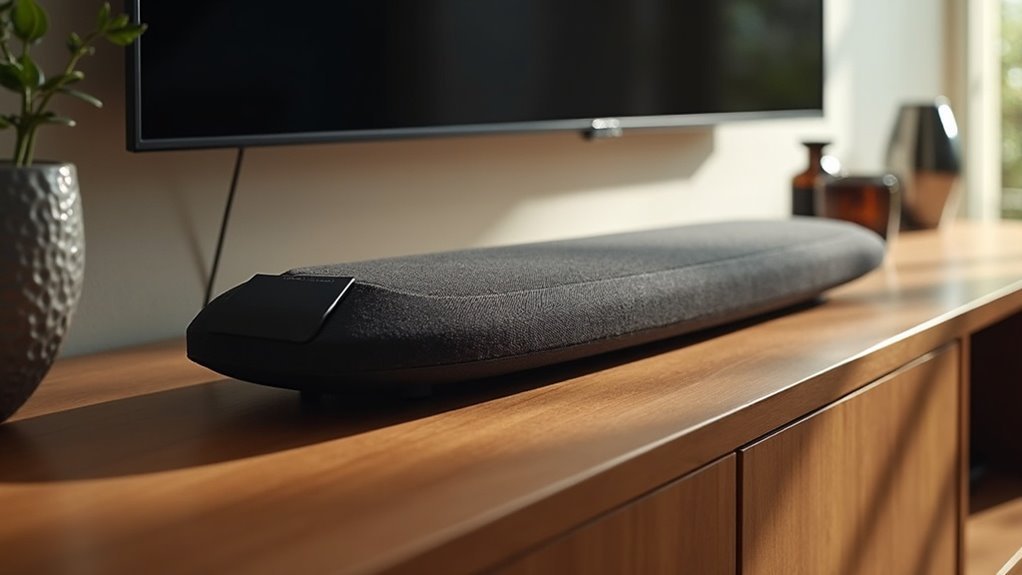
- Position the soundbar 2 to 4 inches below the bottom of the TV.
- Aim for a height of about 42.5 inches off the floor when seated.
- If your TV is above eye level, angle the soundbar downward for clarity.
Use a measuring tape to confirm the soundbar’s height matches your TV’s mounting height.
Mark this perfect height on the wall with a pencil to ensure precise alignment during installation.
This will enhance both your viewing and listening experience with your soundbar.
Measuring Techniques for Accuracy
After determining the ideal height for your soundbar, accurate measurement becomes critical for a successful installation.
First, measure the distance from the floor to the TV’s center, which is typically around 42.5 inches for seated viewers. Next, position the soundbar 2 inches below the TV to ensure optimal sound clarity.
Use a measuring tape to mark this height on the wall with a pencil. If you’re installing the soundbar directly below the TV, verify that it’s aligned properly.
Double-check measurements from multiple points to confirm accuracy. Finally, take into account any nearby furniture or obstacles that may impact the soundbar’s placement, adjusting the height as necessary for a clean and effective setup.
Preparing the Wall for Mounting
How can you ensure your wall is prepared for a soundbar installation? Start by assessing its integrity and thickness. Utilize a stud finder to locate wooden studs, which will provide the necessary support for mounting your soundbar.
Ensure your wall is ready for soundbar installation by checking its integrity and locating wooden studs for proper support.
Here’s what to check:
- Clear the mounting area of obstacles such as furniture or decor to create a clean installation space.
- Mark the desired height for the soundbar, ideally positioning it about 2 inches below the TV for optimal sound projection.
- Confirm that the mounting brackets are aligned with the center of both the wall and the TV for a balanced look.
If direct mounting into studs isn’t possible, consider using anchors or mollies. These will help prevent wall damage and provide extra support for heavier soundbars, ensuring a secure installation.
Installing the Soundbar Mount
To begin installing your soundbar mount, first confirm you’ve selected a compatible mount that includes all necessary hardware for your soundbar.
Use a stud finder to locate wall studs; if none are available, choose drywall anchors to support the soundbar’s weight appropriately.
Mark the desired height below your TV for optimal sound direction, ensuring it’s level before drilling holes.
Drill pilot holes at the marked points and insert drywall anchors according to the manufacturer’s instructions.
Finally, secure the mount by tightening the screws properly, ensuring stability and safety for your soundbar.
You’re now ready for the next step of attaching the soundbar to the mount.
Attaching the Soundbar to the Mount
Begin by verifying that your soundbar has the necessary mounting holes on the back or bottom. Once confirmed, follow these steps for attaching the soundbar to the mount:
- Align the soundbar’s mounting brackets with the corresponding holes.
- Secure them using the provided screws.
- Confirm the soundbar is at least 2 inches below the mounted TV for optimal audio performance.
After attaching, use a level to check if it’s straight, as any tilt could impact sound quality.
Finally, double-check all connections to ensure they’re tight, making sure the soundbar is stable on the mount for the best sound experience.
Post-Installation Checks and Adjustments
Once you’ve installed your soundbar, it’s essential to perform a series of checks and adjustments to guarantee peak performance.
Start by testing the sound quality with various audio sources to confirm ideal delivery from your sound system.
Testing sound quality with diverse audio sources ensures optimal performance from your sound system.
Verify that your soundbar is centered below the TV, keeping it at least 2 inches away for the best acoustic experience.
Inspect your cable management to eliminate clutter and tripping hazards, which can detract from the overall aesthetic of your setup.
Regularly check the mounting hardware for wear or loosening to ensure stability.
Finally, adjust the soundbar’s depth, especially for models with Dolby Atmos technology, to enhance audio directionality and create a truly immersive listening experience.