To install a soundbar on a brick wall, gather essential tools like a stud finder, hammer drill, masonry anchors, and a compatible mounting bracket. Begin by measuring and marking the desired position for your soundbar on the wall. Use a masonry bit to drill pilot holes, ensuring they are deep enough for the anchors. Insert the masonry anchors flush with the wall and make sure they are secure. Next, attach the mounting bracket to the wall, aligning it with the installed anchors. Finally, mount your soundbar onto the bracket. For further detailed steps and additional insights, explore more resources on soundbars.
Key Takeaways
- Use a stud finder to locate any hidden wiring or obstacles before drilling into the brick wall, ensuring a safe installation for your soundbar.
- Measure and mark the installation height for the soundbar, aligning it with the bottom of your TV for a cohesive look and optimal audio experience.
- Drill pilot holes using a masonry drill bit, and don’t forget to wear safety goggles for protection during this step.
- Insert masonry anchors into the drilled holes, making sure they sit flush with the wall surface to securely hold your soundbar.
- Attach the soundbar bracket firmly, checking alignment to ensure the best sound quality before completing the installation process.
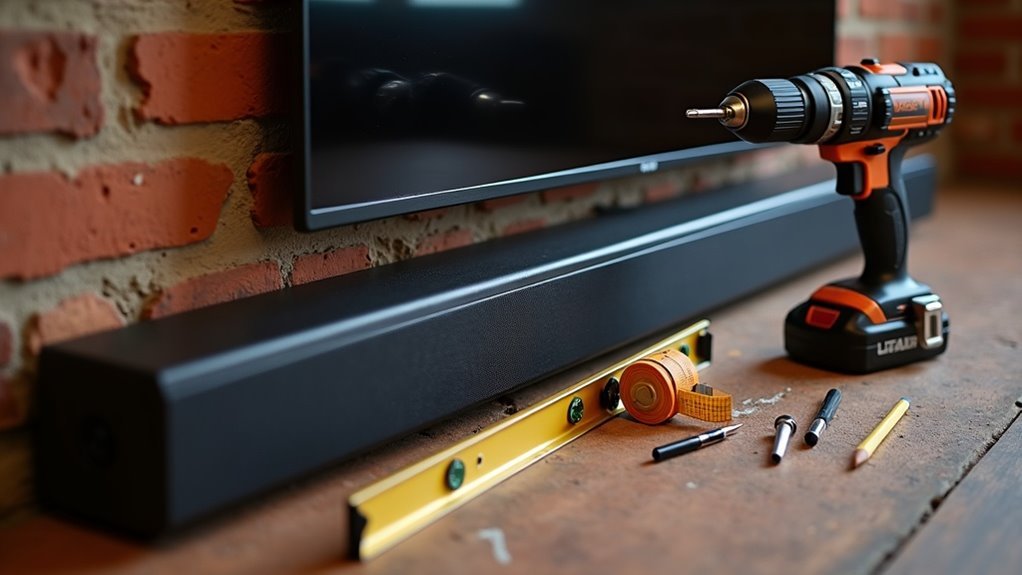
Required Tools and Materials
To successfully install a soundbar on brick, you’ll need a few essential tools and materials.
Start with a stud finder to locate any hidden wiring or obstacles. A hammer drill with masonry drill bits is vital for creating pilot holes in the brick, typically 1/4 inch in diameter.
Verify you have suitable masonry anchors or screws rated for your soundbar’s weight to guarantee a secure installation. Additionally, consider a compatible soundbar mounting bracket for ideal support.
Finally, keep a level handy to check the alignment of your soundbar before finalizing the installation for the best viewing and listening experience.
Marking the Position
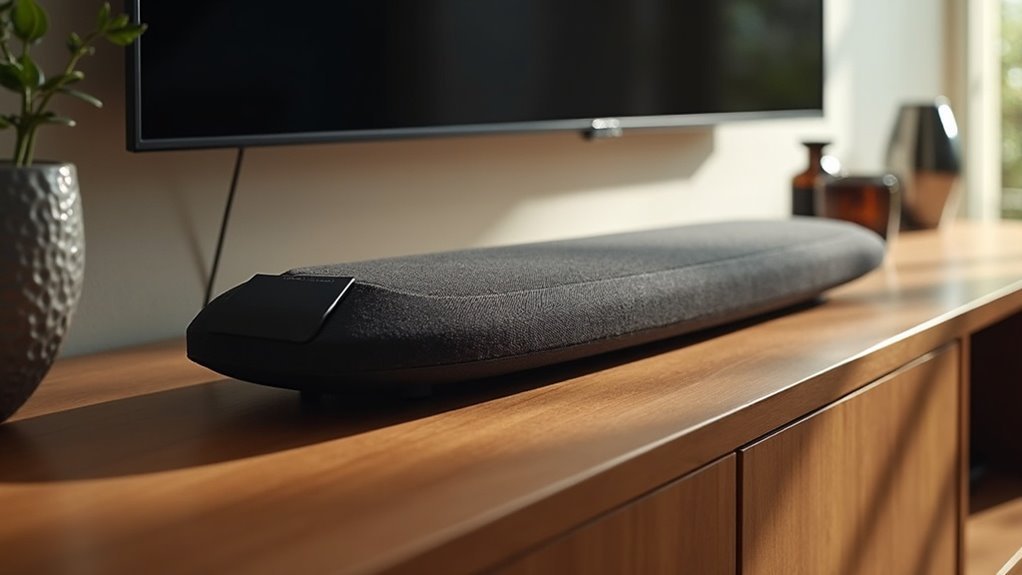
Start by measuring the height where you want to install the soundbar, ideally aligning it with the bottom of your TV screen for optimal audio experience.
Once you’ve decided on the height, use a level tool to mark the position on the wall, ensuring your lines are straight.
This initial step is essential for achieving a professional-looking installation of your soundbar, so take your time to get it right for the best sound quality.
Measure Soundbar Height
Measuring the soundbar height accurately is essential for achieving ideal audio performance. Start by determining the desired height, typically aligning it with the center of your TV screen.
Use a measuring tape to find the distance from the floor to the bottom of the TV, then subtract the soundbar’s height to identify the appropriate mounting point on the wall. Mark this position with a pencil or masking tape for accuracy.
Remember to take into account any upward-firing speakers on the soundbar, which may necessitate a slight height adjustment. Double-check your measurements to confirm the soundbar will be level and correctly positioned for optimal sound quality in your home theater setup.
Use Level Tool
After marking the mounting height for your soundbar, the next step involves using a level tool to ensure it’s perfectly horizontal.
Place the level against your markings on the brick wall, making sure both sides align at the same height for a balanced appearance. If your soundbar includes brackets, align their holes with your markings, checking that they’re level as well.
Before drilling any holes, double-check the level to confirm it remains straight. Remember, slight shifts can occur during installation, so regularly verify the level throughout the process to maintain the ideal positioning for your soundbar and enhance audio performance.
Drilling Pilot Holes
When you’re ready to secure your soundbar to brick, drilling pilot holes is a crucial step in the process.
Start by selecting a masonry drill bit, ideally 5/32 inch or larger, based on the type of anchors suitable for mounting your soundbar. Mark your desired location on the brick wall, ensuring it’s level for an even installation that enhances your soundbar’s performance.
Drill at a medium speed to allow the bit to penetrate the brick without overheating, which is important for maintaining the integrity of the wall. Always wear safety goggles to protect your eyes from dust and debris during this process.
After drilling, clean out any dust using a vacuum or brush to prepare the area for effective anchoring. This ensures your soundbar will be securely mounted on the brick surface, optimizing your audio experience.
Inserting Wall Anchors
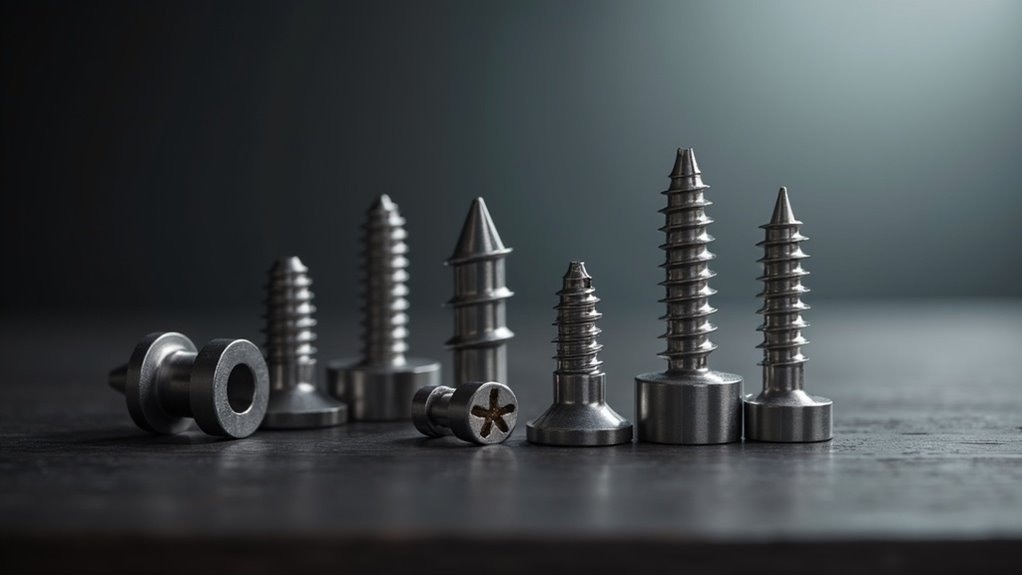
Now that you’ve drilled the pilot holes, it’s essential to select the appropriate wall anchors for your soundbar installation.
Choose masonry or concrete anchors that can securely hold the weight of your soundbar.
Properly insert the anchors into the holes, ensuring they’re flush with the wall surface to guarantee a stable mount for your soundbar.
Selecting Suitable Wall Anchors
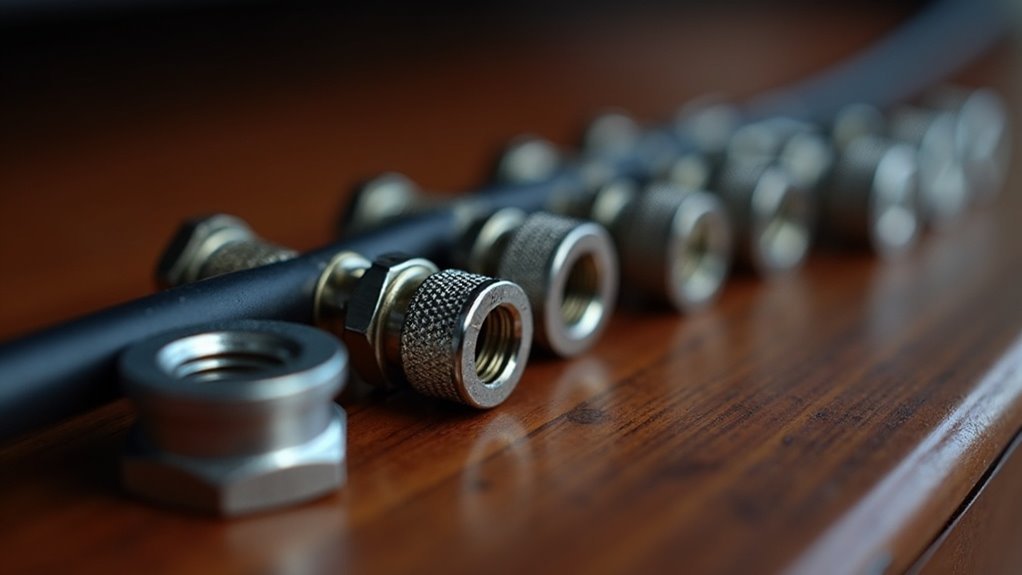
To ensure a secure installation of your soundbar on brick, it’s crucial to choose the appropriate wall anchors.
Look for masonry anchors specifically designed for brick and concrete, such as expansion or sleeve anchors. These types effectively grip the sides of the drilled hole, providing the robust support needed for wall mounting your soundbar.
Start by drilling a pilot hole with a masonry bit that matches the diameter of your anchor. Once the hole is drilled, carefully insert the wall anchor.
If necessary, tap it gently with a hammer to ensure it’s flush with the brick surface, preparing for a secure attachment of your soundbar.
Installing Anchors Properly
After inserting the wall anchors, the next step is to confirm they’re properly installed for maximum stability, especially when mounting your soundbar.
Begin by verifying that the holes are drilled slightly deeper than the anchors’ length to ensure a secure fit. Clean out any dust or debris from the holes to enhance the bond.
Next, take your hammer and gently tap the wall anchors into the drilled holes until they’re flush with the surface. This technique not only provides ideal stability but also ensures that when you mount your soundbar, it remains firmly in place, preventing any risk of it coming loose over time, which is crucial for optimal audio performance.
Attaching the Soundbar Bracket
To begin mounting your soundbar, first, use a masonry drill bit to create pilot holes in the brick wall, ensuring they’re the correct size for the anchors needed to secure the soundbar bracket.
Once the holes are drilled, carefully insert the masonry anchors, tapping them gently until they’re flush with the brick surface.
Next, align the soundbar bracket with the installed anchors, making sure it’s level before marking the holes with a pencil.
Finally, secure the bracket to the wall by driving screws through it and into the anchors with a power drill, ensuring everything is aligned for optimal sound quality from your soundbar.
Mounting the Soundbar and Final Adjustments
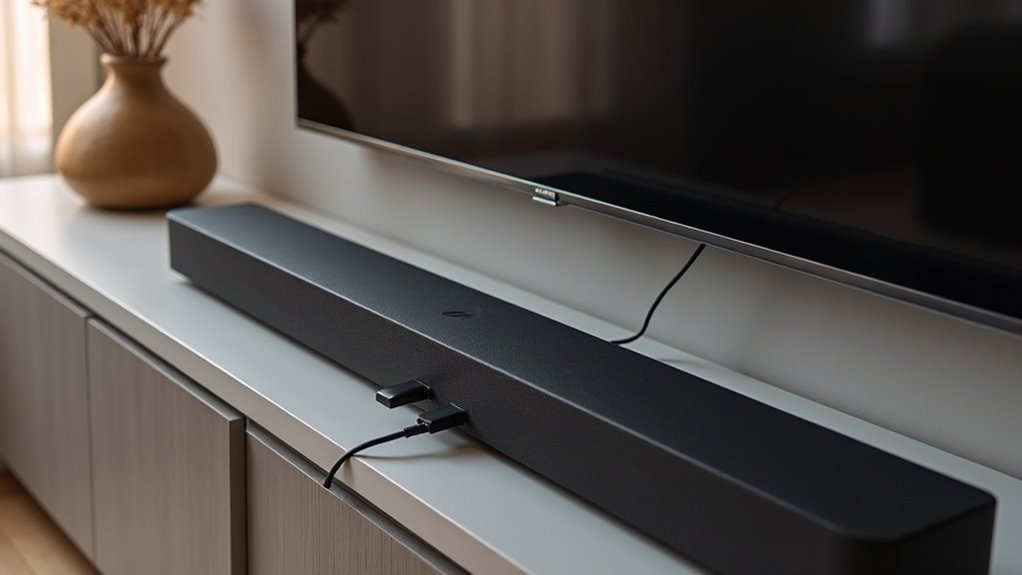
With the soundbar bracket securely attached to the brick wall, the next step is to mount the soundbar itself, enhancing your audio experience.
Use a masonry drill bit to create holes for heavy-duty wall anchors, ensuring they’re the correct size for your chosen anchors. Position the soundbar so its bottom aligns with the bottom of the TV for a seamless aesthetic.
Before securing the soundbar, use a level to confirm it’s perfectly horizontal, which is crucial for optimal sound distribution. Once mounted, double-check for any loose fittings and tighten them as necessary to ensure stability.
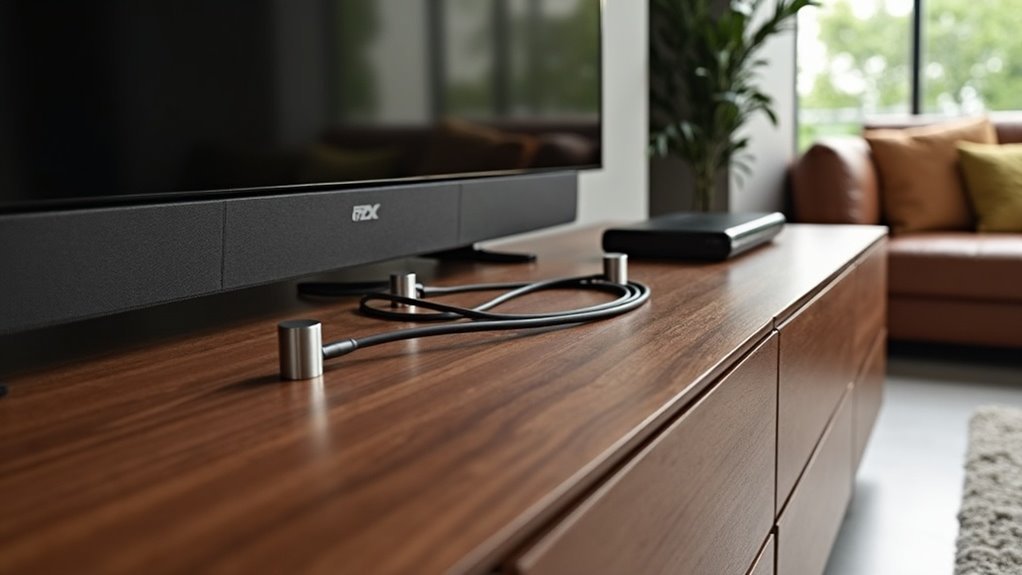
Finally, organize and conceal any excess cables with ties or covers for a tidy and professional appearance, allowing you to fully enjoy your soundbar setup.