To connect your soundbar to an HDMI splitter, begin by ensuring that your splitter supports HDMI ARC and your preferred audio formats. First, power off all devices. Then, connect the soundbar to the HDMI ARC port on the splitter. For secure connections, use high-quality HDMI cables. Once connected, power on the splitter first, followed by your other devices. Finally, adjust your TV’s audio settings to designate the soundbar as the default output. Keep exploring for more tips on enhancing your soundbar experience.
Key Takeaways
- Ensure the HDMI splitter supports HDMI ARC for optimal audio transmission to your soundbar.
- Connect your soundbar to the HDMI ARC port on the TV, and link the splitter to your source device.
- Use high-quality HDMI cables to maintain signal integrity between your devices.
- Power on the splitter first, followed by your soundbar and source devices for proper detection.
- Adjust your TV audio settings to set the soundbar as the default output and enable HDMI CEC for seamless control.
Understanding HDMI ARC and CEC
When setting up your soundbar, understanding HDMI ARC and CEC is essential for optimizing your audio experience.
HDMI ARC (Audio Return Channel) allows audio signals to flow both ways between your TV and soundbar, enabling sound from all connected devices to play through your soundbar. To utilize HDMI ARC, connect your soundbar to the TV’s HDMI ARC port for the best sound quality.
Additionally, HDMI CEC (Consumer Electronics Control) lets you manage multiple HDMI devices with a single remote, simplifying control of your soundbar and other devices.
Be sure to confirm that CEC is enabled in your TV settings; however, keep in mind that there may be compatibility issues that could lead to unexpected device behavior.
Enjoy the enhanced audio experience that a soundbar can provide!
Choosing the Right HDMI Splitter
Choosing the right HDMI splitter is essential for ensuring optimal audio and video performance in your soundbar setup.
Start by confirming it supports your desired resolution and audio formats, such as 4K at 60Hz and HDR, to fully enjoy the capabilities of your soundbar.
If you need to send audio to the soundbar while splitting video signals, look for an HDMI splitter with audio extraction features.
For better signal strength, especially over longer distances, a powered HDMI splitter is preferable.
Ensure it’s compatible with HDMI ARC, as many soundbars require this for seamless audio transmission.
Lastly, consider an HDMI splitter with CEC support to control all connected devices using a single remote for added convenience.
Preparing Your Devices for Connection
Before connecting your soundbar to the HDMI splitter, ensure that all devices are powered off, including the soundbar, splitter, and any source devices like Blu-ray players or gaming consoles.
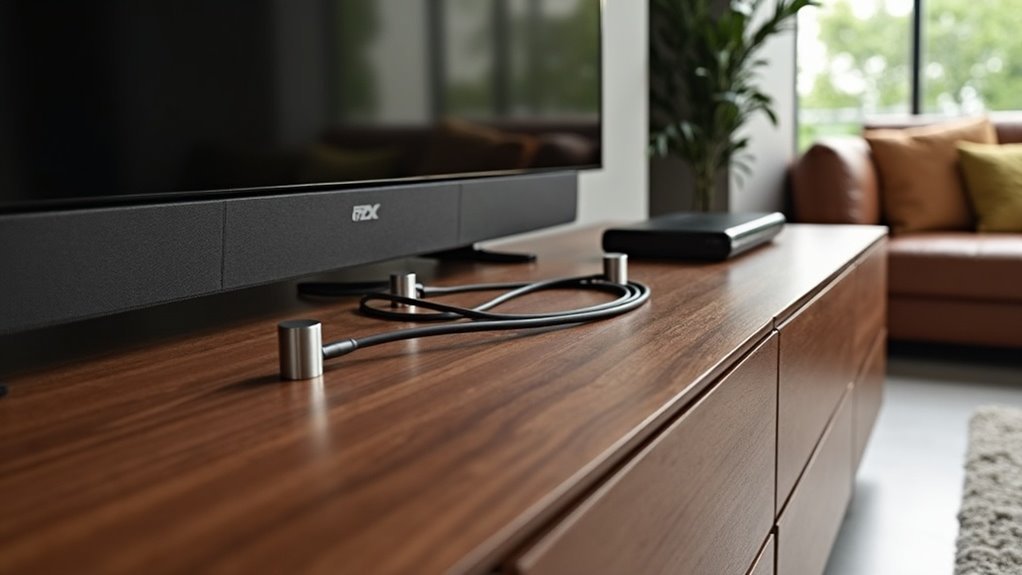
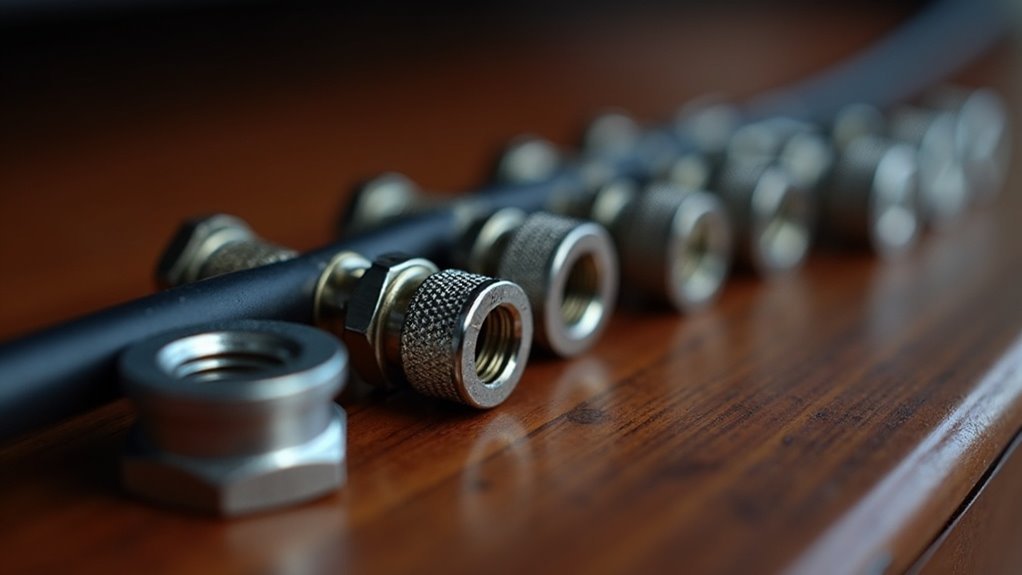
It’s important to use high-quality HDMI cables for all connections to guarantee a secure fit into the HDMI inputs, which is essential for maintaining optimal audio and video quality, particularly for high-definition content.
Once everything is connected, power on the HDMI splitter first, followed by the soundbar, and then your source devices.
Lastly, check that the HDMI splitter supports essential audio formats such as Dolby Atmos or DTS:X to ensure compatibility with your soundbar, allowing for the best possible audio experience.
Connecting Devices to the HDMI Splitter
To connect your soundbar to the HDMI splitter, first, ensure the splitter supports HDMI ARC (Audio Return Channel), which allows audio from your TV to be sent back to the soundbar.
Ensure your HDMI splitter supports ARC to send audio from your TV back to your soundbar for an optimal experience.
Begin by connecting the soundbar’s HDMI output to the HDMI input on the splitter designated for audio output. Use high-quality HDMI cables to link your source devices, such as a Blu-ray player or gaming console, to the HDMI inputs on the splitter for optimal performance.
Lastly, verify that all devices support the same resolution and audio formats to avoid compatibility issues, then power on everything to complete the setup.
Enjoy enhanced audio from your soundbar as you watch your favorite content!
Configuring Audio Settings on Your TV
To achieve the best audio experience with your soundbar, it’s essential to configure your TV’s audio settings correctly.
Begin by selecting the appropriate audio output format that complements your soundbar. Additionally, enable HDMI CEC functionality to ensure smooth communication between your TV and soundbar.
If required, make sure to set the soundbar as the default audio output to fully enjoy its capabilities.
Adjusting TV Audio Settings
How can you guarantee peak audio performance from your soundbar?
Start by accessing your TV’s audio settings menu, typically found under “Sound” or “Audio.” Ensure you select the HDMI ARC (Audio Return Channel) option if available, confirming that your soundbar is connected to the HDMI ARC port on the TV.
Next, adjust the audio output format to align with your soundbar’s capabilities, such as PCM or Dolby Digital, to enhance clarity and compatibility.
Finally, test the sound output to ensure audio is correctly routed through the soundbar, providing an optimal listening experience without any complications.
Enabling HDMI CEC Functionality
After adjusting your soundbar’s audio settings, the next step involves enabling HDMI CEC functionality for seamless interaction between your soundbar and TV.
Follow these steps:
- Go to your TV’s settings menu and locate the HDMI CEC option.
- Activate the CEC feature to allow control over the soundbar.
- Check your soundbar’s manual for any specific CEC settings to enable.
- Test the setup by turning off the TV and ensuring the soundbar powers down automatically.
If you encounter issues, consider disabling CEC temporarily to troubleshoot conflicts, especially with universal remotes like Logitech Harmony.
Testing the Soundbar Connection
Testing the soundbar connection requires careful attention to detail to confirm everything functions correctly.
First, ensure your soundbar is connected to the HDMI ARC port of the TV, and all devices are powered on. Check the HDMI splitter’s compatibility with audio formats to guarantee proper transmission.
Use your TV remote to adjust the audio output settings, directing sound to the soundbar. Verify the soundbar’s input settings are correct for the HDMI input linked to the splitter.
If you don’t hear sound, try reconnecting the HDMI cables and confirm that HDMI CEC is enabled for optimal audio routing.
For more tips and troubleshooting advice specifically related to soundbars, be sure to explore our website!
Troubleshooting Common Issues
When troubleshooting your soundbar connection, begin by checking the compatibility of your soundbar with other devices to ensure they work together seamlessly.
Next, verify the audio output settings on both your soundbar and the connected devices to confirm they’re configured correctly.
Check Device Compatibility
Before you connect your soundbar to an HDMI splitter, it’s crucial to check the compatibility of both devices to avoid common audio issues. Follow these steps:
- Confirm that the HDMI splitter supports HDMI ARC functionality, as many do not, which is essential for proper sound transmission to your soundbar.
- Verify your soundbar’s specifications to ensure they align with the resolutions and audio formats supported by the splitter.
- Use high-quality HDMI cables that adhere to the latest standards, such as HDMI 2.0 or HDMI 2.1, for optimal performance.
- Consult the user manuals for both the soundbar and the HDMI splitter for any specific configuration requirements or compatibility limitations.
Taking these steps will help guarantee peak performance and a seamless audio experience with your soundbar.
Verify Audio Output Settings
To guarantee peak audio performance from your soundbar connected through an HDMI splitter, it’s essential to verify the audio output settings on your TV.
First, ensure your soundbar is plugged into the HDMI ARC port, which routes audio from all devices. In your TV’s audio settings, confirm that the output is set to the HDMI ARC channel.
If you’re using an HDMI switch or splitter, check that it supports ARC functionality. Additionally, inspect your soundbar’s settings to confirm it’s set to receive audio via HDMI.
If issues persist, try disconnecting and reconnecting the HDMI cables to reset the connection.