To connect your soundbar in a soundproofed room, position it at ear level in front of your TV to ensure optimal sound dispersion. For the best audio connection, use an HDMI cable; if that’s not an option, an optical cable will work as well. Make sure to adjust your TV’s audio settings for PCM output and select the preferred mode on your soundbar for enhanced performance. To further improve sound quality, reinforce soundproofing by sealing any gaps and incorporating acoustic panels. If you face any connection or audio issues, follow troubleshooting steps to refine your soundbar setup.
Key Takeaways
- Position the soundbar at ear level in front of the TV for optimal sound quality, ensuring it’s unobstructed for proper sound dispersion.
- Use an HDMI or optical cable to connect the soundbar to the projector, ensuring secure connections and compatibility with audio settings for the best sound experience.
- To enhance the overall audio experience, consider soundproofing your space by sealing air gaps, adding acoustic panels, and using heavy curtains to reduce external noise interference.
- Regularly clean the soundbar and check for obstructions to maintain sound quality and ensure clear audio playback in your sound environment.
- Adjust the audio settings on the soundbar for optimal performance, including selecting the right modes and ensuring proper digital audio output formats for immersive sound.
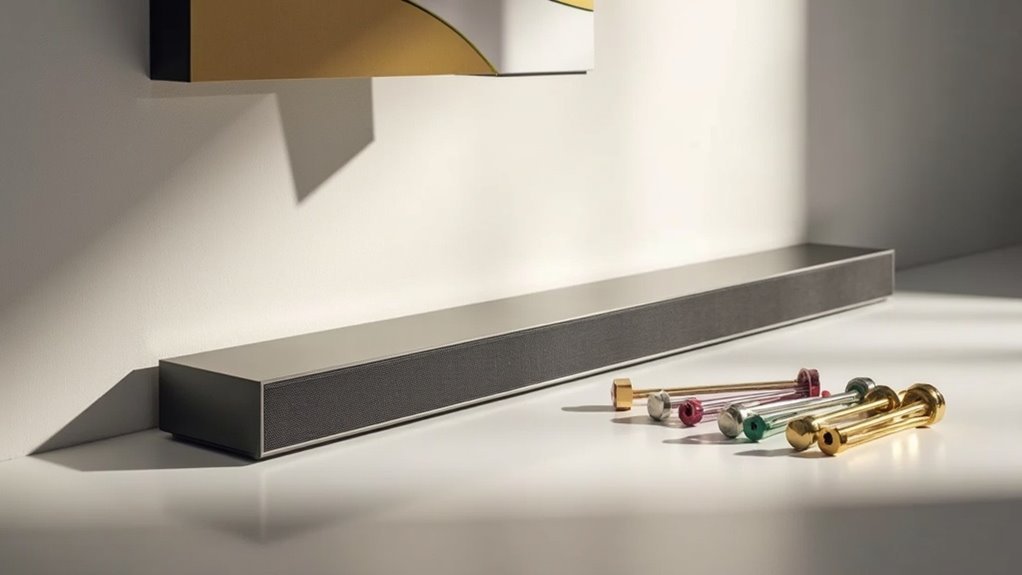
Choosing the Right Location for Your Soundbar
When you’re setting up your soundbar, it’s essential to choose the right location for optimal performance.
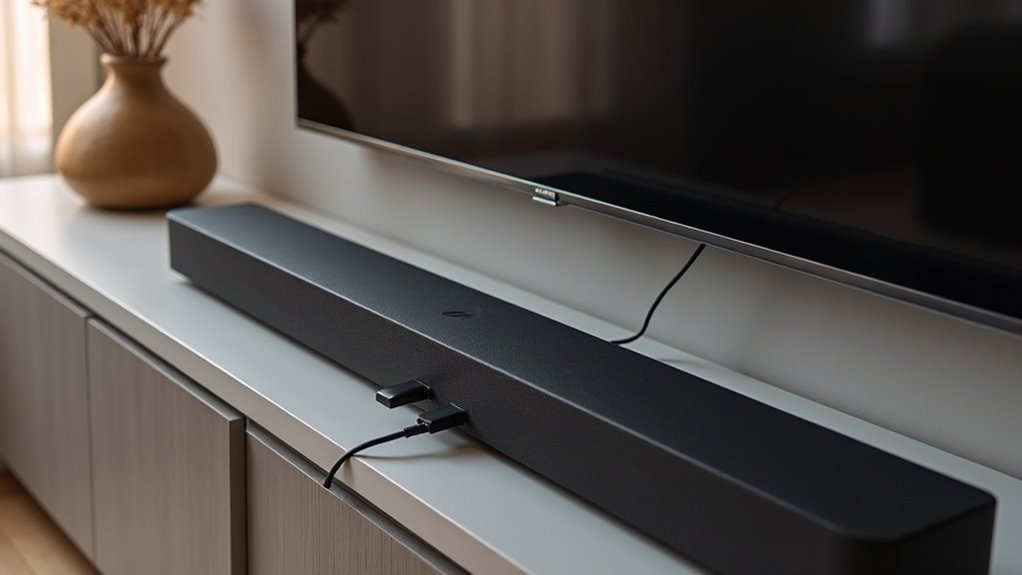
Position your soundbar directly in front of your TV, ensuring it’s at ear level when you’re seated for the best sound quality. Avoid placing it in enclosed spaces, as this can distort audio and hinder clarity.
Make sure there’s ample space behind the soundbar to allow sound waves to reflect, enhancing your audio experience. Keep the soundbar unobstructed by furniture or decorative items to facilitate proper sound dispersion.
If you’re looking to improve sound quality further, consider using acoustic panels around the soundbar to absorb excess sound and minimize echoes.
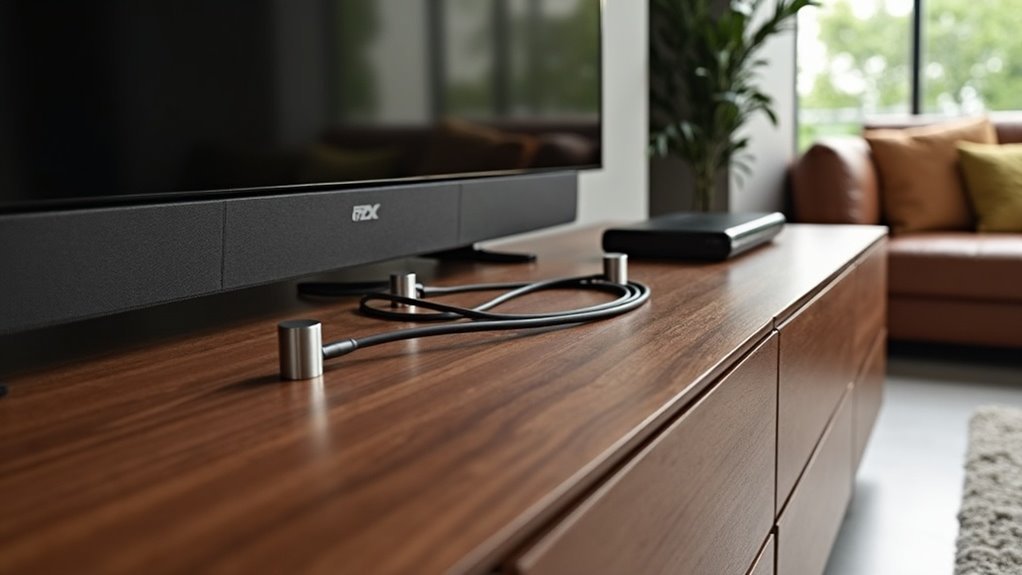
Connecting Your Soundbar to the Projector
Connecting your soundbar to a projector can significantly enhance your audio experience, especially during movie nights or presentations.
To achieve optimal audio transmission, use a long HDMI cable to connect the projector’s eARC output to the soundbar’s HDMI port. If your projector lacks an eARC port, you can utilize an optical audio cable from the projector’s optical output to the soundbar, though this may limit surround sound capabilities.
For optimal audio, connect your projector’s eARC output to the soundbar with HDMI; use optical audio if eARC isn’t available.
Make sure to verify the compatibility between your soundbar and the projector’s audio settings, and adjust them accordingly for seamless playback.
For the best sound quality, position the soundbar in front of the listening area without any obstructions.
Alternative Connection Methods
While connecting a soundbar to a projector enhances audio quality, there are several alternative methods for connecting your soundbar to a TV or other devices. Here’s a quick overview of your options:
| Connection Method | Description |
|---|---|
| HDMI eARC/ARC | A single cable for both audio and video, providing high-quality sound. |
| Optical Digital Cable | Offers decent audio quality, though it lacks surround sound features. |
| Bluetooth | Enables wireless streaming from compatible devices, allowing for flexibility in placement. |
| AV Receiver | Allows you to connect multiple sources, simplifying your audio setup. |
Be sure to check your soundbar’s specifications to confirm compatibility with these alternative connection methods, ensuring you achieve optimal performance from your sound system.
Adjusting Settings for Optimal Audio
To achieve ideal audio performance from your soundbar, it’s essential to adjust various settings that cater to your specific setup and preferences.
Start by setting your TV’s digital audio output to PCM for compatibility with your soundbar. Experiment with soundbar modes tailored for movies, music, or games to optimize sound based on the content type you’re enjoying.
Utilize dialog enhancement features to boost clarity for spoken words, especially in soundproofed rooms where subtle sounds can be lost. Employ sync settings to eliminate any audio delay, ensuring that the sound aligns perfectly with the video.
Finally, activate night mode for lower volume levels while maintaining clear audio, making it perfect for late-night viewing without disturbing others.
These adjustments will help you get the most out of your soundbar experience.
Enhancing Soundproofing in Your Room
To enhance your sound experience when using a soundbar in your room, start by sealing air gaps around doors and windows with weatherstripping to prevent sound leakage.
Next, consider positioning acoustic foam panels on your walls to absorb unwanted frequencies and reduce echo, which can improve the clarity of your soundbar’s audio.
Finally, adding heavy curtains to your windows can provide additional mass, helping to dampen outside noise and enhance the overall performance of your soundbar.
Seal Air Gaps
Sealing air gaps is essential for achieving optimal sound quality when using soundbars in your room, as even the smallest openings can lead to sound leakage and diminish audio performance. To enhance your room’s acoustic integrity for soundbar use, consider these methods:
| Method | Description |
|---|---|
| Weatherstripping | Apply to doors for a tight seal around frames to improve audio clarity. |
| Acoustic Caulk | Fill cracks around windows and wall joints to prevent sound bleed. |
| Door Sweeps | Install at the bottom of doors to block sound from escaping. |
| Regular Inspections | Check seals for wear and ensure they maintain effectiveness for optimal sound. |
Use Acoustic Panels
While improving sound quality in your room, integrating soundbars can significantly enhance your audio experience and reduce unwanted echoes.
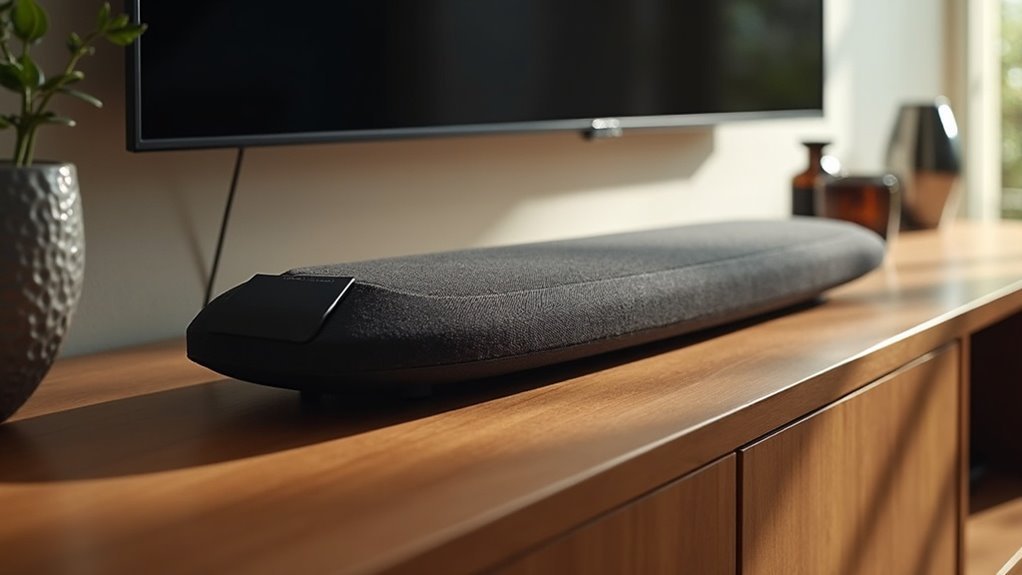
Soundbars are designed to deliver clear and powerful sound, making them an excellent choice for elevating your home entertainment setup. For optimal results, position the soundbar at ear level, ideally centered below your TV, to ensure balanced sound distribution.
Additionally, pairing your soundbar with acoustic panels can further improve acoustics by absorbing mid to high frequencies, thus clarifying sound.
Consider using a variety of soundbar models and setups to tackle different audio challenges, ensuring a comprehensive solution for your enhanced audio environment.
Add Heavy Curtains
Incorporating heavy curtains into your soundbar setup significantly enhances soundproofing in your room, complementing the benefits of acoustic panels. These curtains effectively block outside noise and reduce echo, thereby improving the overall sound quality from your soundbar. Materials like velvet or blackout fabric are particularly effective due to their thickness and density. For optimal soundproofing, it’s best to install heavy curtains that extend beyond the window frame and touch the floor, sealing any air gaps. This arrangement minimizes sound leakage and prevents high-frequency sounds from bouncing off hard surfaces, ensuring a more immersive audio experience.
| Material | Thickness | Sound Absorption |
|---|---|---|
| Velvet | High | Excellent |
| Blackout Fabric | Medium | Good |
| Cotton | Low | Fair |
| Polyester | Medium | Good |
Testing Your Soundbar Setup
How can you ensure your soundbar is optimized for exceptional audio performance?
Start by securing connections between your soundbar and audio sources, utilizing HDMI eARC or optical cables for superior audio quality.
Explore different audio modes, such as dialogue enhancement and night mode, to discover what fits your listening preferences best.
Ensure the soundbar is positioned at ear level and remains unobstructed for optimal clarity.
Consider using a sound pressure level meter or a smartphone app to measure audio levels, making adjustments as needed for a balanced sound experience.
Lastly, experiment with the placement of your wireless subwoofer in the soundproofed room to achieve the clearest bass response, minimizing unwanted vibrations.
Troubleshooting Common Connection Issues
Even with your soundbar optimized for the best audio experience, connection issues can still arise. Here’s a quick troubleshooting guide to help you resolve common problems:
| Issue | Solution | Notes |
|---|---|---|
| Cables not securely connected | Ensure HDMI or optical cables are firmly inserted | Check both ends of the connection |
| Incorrect audio output settings | Set your projector or TV to send audio to the soundbar | Disable internal TV speakers |
| eARC compatibility issues | Confirm that both devices support eARC | Look for firmware updates |
| Surround sound not decoding | Test different audio output formats (e.g., PCM) | Verify correct format selection |
| Persistent audio issues | Reset the soundbar and reconfigure settings | Often resolves compatibility problems |
Maintaining Your Soundbar for Longevity
To keep your soundbar performing at its best, establish a regular cleaning routine to prevent dust accumulation that can impact sound quality.
Don’t forget to check for software updates periodically; these can enhance performance and add new features to your soundbar.
Additionally, ensure proper ventilation around your soundbar to prevent overheating and extend its lifespan.
Regular Cleaning Routine
While it might be easy to overlook, maintaining a regular cleaning routine for your soundbar is essential for ensuring its longevity and peak performance.
Start by dusting the soundbar with a microfiber cloth to prevent dirt buildup, which can affect sound quality. Clean the connections and ports with a soft brush or compressed air to optimize signal transmission.
Wipe the surface with a damp cloth and mild soap, avoiding harsh chemicals. Periodically inspect the soundbar’s placement and cables for obstructions or damage, as these issues can cause sound distortion and reliability problems.
Regular maintenance keeps your soundbar functioning at its best, allowing you to enjoy high-quality audio for years to come.
Software Updates Importance
Maintaining ideal performance in your soundbar hinges on the importance of regular software updates. These updates enhance functionality and guarantee your soundbar operates seamlessly. Here’s why you shouldn’t overlook them:
- New Features: Updates often introduce exciting enhancements tailored for soundbars.
- Compatibility: They improve interaction with other devices and streaming services compatible with your soundbar.
- Bug Fixes: Updates resolve bugs that can affect sound quality and performance specific to soundbars.
- Security Patches: Keeping software current protects your soundbar against potential vulnerabilities.
Check your soundbar’s menu for update instructions; this straightforward process is crucial for preserving peak sound quality, especially in a soundproofed room where details matter.
Proper Ventilation Needs
Proper ventilation is crucial for the longevity and performance of your soundbar. To prevent overheating, ensure that there is adequate clearance around the device. Follow these guidelines for optimal ventilation:
| Clearance Requirement | Recommendation |
|---|---|
| Side Clearance | At least 2 inches |
| Rear Clearance | At least 2 inches |
| Dust Maintenance | Clean vents monthly |
Avoid placing your soundbar in enclosed spaces that can trap heat. Regularly inspect and clean dust from the ventilation grilles. Additionally, consider using a fan or air circulation system to improve airflow. Maintaining proper ventilation helps keep your soundbar cool during prolonged use, which enhances its lifespan and audio quality.