To choose eARC settings for lossless formats on your soundbar, ensure that both your TV and soundbar are equipped with eARC-compatible HDMI ports. For optimal performance, use certified Ultra High-Speed HDMI cables. In your soundbar’s audio settings, enable eARC and set the audio output format to Bitstream or Pass-through. Also, activate HDMI-CEC for better device control. Lastly, check for firmware updates on both your soundbar and TV to ensure compatibility with the latest audio formats. You’ll find additional optimization tips throughout this website devoted to soundbars.
Key Takeaways
- Ensure that your soundbar and TV are eARC-compatible and connected using certified Ultra High-Speed HDMI cables to achieve the best audio performance.
- Navigate to your TV’s audio settings to enable eARC functionality, and select the audio output format to either Bitstream or Pass-through for optimal sound quality.
- Keep the firmware of both your soundbar and TV updated to support the latest lossless audio formats available.
- Enable HDMI-CEC within your TV settings to facilitate smooth communication between the soundbar and TV.
- Test your audio setup with compatible content to confirm that lossless audio formats are being delivered correctly through your soundbar.
Understanding Earc and Lossless Audio Formats
When you’re setting up your soundbar for optimal audio experience, understanding eARC (Enhanced Audio Return Channel) and its support for lossless audio formats is crucial for achieving peak sound quality.
eARC significantly enhances audio performance by allowing the transmission of uncompressed formats like LPCM, Dolby TrueHD, and DTS Master Audio, which standard ARC can’t handle effectively.
With a bandwidth of up to 38 Mbps, eARC can support up to 32 audio channels at 24-bit/192kHz, ensuring superior sound fidelity.
To fully leverage this capability, both your TV and soundbar must feature eARC-compatible HDMI ports, and it’s recommended to use Ultra High-Speed HDMI cables for the best performance.
Requirements for Setting up Earc
To set up eARC for lossless audio formats on your soundbar, it’s essential to ensure compatibility between your TV and soundbar. Both devices must support HDMI eARC to handle advanced audio formats like Dolby TrueHD and DTS:X.
Utilize certified Ultra High-Speed HDMI cables for optimal bandwidth and connect them through the eARC ports. Access the audio settings on both your TV and soundbar to enable eARC functionality and adjust the audio output format to support lossless audio, such as LPCM.
Lastly, ensure that both devices are updated with the latest firmware and verify that the content you’re playing supports lossless audio formats for the best audio experience.
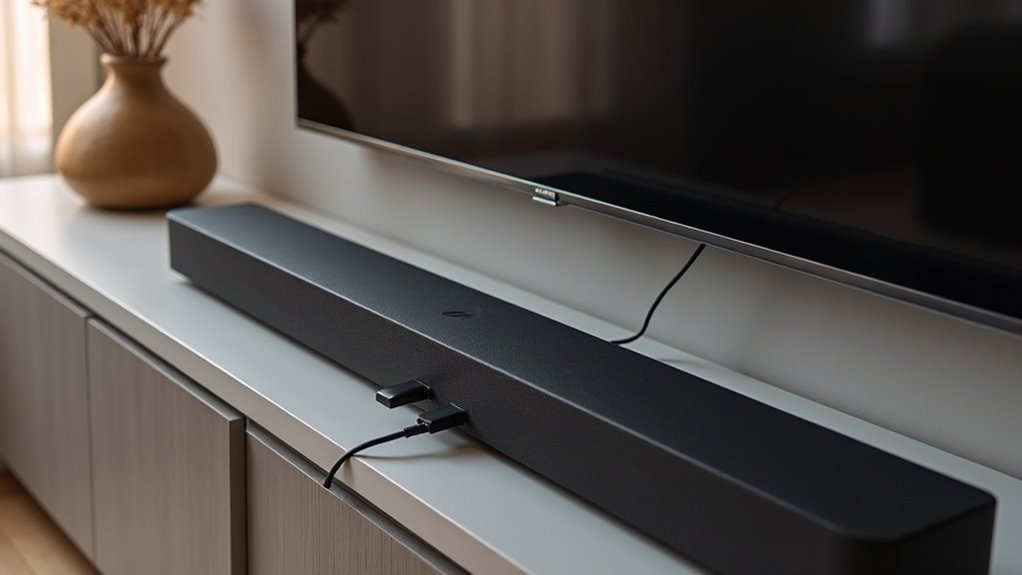
Connecting Your Soundbar to the Earc Port
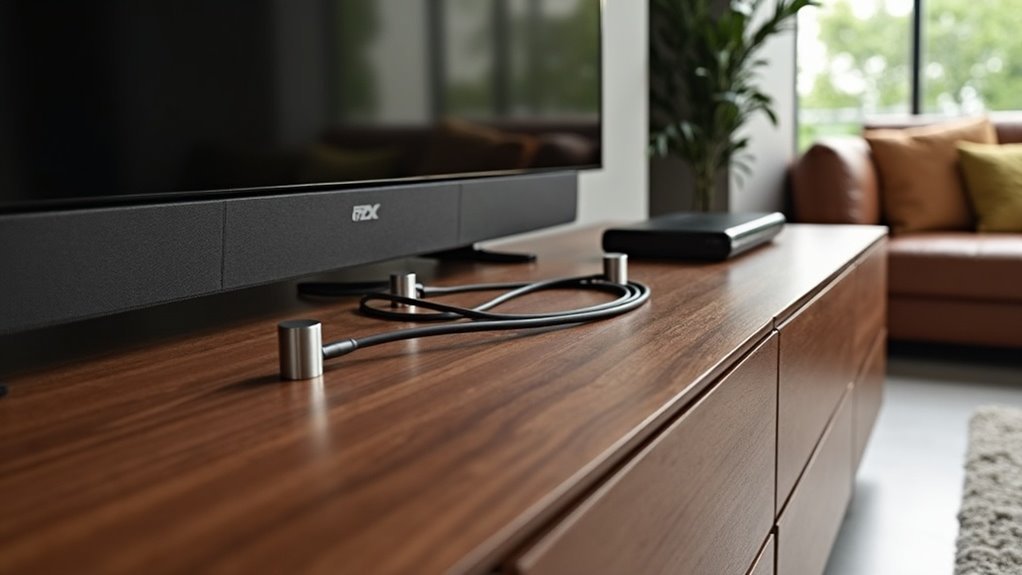
Connecting your soundbar to the eARC port is a simple yet effective way to ensure optimal audio performance. Start by using a certified Ultra High-Speed HDMI cable to connect the eARC port on your TV, which is usually labeled HDMI 2.1, to the HDMI eARC input on your soundbar.
Make sure both your TV and soundbar are powered on and have the latest firmware updates to take full advantage of eARC features and high-quality audio formats like Dolby Atmos.
Next, enable the eARC functionality in your TV’s audio settings and consider activating HDMI-CEC for seamless communication between devices.
Finally, test your setup by playing compatible content to verify that your soundbar is receiving audio without any delays or interruptions.
Configuring TV Settings for Earc
Configuring your soundbar settings for eARC is essential for achieving optimal audio performance with your TV.
First, ensure that your HDMI cable is connected to the eARC port on both the soundbar and the TV.
Next, access the settings menu on your TV and enable eARC functionality under the HDMI or audio output options.
To facilitate seamless control of your devices, turn on HDMI-CEC.
If available, set the audio output format to Bitstream or Pass-through, allowing your TV to send uncompressed audio formats like Dolby Atmos to the soundbar.
Finally, check for firmware updates on both the soundbar and TV to ensure compatibility with the latest features.
Adjusting Soundbar Settings for Optimal Performance
After ensuring your TV is properly configured for eARC, it’s time to fine-tune your soundbar settings for optimal audio performance. Here’s how to do it:
Once your TV is set up for eARC, it’s essential to optimize your soundbar settings for the best audio experience.
- Connect your soundbar to the HDMI eARC port on both your TV and soundbar to take advantage of lossless audio formats.
- Access your soundbar’s settings menu and select the HDMI eARC audio input mode to achieve maximum performance with uncompressed audio.
- Activate the “Pass-Through” or “Bitstream” settings to enable direct audio transmission from the source.
Don’t forget to regularly check for firmware updates to improve compatibility with the latest lossless audio formats, and ensure that your TV’s audio settings are correctly adjusted for a seamless soundbar experience.
Testing Your Setup for Lossless Audio
To test your soundbar setup for lossless audio, first, ensure that both your TV and soundbar are eARC-compatible and connected using a certified Ultra High-Speed HDMI cable.
Next, adjust the audio settings on your source device to output the highest quality formats, such as Bitstream, prior to playing content that features lossless audio formats.
Finally, use a calibration tool to monitor playback, assessing audio clarity and checking for any syncing issues that may occur.
Verify Device Compatibility
How can you ensure your soundbar delivers the best possible audio experience? Start by making sure your TV supports eARC, as it’s essential for transmitting lossless audio formats.
Follow these steps:
- Check that both your soundbar and TV have the latest firmware versions for optimal audio quality.
- Use Ultra High-Speed HDMI cables to manage the bandwidth required for lossless audio formats.
- Verify that the HDMI port on your TV is specifically labeled for eARC functionality; only these ports will support uncompressed audio.
Finally, test your setup with Blu-ray discs or select streaming services to confirm you’re experiencing the full potential of Dolby Atmos without compression.
Adjust Audio Settings
What steps can you take to adjust your soundbar audio settings for ideal lossless audio?
First, verify that your soundbar supports eARC functionality and connect it to your TV using a certified Ultra High-Speed HDMI cable.
Access your soundbar’s audio settings to enable eARC and select “Bitstream” or “Dolby Atmos” as the audio output format.
Make sure your TV is also configured to support audio output through HDMI eARC.
Check for any necessary firmware updates on your soundbar to ensure optimal performance.
Finally, prepare to test your soundbar with a Dolby Atmos demo or lossless audio track to evaluate how effectively it reproduces the intended audio without compression artifacts.
Test With Content
After adjusting your soundbar’s audio settings, it’s time to put your setup to the test.
To guarantee ideal playback of lossless audio, follow these steps:
- Play content designed for high-quality audio formats like Dolby Atmos or DTS:X.
- Use streaming services or Blu-ray discs that support lossless audio formats.
- Confirm your source device is set to output in Bitstream for effective transmission.
Monitor your soundbar for indicators that confirm it’s decoding lossless audio formats.
Consider comparing PCM and Bitstream outputs to identify which delivers superior sound quality.
This testing will help you ensure that your soundbar performs optimally with lossless audio.
Troubleshooting Common Earc Issues
When troubleshooting eARC issues with your soundbar, start by checking your HDMI cable compatibility, as not all cables can support the higher bandwidth required for lossless audio.
Next, verify your audio format settings on the TV are correctly configured to Bitstream, allowing the soundbar to decode the audio properly.
These steps are essential for optimizing your sound experience with your soundbar and minimizing audio dropouts.
HDMI Cable Compatibility
To achieve the best eARC performance with your soundbar, it’s crucial to use certified Ultra High-Speed HDMI cables that can handle the increased bandwidth necessary for advanced audio formats like Dolby TrueHD and DTS Master Audio.
Here are key compatibility checks you should perform:
- Verify that both your soundbar and TV have eARC-compatible HDMI ports.
- Update the firmware on both devices to support the latest eARC features.
- Enable HDMI-CEC on both devices for seamless communication.
Using the right HDMI cables and settings will greatly enhance your audio experience with your soundbar, guaranteeing compatibility with high-quality audio formats.
Audio Format Settings
Ensuring your soundbar delivers the highest audio quality through eARC often hinges on the correct audio format settings. First, confirm that both your TV and soundbar support eARC and are connected via designated eARC HDMI ports.
Set your TV’s audio output to Bitstream to enable high-quality formats like Dolby TrueHD and DTS Master Audio for an optimal soundbar experience. Regularly update your soundbar and TV firmware to maintain compatibility with the latest audio formats and enhance your audio playback.
If you encounter issues, adjust the output format on your source device to PCM temporarily for troubleshooting. Finally, use certified Ultra High-Speed HDMI cables to achieve peak performance and bandwidth, ensuring your soundbar operates at its best.