To check your soundbar’s sampling rate, you’ll need a reliable measurement microphone and an audio interface. Start by connecting the soundbar to an HDMI audio extractor. Then, utilize measurement software to perform a frequency sweep from 20 kHz to 100 Hz. For the most accurate results, position the microphone approximately half a meter away from the soundbar. During testing, be sure to monitor the total harmonic distortion (THD). Document any irregularities you encounter to troubleshoot potential issues effectively. For further guidance on setup and advanced techniques, additional information is available.
Key Takeaways
- Connect the soundbar to a computer using an HDMI extractor to facilitate audio transmission and testing.
- Use a calibrated measurement microphone positioned 0.5 meters from the soundbar to capture audio accurately.
- Configure audio analysis software to recognize the HDMI output and set the sampling rate to 44.1 kHz, which is commonly used in soundbars.
- Conduct a frequency sweep test from 20 kHz to 100 Hz to evaluate the soundbar’s performance and determine its sampling rate capabilities.
- Document any irregular performance readings to identify potential issues with the soundbar and ensure optimal audio quality for an enhanced listening experience.
Required Equipment for Testing
To effectively check the sampling rate of your soundbar, you’ll need specific equipment that guarantees accurate testing.
First, make sure you have a reliable measurement microphone positioned near the soundbar to capture audio signals properly. An audio interface, like the E-MU Tracker Pre USB, is essential for connecting your computer and soundbar, facilitating high-quality audio transmission.
Ensure you have a quality measurement microphone close to your soundbar for accurate audio signal capture.
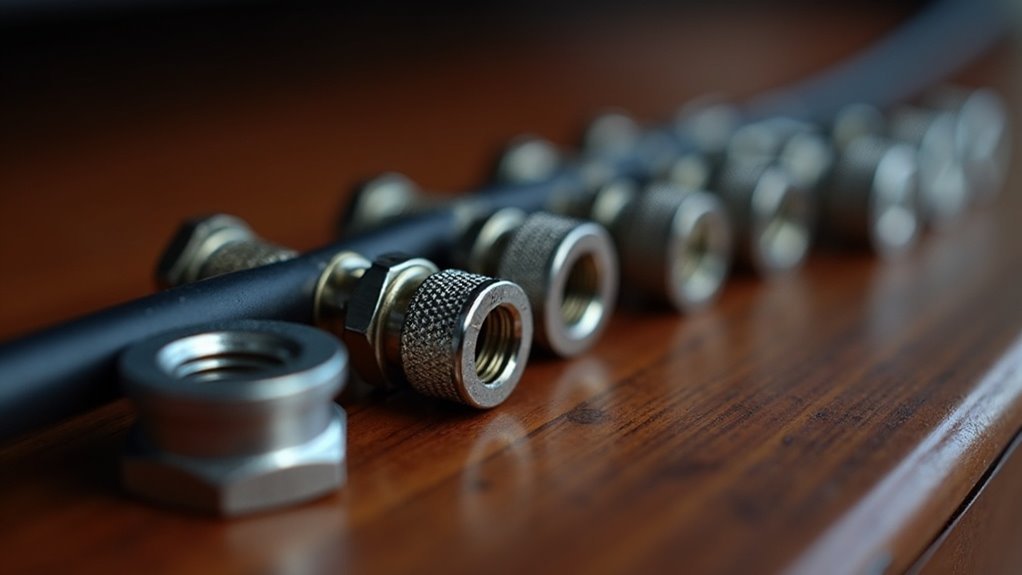
Additionally, an HDMI audio extractor might be necessary to separate the audio signal from the HDMI connection, allowing you to route it to your testing equipment.
Finally, configure all devices, including software, to match the desired sampling rate, typically set at 44.1 kHz for compatibility.
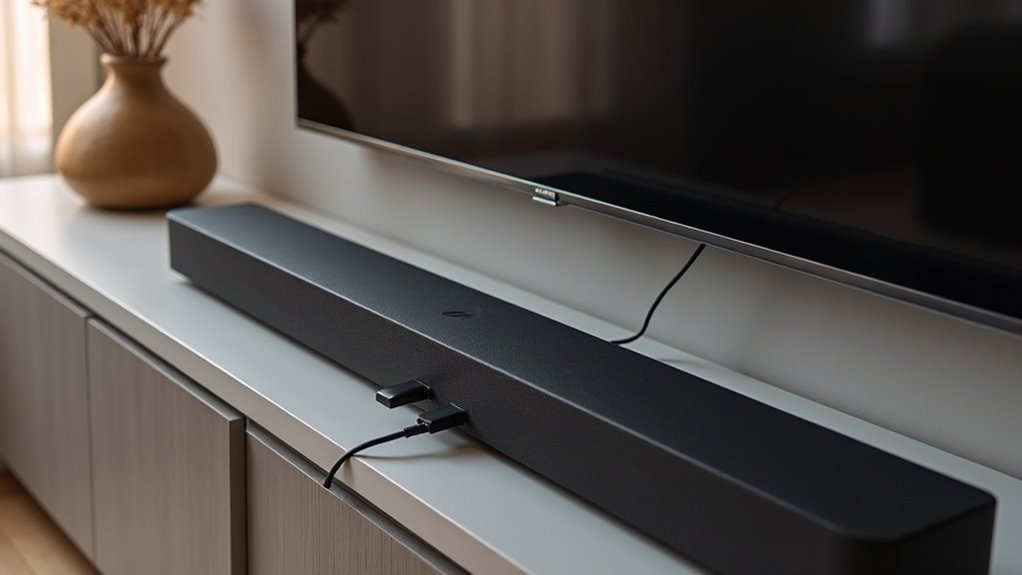
Setting Up Your Soundbar Connection
To set up your soundbar connection, begin by ensuring a proper HDMI connection between your soundbar and the HDMI extractor, which will separate the audio from the video signal.
Next, position your measurement microphone near the soundbar for optimal audio signal capture during testing.
Finally, confirm that your audio settings are configured correctly to achieve the desired sound quality and performance.
Required Equipment Overview
Before diving into the process of checking your Soundbar’s sampling rate, it’s important to set up the right equipment for an accurate connection. You’ll need an HDMI cable, an audio extractor, and a measurement microphone. Position the microphone half a meter from the Soundbar for precise audio capture. Use audio analysis software like Soundcheck, ensuring it recognizes your HDMI audio device and matches the sampling rate, typically 44.1 kHz or higher. For ideal accuracy, consider using a calibrated measurement microphone.
| Equipment | Purpose | Notes |
|---|---|---|
| HDMI Cable | Connect Soundbar to computer | Use with audio extractor |
| Measurement Microphone | Capture audio output | Place 0.5 meters away |
| Audio Analysis Software | Analyze sampling rate | Configure for HDMI device |
| Calibrated Measurement Microphone | Confirm accurate measurements | Ideal for frequency response |
HDMI Connectivity Essentials
Connecting your soundbar via HDMI is essential for achieving high-quality audio output, as it allows for a seamless transfer of audio signals while maintaining fidelity.
To do this, use an HDMI audio extractor to separate the audio from the video signal, ensuring proper routing to your soundbar. Connect your media source’s HDMI output to the extractor, which will deliver audio effectively to your soundbar.
In your audio settings, configure the HDMI output as a multi-channel audio device and set the sampling rate—typically 44.1 kHz—to match your soundbar’s input channel.
This setup maximizes audio quality and performance for an enhanced listening experience with your soundbar.
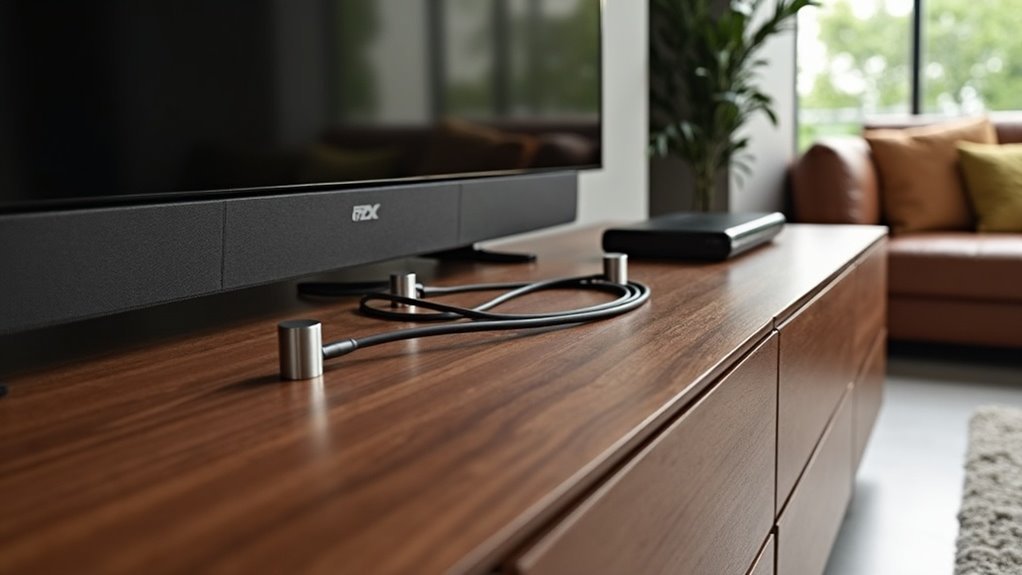
Microphone Placement Tips
Achieving ideal sound quality from your soundbar goes beyond just connecting it via HDMI; microphone placement plays a significant role in capturing accurate audio output.
Position the calibrated measurement microphone about half a meter away from the soundbar, directing it towards the speaker drivers for precise audio signal measurement.
Utilize nearfield placement to reduce room acoustics interference, ensuring focused sound capture.
If you’re testing multiple frequencies, consider employing several microphones at different positions to analyze variations in the sound output.
This method enhances your understanding of the kHz sampling rate and overall audio performance across the listening area, ultimately elevating your soundbar experience.
Configuring Measurement Software
To effectively check the sampling rate of your soundbar, configuring your measurement software correctly is essential. Follow these steps:
- Set the software to recognize the HDMI output from your computer, ensuring it matches the soundbar’s audio interface’s sampling rate—typically starting at 44.1 kHz or higher.
- Use the WASAPI driver for stable latency and multi-channel support, which enhances the audio experience through your soundbar.
- Configure a test stimulus to sweep frequencies from 20 kHz down to 100 Hz, allowing for a thorough frequency response analysis that highlights your soundbar’s capabilities.
After testing, review results for frequency response and total harmonic distortion (THD) to assess your soundbar’s performance at the configured sampling rate. This will help you understand how well your soundbar delivers sound across different frequencies.
Performing the Sampling Rate Test
To perform the sampling rate test on your soundbar, you’ll need to set up your testing equipment properly.
Connect your soundbar to a computer using an HDMI extractor and configure the measurement software like Passmark SoundCheck.
Ensure that your audio playback software is set to the desired sampling rate, then position a calibrated microphone to accurately capture the sound output from the soundbar.
Testing Equipment Setup
When you’re ready to perform a sampling rate test on your soundbar, it’s vital to set up your testing equipment correctly for accurate results.
Follow these steps:
- Connect the soundbar to your computer using an HDMI audio extractor to separate the audio signal.
- Position a calibrated measurement microphone about half a meter from the soundbar.
- Configure your testing software (like Soundcheck) to use the WASAPI driver, set the sampling rate to 44.1 kHz, and ensure the output channels match the HDMI setup.
This setup will facilitate precise measurements and allow you to analyze the soundbar’s frequency response effectively.
Soundcheck Configuration Steps
Properly configuring Soundcheck is crucial for accurately testing the sampling rate of your soundbar. First, connect your computer’s HDMI output to an audio extractor. Set the driver option in Soundcheck to WASAPI for ideal performance. In the hardware setup, select the output channels that match your HDMI device and verify the sampling rate is set to 44.1 kHz. Position a calibrated measurement microphone about half a meter from the soundbar. Finally, initiate a frequency sweep from 20 kHz to 100 Hz to assess the soundbar’s performance.
| Step | Action |
|---|---|
| Connect HDMI | Use audio extractor |
| Set Driver | Choose WASAPI |
| Output Channels | Match HDMI device |
| Set Sampling Rate | Verify 44.1 kHz |
| Test Stimulus | Run frequency sweep |
This configuration process ensures that your soundbar is tested accurately for optimal performance.
Analyzing Test Results
Analyzing test results for a soundbar’s sampling rate requires careful comparison of the measured frequency response against the expected response curve.
Here’s what to focus on:
- Frequency Response: Verify the blue line in Soundcheck stays within specified limits, confirming the soundbar’s sample rate and bit depth.
- Total Harmonic Distortion (THD): Examine the orange line to evaluate audio reproduction accuracy at various sampling rates.
- Clarity and Performance: Assess rub and buzz measurements to maintain fidelity, especially at higher sampling rates.
Document any abnormal readings or performance dips to pinpoint potential issues with the soundbar’s capabilities.
Documenting any irregular readings or dips in performance is crucial for identifying potential soundbar issues.
This comprehensive analysis ensures that the soundbar delivers optimal audio performance for an enhanced listening experience.
Troubleshooting Common Issues
If you encounter issues with your soundbar’s sampling rate, it’s essential to systematically troubleshoot the setup to ensure optimal performance. Start by checking the HDMI connections to verify they’re properly linked to the audio extractor. Utilize audio testing software like Passmark SoundCheck to validate the maximum supported sampling rates of your soundbar. Additionally, inspect the audio control panel settings on your device to ensure they are configured correctly. If discrepancies persist, consider using an oscilloscope to measure the output frequency for further analysis.
| Step | Action |
|---|---|
| 1. Check HDMI connection | Confirm proper output connections |
| 2. Use audio software | Validate supported sampling rates |
| 3. Inspect audio settings | Ensure sample rate is correctly set |
| 4. Observe LED indicator | Look for a 192kHz signal |
| 5. Use an oscilloscope | Measure actual output frequency |
Advanced Testing Techniques
While evaluating the sampling rate of your soundbar, advanced testing techniques can significantly enhance the accuracy of your results.
Here are three effective methods tailored for soundbar analysis:
- Connect a measurement microphone to audio analysis software, such as Passmark SoundCheck, to accurately assess the output signals of your soundbar.
- Use an HDMI audio extractor to separate the audio signal, ensuring clearer measurements of the sampling rate and frequency response specific to soundbars.
- Employ an oscilloscope to directly measure the output frequency of your soundbar, confirming it meets expected standards.
Conduct a frequency sweep test from 20 kHz to 100 Hz, monitoring for total harmonic distortion (THD) to effectively evaluate the performance of your soundbar.
Additional Resources for Sound Testing
When testing the sound quality of your soundbar, leveraging additional resources can provide deeper insights and enhance your overall evaluation process. Using Passmark SoundCheck software, you can verify the maximum supported sampling rates of your soundbar. Ensure that your soundbar connects via an audio extractor for accurate output measurements. For detailed frequency response and total harmonic distortion (THD) analysis, position a calibrated measurement microphone nearby. Conduct frequency sweep tests from 20 kHz to 100 Hz to thoroughly evaluate the soundbar’s performance.
| Resource | Purpose | Key Features |
|---|---|---|
| Passmark SoundCheck | Test sampling rates | Customizable test parameters |
| Calibrated Microphone | Measure frequency response | Nearfield position for accuracy |
| Frequency Sweep Test | Assess performance | Visualize results in SoundCheck |
Using these tools will help you better understand how your soundbar performs, ensuring you achieve the best audio experience possible.