To change your soundbar equalizer presets, grab your remote and press the Home button. Navigate to the Settings menu, then select Sound. Look for the Equalizer option where you can switch between different presets tailored for various audio content. You can also manually adjust the frequencies for bass, mid, and treble to enhance your listening experience. If you’re not satisfied with your adjustments, you can easily revert to the default settings or experiment with different sound modes. There are numerous ways to optimize your audio experience with your soundbar effectively.
Key Takeaways
- Press the Home button on your remote, then navigate to the Settings menu and select Sound for your soundbar.
- Access the Equalizer option to view and select different equalizer presets tailored for soundbars.
- Use the Quick Settings menu to switch between sound modes like Standard, Optimized, and Amplify specifically designed for your soundbar.
- Experiment with pre-configured EQ settings to optimize audio for various content types such as movies, music, and gaming on your soundbar.
- Switch between presets using the remote or app for quick adjustments to your sound preferences on your soundbar.
Accessing Your Soundbar Settings
To access your soundbar settings, first grab your remote control and press the Home button.
Navigate to the Settings menu, then select Sound to explore various sound settings specific to your soundbar.
Within this menu, you’ll find the Equalizer option, essential for adjusting your audio experience to suit your preferences.
Explore the Equalizer option to tailor your audio experience and elevate your sound preferences.
For quick adjustments, utilize the Quick Settings menu to access sound modes like Standard, Optimized, and Amplify, which are tailored for different listening environments.
For detailed customization, investigate Expert Settings, where you can fine-tune balance and equalizer levels to achieve the perfect sound.
Don’t forget to save any changes made to your presets to guarantee they enhance your sound quality in future sessions with your soundbar.
Understanding Equalizer Presets
Equalizer presets play an essential role in enhancing your soundbar’s audio experience by adjusting the balance of frequency ranges—bass, mid, and treble.
These pre-configured EQ settings optimize audio quality for various content types through multiple sound modes, such as Standard, Optimized, and Amplify. You can easily switch between these presets using your soundbar’s remote or app, allowing for quick adjustments to suit your listening preferences.
While presets like Dialogue Enhancement improve mid-frequency clarity for clearer speech, they may not be universally perfect for every soundbar setup.
Experimenting with different settings helps you fine-tune your soundbar for your unique listening environment and audio experience.
Manual Equalizer Adjustments
When you want to tailor your soundbar’s audio output, manual equalizer adjustments offer a powerful way to customize sound to your liking.
Access the equalizer settings on your soundbar, such as the Samsung HW-M550, via the remote or app, and begin with subtle adjustments of 3dB or less for bass, mids, and treble.
For movies and gaming, reduce the 150Hz frequency to tame booming bass and lower the 10kHz frequency to mitigate harsh reflections.
Test different settings with various audio content, noting improvements in clarity.
If your adjustments worsen the experience, revert to default settings, which are typically well-balanced for general use.
Utilizing Sound Modes
After fine-tuning your soundbar with manual equalizer adjustments, exploring sound modes can further enhance your audio experience.
Many soundbars, including those compatible with Samsung TVs, offer several sound modes—Standard, Optimized, and Amplify—each tailored for different audio formats.
The Standard mode provides balanced sound, ideal for general viewing. For movies or shows with dynamic audio, the Optimized mode enhances specific effects, creating a more spacious listening experience.
Standard mode offers balanced sound for everyday use, while Optimized mode enhances dynamic audio for a more immersive experience.
Meanwhile, the Amplify mode increases volume levels for quieter content, ensuring clarity in dialogue-heavy scenes.
Switching between these modes is simple: just press the designated button on your remote, scroll to the sound settings, and select your desired sound mode.
Testing Your Audio Changes
To effectively test your audio changes on a soundbar, use frequency response tools to evaluate how your adjustments impact sound clarity across different frequencies.
Make incremental adjustments to the soundbar settings and assess their effects, ensuring each change is minor enough to avoid overwhelming the audio profile.
Finally, compare the sound quality of the soundbar before and after modifications to gauge whether your adjustments enhance or detract from the overall listening experience.
Use Frequency Response Tools
Utilizing frequency response tools, such as REW (Room EQ Wizard), is essential for accurately measuring and analyzing your soundbar’s audio output across various frequencies.
These tools allow you to identify specific frequency imbalances, which can guide necessary adjustments to your equalizer settings for optimal sound quality. By employing a decibel meter app, you can ensure consistent volume levels during testing, leading to precise assessments of your audio changes.
Begin testing from low frequencies, around 30Hz, to identify areas that require enhancement or reduction. Aiming for a flat frequency response will ensure balanced sound, making frequency response tools crucial for effective equalization, particularly when acoustic panels are in use.
Incremental Adjustment Testing
While adjusting your soundbar’s equalizer settings, it’s crucial to make incremental changes to accurately gauge their impact on audio quality. Aim for subtle adjustments, ideally within 3dB increments, to avoid drastic shifts that could degrade sound quality.
Engage in incremental adjustment testing by evaluating each change over time with diverse content, including movies, music, and games specifically through your soundbar.
Utilize frequency response tools like REW to measure the effects of your adjustments across different frequency ranges as they pertain to your soundbar’s performance.
Document your changes to refine your preferences and ensure you can revert to effective settings if necessary. This systematic approach enhances your overall listening experience with your soundbar.
Compare Before and After
When comparing audio changes on your soundbar, maintaining a consistent volume level across tests is essential for accurate evaluations.
Record specific audio clips that highlight the sound characteristics you want to enhance in your soundbar. As you compare the audio before and after adjustments, make subtle changes to the equalizer settings—ideally by 3dB or less—and pay close attention to alterations in sound quality, including clarity and bass response.
Take notes on your initial impressions and revisit the sound after a few days for a long-term assessment. Finally, invite others to listen to your soundbar; their feedback can provide valuable insights into the effectiveness of your adjustments.
Saving Your Customized Settings
To save your customized equalizer settings on the Samsung HW-M550 soundbar, first navigate to the equalizer menu using the remote or app interface.
Adjust the frequency levels to your liking, then locate the “Save” or “Preset” option within the menu. This functionality allows you to store multiple audio presets, catering to various content types like movies or gaming.
Adjust the frequency levels to your preference and use the “Save” option to create customized audio presets for different content types.
Make sure to label each preset clearly for quick identification later. Regularly revisit and adjust these saved settings to account for changes in room acoustics or personal preferences, ensuring ideal sound quality tailored to your listening experience.
Enjoy the enhanced audio experience your soundbar provides!
Troubleshooting Sound Issues
Even with customized settings stored, you might encounter sound issues with your Samsung HW-M550 soundbar.
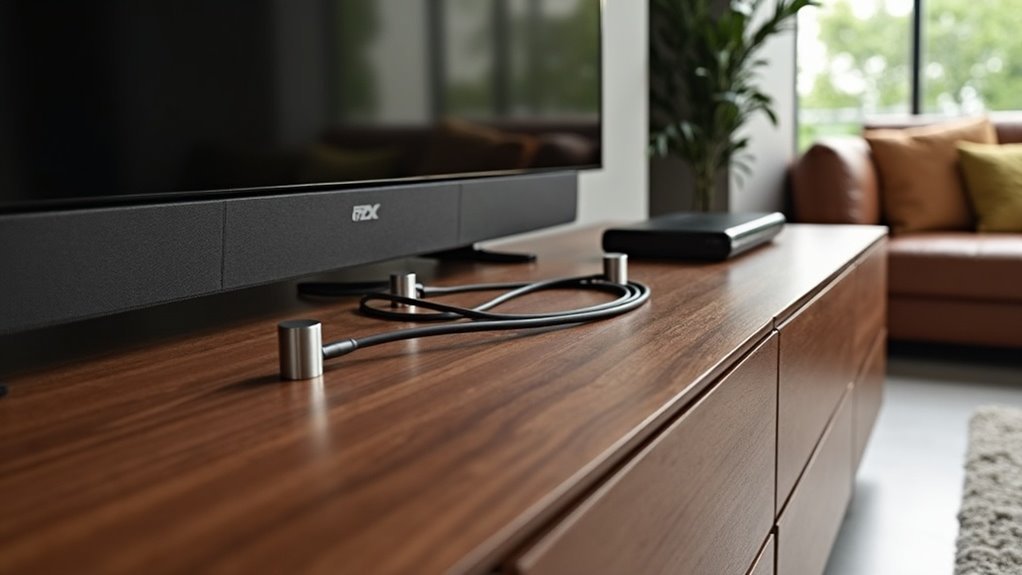
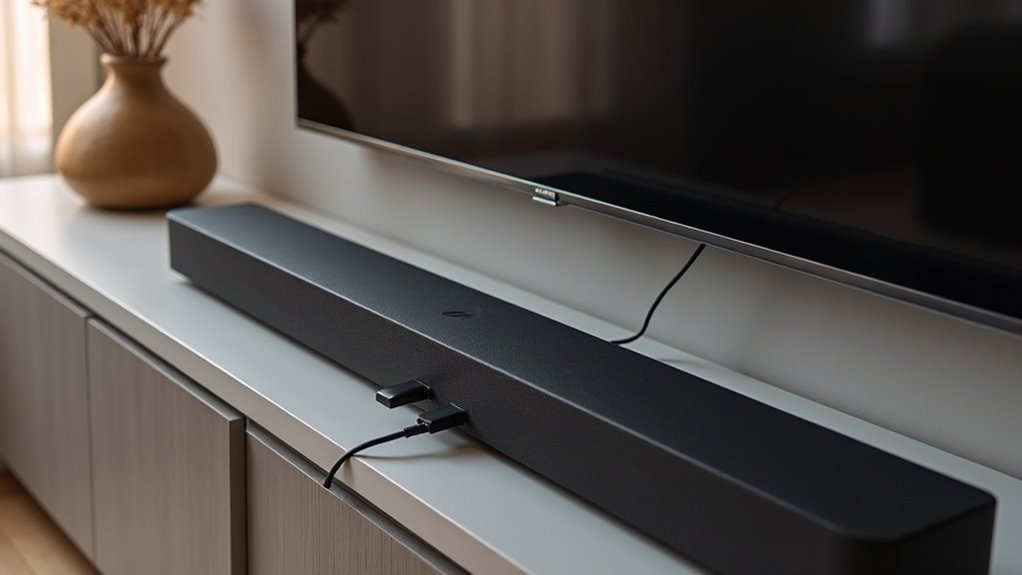
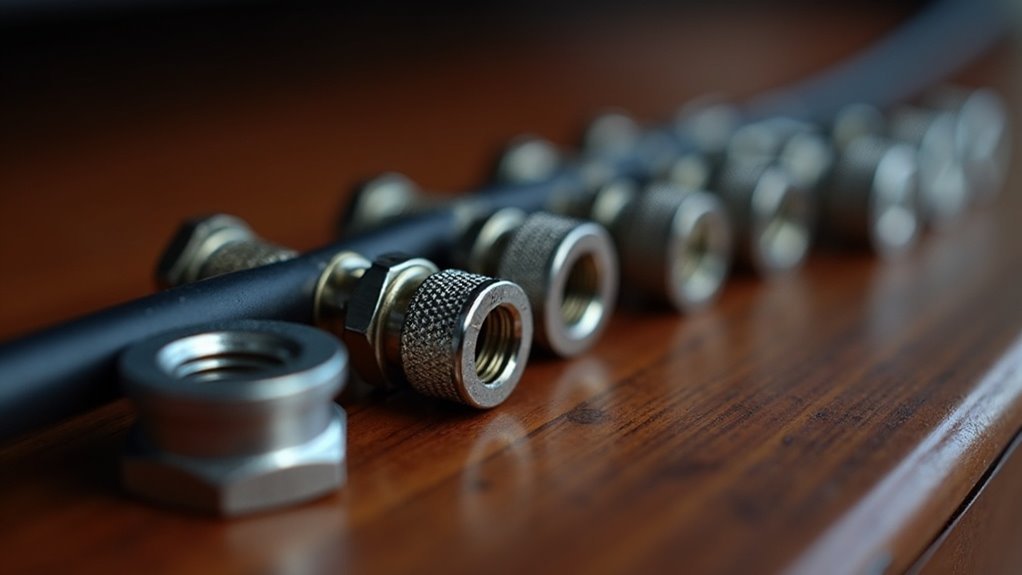
First, confirm that all connections to your TV or audio source are secure; loose connections can lead to interruptions in sound.
Next, verify that the selected sound output settings on your TV align with those of the soundbar.
Additionally, check the volume levels on both devices—muted or low settings can result in silence.
If the sound issue persists, try restarting both the TV and soundbar to resolve any temporary glitches.
For further troubleshooting, consult the soundbar’s user manual or reach out to Samsung support for personalized assistance.
Regular Maintenance and Updates
To ensure your soundbar operates at its best, it’s essential to regularly check for software and firmware updates.
These updates not only enhance audio quality but also ensure compatibility with the latest audio formats and streaming services.
Furthermore, establishing a routine cleaning practice will help maintain the device’s functionality and extend its lifespan, allowing you to enjoy high-quality sound for years to come.
Software and Firmware Updates
While you might think your soundbar is functioning well, regularly checking for software and firmware updates is essential for optimal performance.
These updates can significantly enhance performance and improve sound quality by fixing bugs and ensuring compatibility with the latest audio formats. Many soundbar manufacturers provide an easy way to check for updates through the soundbar’s settings menu or an accompanying app.
Regular Cleaning Practices
Maintaining your soundbar’s performance goes beyond software updates; regular cleaning is key to preserving sound quality.
To implement effective cleaning practices, dust the soundbar and its components with a microfiber cloth to prevent dirt buildup. Ensure that all cables are securely connected, and replace any damaged ones to maintain peak audio performance.
Periodically check for loose components or physical damage to avoid sound distortions. Additionally, clean the ventilation areas and ports to prevent overheating.