If your soundbar’s optical input isn’t locking, start by ensuring the optical cable is securely connected. Check for a faint red light at the cable’s end, which indicates a stable connection. Confirm that you’ve selected the correct optical input on the soundbar and that your TV’s audio output settings are configured to optical or digital. If issues continue, try power cycling all devices and testing with another optical cable. Keep troubleshooting to ensure optimal audio performance from your soundbar. More helpful insights are available.
Key Takeaways
- Ensure the optical cable is securely connected to both the TV and soundbar, checking for a snug fit.
- Verify the optical port for debris and inspect the cable for any signs of damage.
- Select the correct optical input on the soundbar using the remote or INPUT button.
- Adjust the TV’s audio output settings to ensure it’s set to “Optical” or “Digital Out” format.
- Power cycle both the soundbar and TV by unplugging them for 30 seconds to reset connections.
Check the Optical Cable Connection
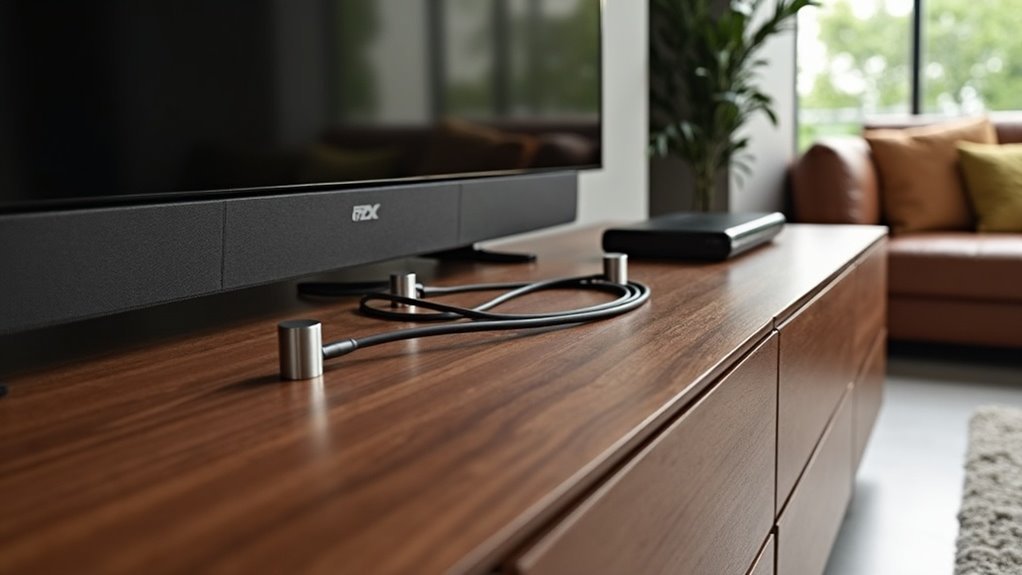
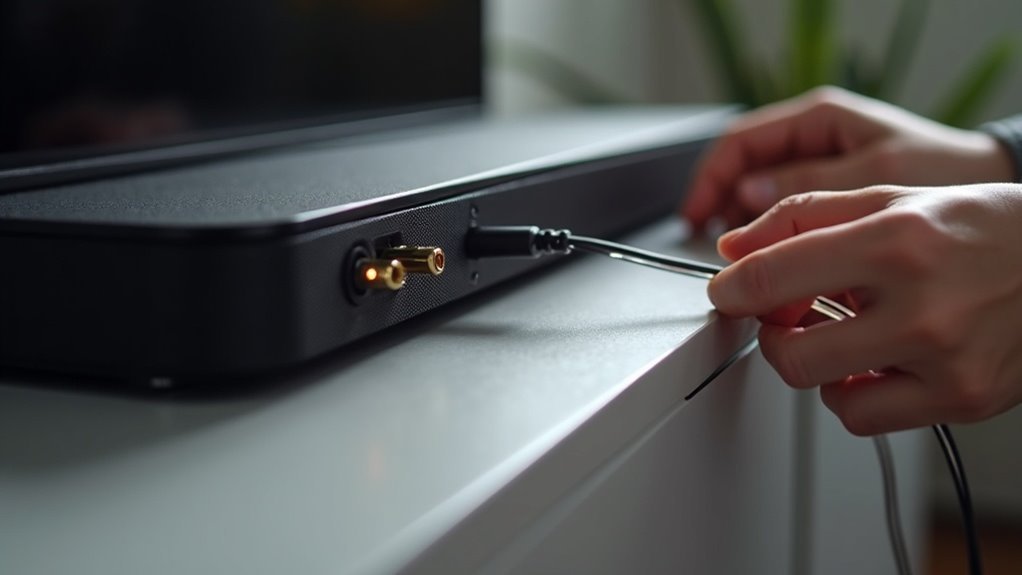
To ensure your soundbar’s optical input operates correctly, begin by checking the optical cable connection.
Make sure the cable is securely inserted into both the TV’s optical output and the soundbar’s optical input. Inspect the optical ports for any visible debris or obstructions that could hinder the cable from being fully inserted.
Also, confirm that the protective caps have been removed from both ends of the optical cable. If the cable isn’t fitting snugly, consider trying a different optical cable that has a shorter or more compatible connector design to ensure the best connection for your soundbar.
Look for the Red Light
After confirming the optical cable is securely connected to your soundbar, the next step is to check for the red light at the end of the cable. A functioning optical cable emits a faint red light, indicating a secure connection and signal presence.
If you don’t see the red light, consider the following:
If the red light is absent, check your connections and settings for potential issues.
- Ensure the soundbar is powered on.
- Verify that the audio output settings on your source device are set to optical.
- Check for any debris in the optical port of the soundbar that may block the connection.
- Inspect the optical cable for any signs of damage.
Addressing these factors will help you troubleshoot your soundbar effectively.
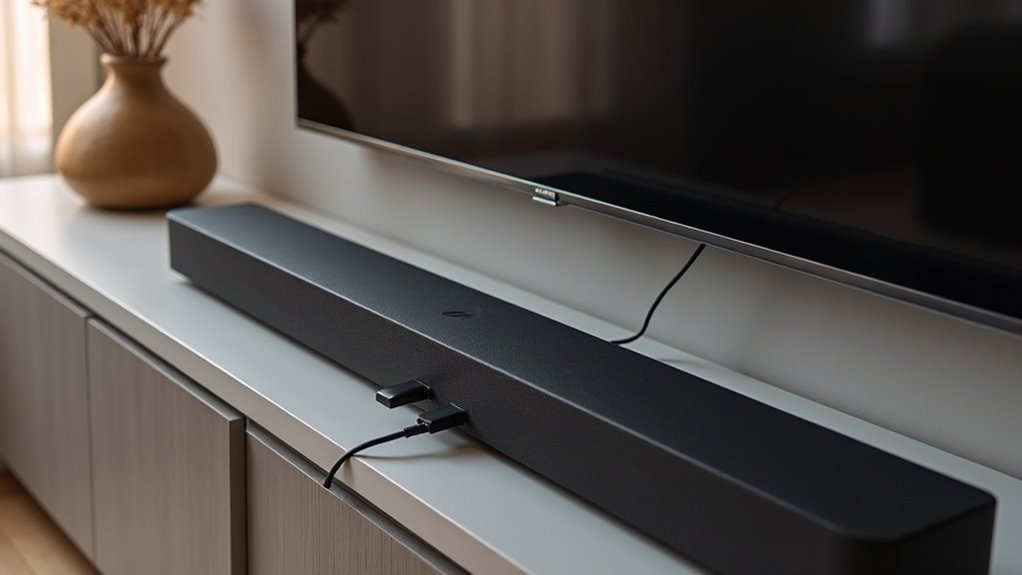
Select the Optical Input on the Soundbar
Selecting the optical input on your soundbar is essential for ensuring optimal audio playback. To do this, utilize the soundbar’s remote control or the INPUT button on the device to cycle through the available input sources.
Look for the option labeled “Optical” or “Digital In.” Ensure that the soundbar is powered on, as input selection may not function when the device is off.
After selecting the correct input, pay attention to visual indicators, such as light patterns or display messages, confirming the change.
Lastly, adjust the soundbar’s volume settings, as some models may default to lower levels on certain inputs. For model-specific instructions, refer to the user manual.
Change the Audio Output Settings on Your TV
To ensure your soundbar receives audio correctly, navigate to your TV’s Audio Settings menu and configure the output format to Optical or Digital Out.
This setup is essential for optimal compatibility with your soundbar. Additionally, make sure to disable your TV’s internal speakers to ensure that all audio is directed solely through the optical connection, maximizing your sound experience.
Access Audio Settings Menu
To ensure your soundbar receives audio through the optical input, it’s important to access your TV’s audio settings menu. Here’s how to do it:
- Use your remote control to navigate to the settings or setup option.
- Find the “Audio Output” or “Sound” section within the menu.
- Adjust the audio output setting to “Optical” or “Digital Out” to ensure proper sound routing through the optical connection.
- Confirm that the audio format is set to “PCM” for compatibility with most soundbars, and make sure the TV isn’t muted and the soundbar’s volume is set appropriately for optimal playback.
Set Optical Output Format
After confirming that your soundbar is properly connected to your TV, it’s time to set the optical output format.
Access the audio output settings in your TV’s menu, typically found under “Sound” or “Audio.” Set the output to “Optical” or “Digital Out” to direct audio through the optical cable to your soundbar.
Next, adjust the audio format to “PCM” (Pulse Code Modulation), as this format is widely compatible with soundbars, preventing audio transmission issues.
Finally, ensure that your TV’s internal speakers are turned off, allowing the soundbar to receive the audio output effectively.
For detailed guidance, consult your TV’s user manual.
Power Cycle All Devices
To power cycle all devices, start by completely turning off your soundbar and any connected devices like the TV.
Unplug the soundbar and TV from the power outlet for about 30 seconds to reset their systems.
After waiting, plug the soundbar back in first, turn it on, then do the same for the TV, and ensure the optical cable is securely connected.
Unplug and Wait
Power cycling your soundbar can often resolve issues with the optical input. Follow these steps to ensure a proper reset:
- Turn off both the TV and soundbar completely, avoiding standby mode.
- Unplug the power cords from both devices, leaving them disconnected for about 30 seconds.
- Plug the power cords back into the outlets and power on both devices.
- Reconnect the optical cable securely, ensuring both ends fit snugly in their respective ports.
After completing these steps, check for a red light at the end of the optical cable and test the audio output to confirm if it’s functioning correctly.
Reconnect and Power On
Reconnecting and powering on all devices is essential for resolving issues with the optical input on your soundbar. Begin by ensuring the optical cable is securely connected to both the soundbar and the TV, making sure it has a snug fit. Unplug both devices and wait for 30 seconds to reset internal settings. Power on the TV first, followed by the soundbar, establishing a fresh connection. Finally, check the soundbar input settings to confirm it’s set to the optical input.
| Step | Action |
|---|---|
| 1. Unplug Devices | Disconnect from power |
| 2. Wait | Allow 30 seconds |
| 3. Power On | Turn on TV, then soundbar |
Confirm Input Selection
Confirming the input selection on your soundbar is essential, especially after power cycling all devices.
Follow these steps to guarantee proper audio output:
- Ensure the soundbar is powered on and set to the correct input source, typically labeled as “Optical.”
- Power cycle all devices by turning them off, unplugging for 30 seconds, and then plugging them back in.
- Check that the optical cable is securely connected at both ends.
- Verify that your TV’s audio settings are set to “Optical” or “Digital Out” to direct sound to your soundbar.
Adjust the soundbar’s volume as needed, and refer to the manual for further troubleshooting steps related to soundbars.
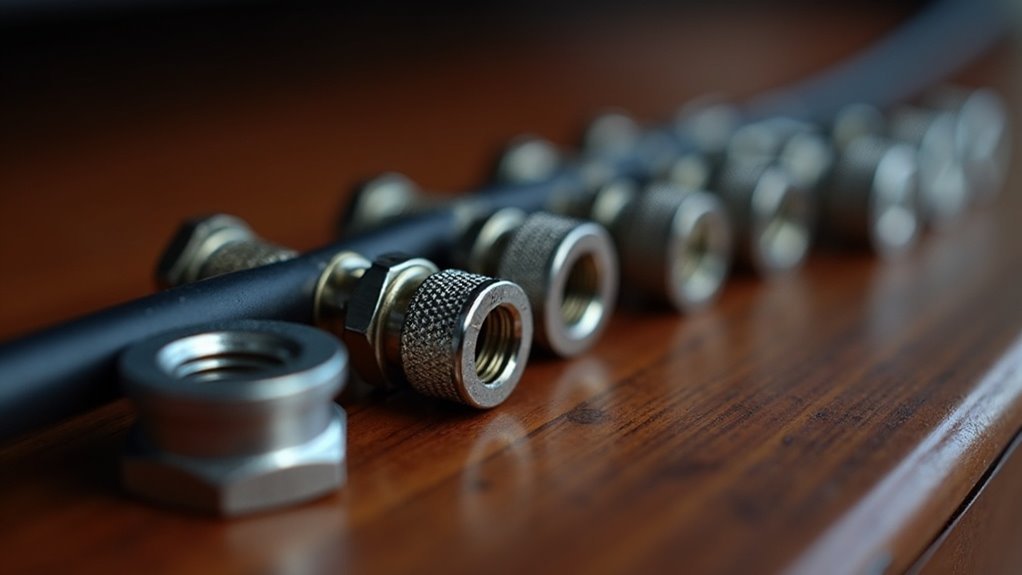
Test With Another Optical Cable
Sometimes, the issue with your soundbar’s optical input may stem from a faulty cable rather than the soundbar itself. To diagnose this, test with another optical cable that meets the Toslink standard, ensuring compatibility with both your soundbar and TV.
When connecting the new cable, check for secure connections at both ends, as obstructions can prevent proper insertion. Additionally, inspect the replacement cable for any visible damage, as even minor wear can disrupt the transmission of audio signals.
If the new cable locks securely and the problem persists, further investigation into potential hardware issues with the soundbar may be necessary.
Inspect for Physical Damage or Obstructions
After testing with another optical cable, the next step is to inspect the optical input on your soundbar for any physical damage or obstructions.
- Look for visible damage like cracks or bent pins that could prevent the cable from locking securely into the soundbar.
- Check for debris, dust, or foreign objects inside the optical port; a clean port is essential for proper cable insertion and optimal sound performance.
- Ensure that the optical cable ends are free from any protective plastic caps before connecting them to your soundbar.
- Verify the cable’s compatibility and design; using the wrong size or type of cable can hinder the connection and affect audio quality.
Regular inspections can help maintain a solid optical input connection on your soundbar, ensuring an uninterrupted audio experience.