To resolve the issue of Atmos not being detected on your soundbar, begin by inspecting your HDMI connections to ensure they are secure and that the soundbar is switched to the correct input. Next, adjust the audio settings on both your TV and soundbar, making sure to enable HDMI eARC output and activate Dolby Atmos options. Verify that the content you’re attempting to play is compatible with Dolby Atmos. Additionally, check for any firmware updates for your soundbar and consider resetting any connected devices if problems continue. For more tips on optimizing your soundbar setup, explore our resources for a seamless audio experience.
Key Takeaways
- Ensure proper HDMI connections using a high-speed HDMI cable, connecting the soundbar to the TV’s HDMI eARC/ARC port for the best audio experience.
- Enable HDMI-eARC output settings on both the TV and soundbar to ensure optimal audio transmission and compatibility.
- Confirm that the content you are playing is Dolby Atmos compatible and check the audio settings within your streaming apps to ensure proper playback.
- Regularly update the firmware of your soundbar and restart both devices after updates to maintain optimal performance.
- Test a variety of content known to support Dolby Atmos and verify the audio format settings on both the soundbar and TV for the best results.
Check Your Connections
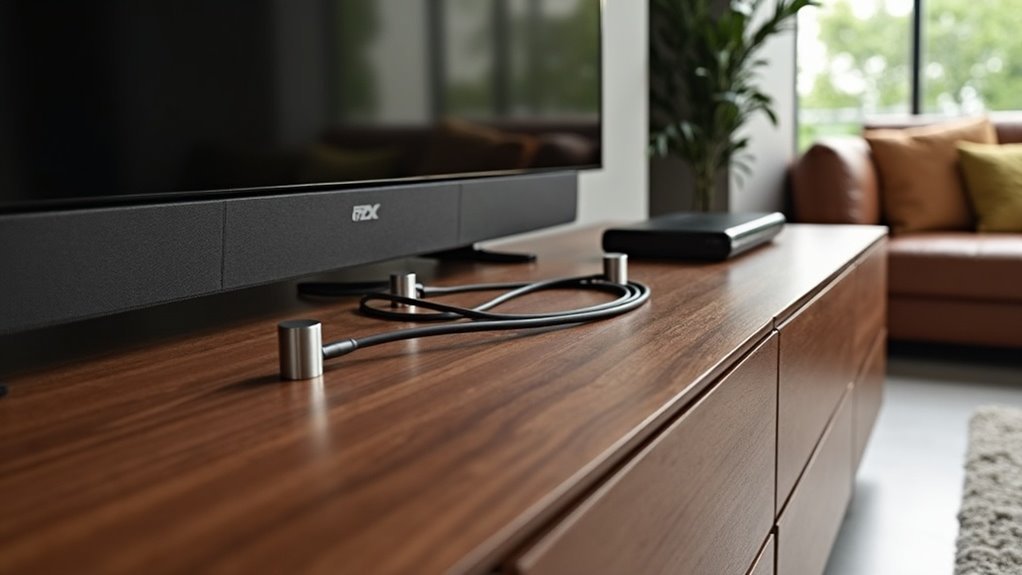
To troubleshoot Atmos not being detected on your soundbar, start by checking your connections, as this is vital for optimal audio performance.
Ensure that both your TV and soundbar are connected using a high-speed HDMI cable to the HDMI eARC port, which is crucial for effectively transmitting Dolby Atmos signals.
Make sure the soundbar is plugged into the correct HDMI eARC/ARC port on the TV.
Additionally, review your TV’s audio settings to confirm that the HDMI-eARC Output setting is enabled.
For the best results, connect external devices, such as Blu-ray players, directly to the soundbar rather than the TV.
Adjust TV Audio Settings
While checking your connections is essential, adjusting your soundbar audio settings is equally important for ensuring that Dolby Atmos is properly detected. Start by enabling the HDMI-eARC output setting on your soundbar and selecting Passthrough or Auto for Digital Audio Output. Disable any Surround Sound Mixing features and confirm that the Dolby Atmos enhancement option is activated.
| Setting | Recommended Option | Notes |
|---|---|---|
| HDMI Output | Enabled | For proper signal transmission |
| Digital Audio Output | Passthrough / Auto | Avoid PCM for Atmos compatibility |
| Surround Sound Mixing | Disabled | Prevents interference |
Regularly update your soundbar’s firmware for peak performance.
Verify Soundbar Configuration
To ensure your soundbar is configured for Dolby Atmos, begin by verifying your HDMI connections; it should be connected to the TV’s HDMI eARC port.
Next, navigate to the audio settings to confirm that the digital output is set to Bitstream and that the Dolby Atmos option is enabled.
Lastly, make sure your soundbar’s firmware is regularly updated to remain compatible with the latest audio formats.
Check HDMI Connections
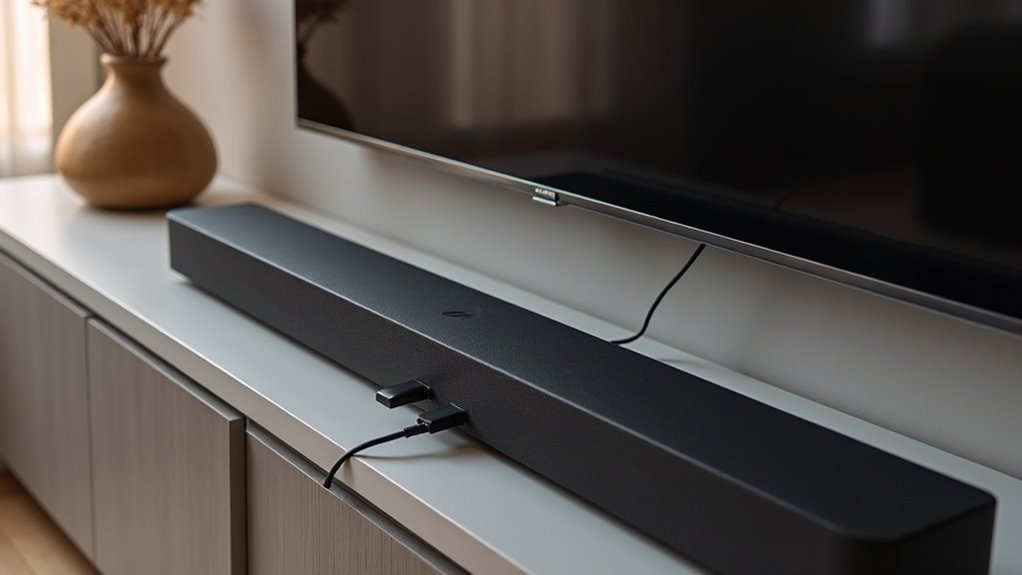
One critical step in ensuring your soundbar detects Dolby Atmos is checking the HDMI connections.
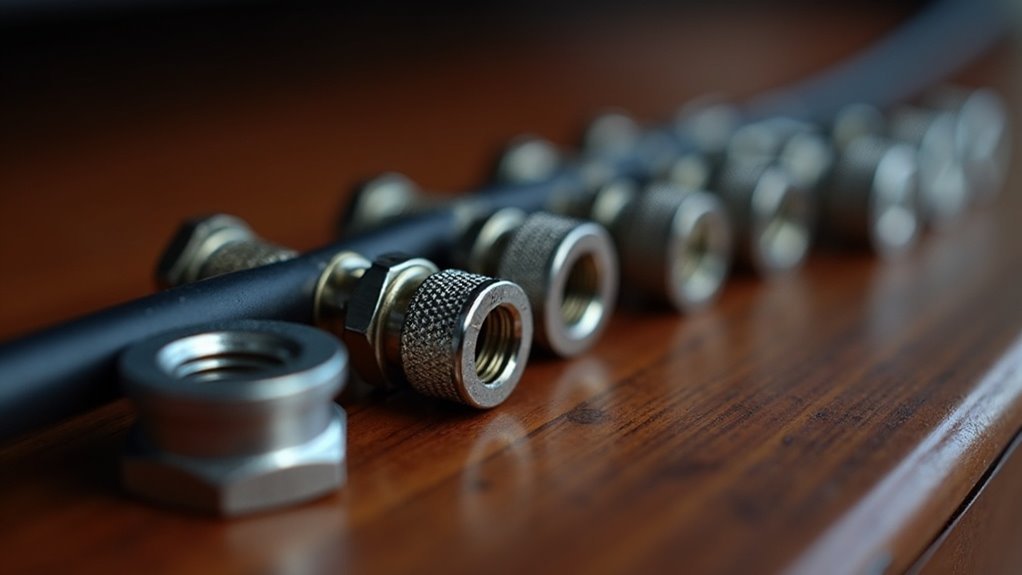
First, confirm that your soundbar is connected to the TV via the HDMI eARC port, which is essential for transmitting Dolby Atmos audio effectively. Use an eARC certified HDMI cable to support the increased bandwidth required for Dolby Atmos.
Make sure the soundbar is set to the correct input source and powered on to receive the Dolby Atmos signal from the TV.
If you’re using external devices, connect them directly to the soundbar to avoid potential compatibility issues with the TV’s audio output settings.
Adjust Audio Settings
After confirming your HDMI connections, the next step is to adjust the audio settings on your soundbar to verify it’s configured correctly to output Dolby Atmos.
First, ensure that the sound format is set to Bitstream or Dolby Digital. Disable any secondary audio output options, as these can create conflicts that hinder Atmos detection.
Make sure your HDMI connection is set to eARC on both your soundbar and TV.
Finally, regularly check the audio settings within your streaming apps to confirm they deliver content that supports Dolby Atmos, ensuring an exceptional listening experience tailored for your soundbar.
Update Firmware Regularly
Keeping your soundbar’s firmware up to date is crucial for achieving optimal performance and ensuring compatibility with Dolby Atmos.
Regular firmware updates can significantly enhance your soundbar experience. Here’s what you should do:
- Frequently check for firmware updates on the manufacturer’s website dedicated to soundbars.
- Verify your soundbar settings, ensuring options like “Bitstream” or “Dolby Digital Plus” are enabled for the best audio experience.
- Connect your soundbar via an HDMI eARC port to ensure optimal audio quality.
- If issues persist, consider performing a factory reset to troubleshoot and resolve any detection problems.
Confirm Content Compatibility
To guarantee your soundbar can successfully detect and play Dolby Atmos audio, it’s essential to confirm that the content you’re trying to enjoy is compatible. Not every title on streaming services like Netflix or Amazon Prime supports Dolby Atmos, so check for the specific label. Here’s a quick reference:
| Content Type | Dolby Atmos Support |
|---|---|
| Movies | Yes/No |
| TV Shows | Yes/No |
| Documentaries | Yes/No |
| Subscription Plan | Basic/Premium |
Ensure you have the right subscription plan and check for the Dolby Atmos logo before playback for ideal content compatibility with your soundbar.
Update Firmware
To ensure your soundbar accurately detects Dolby Atmos, it’s essential to regularly check for firmware updates.
Follow the manufacturer’s instructions closely to apply any new updates, which may include steps such as downloading files or connecting through Wi-Fi.
After completing the update, be sure to restart your soundbar and all connected devices to activate the changes.
Check for New Updates
While it may seem tedious, regularly checking for firmware updates is essential for ensuring your soundbar properly detects Dolby Atmos. Manufacturers frequently release updates to fix bugs and enhance compatibility.
To stay updated on your soundbar’s performance, remember to:
- Connect your soundbar to the internet via Wi-Fi or Ethernet.
- Access the firmware update option through the settings menu.
- Look for sections labeled “System,” “About,” or “Firmware Update.”
- Monitor the manufacturer’s support page for release notes detailing fixes related to Dolby Atmos detection.
Follow Update Instructions
Updating your soundbar’s firmware is essential for optimizing Dolby Atmos detection, as outdated software can greatly impede performance.
First, check the manufacturer’s website dedicated to soundbars for the latest firmware updates. Follow the specific instructions provided there to download and install these updates, ensuring your soundbar remains internet-connected if needed.
Regularly monitor for firmware updates to maintain compatibility with new formats and streaming services that enhance Dolby Atmos performance.
If you encounter issues, consult your soundbar’s user manual or online support resources for troubleshooting steps related to firmware.
This proactive approach guarantees your soundbar functions at its best, delivering an immersive audio experience.
Restart After Updating
Once you’ve completed the firmware update for your soundbar, restarting the device is a crucial step in ensuring proper functionality and Dolby Atmos detection.
Follow these steps to effectively restart your soundbar:
- Turn off the soundbar completely.
- Unplug the power cord and wait for a few minutes.
- Plug the power cord back in and turn on the soundbar.
- Check your sound settings to confirm they’re correct post-update.
This power cycle refreshes the system and helps reset connections, ensuring that Dolby Atmos is detected properly.
Regular restarts after updates can greatly enhance your soundbar’s performance.
Reset Devices
If you’re experiencing issues with your soundbar not detecting Dolby Atmos, resetting your devices can often resolve the problem.
Start by unplugging your soundbar, TV, and any connected external devices for at least 10 seconds. This refreshes connections and settings.
Once rebooted, verify your soundbar is set to the correct input source, typically HDMI eARC, to enable Dolby Atmos detection.
If problems persist, perform a factory reset on your soundbar through the settings menu or by holding specific buttons.
Additionally, reset external devices like Blu-ray players to ensure proper Dolby Atmos output configuration.
Don’t forget to regularly check for firmware updates for your soundbar as well.
Explore Alternative Solutions
While you may have already tried resetting your devices, exploring alternative solutions can further enhance your soundbar’s ability to detect Dolby Atmos.
Follow these steps to optimize your soundbar setup:
- Ensure your soundbar is connected to the TV via the HDMI eARC port for the best audio quality.
- Check the audio output settings on your TV; make sure HDMI eARC is enabled and set to “Passthrough” or “Auto” for optimal performance.
- To avoid compatibility issues, connect all external devices directly to the soundbar rather than routing them through the TV.
- Confirm that your streaming service supports Dolby Atmos and that you’re subscribed to a plan that includes Atmos content.
Additionally, regularly updating the firmware of your soundbar can improve its performance and enhance compatibility with the latest audio formats.