To calibrate your soundbar for vaulted ceilings and hard floors, position it directly below the TV at ear level, avoiding corners and obstructions to ensure optimal sound quality. Utilize the soundbar’s automatic calibration features to adjust audio output based on the unique acoustics of your room. Enhance sound clarity by incorporating soft furnishings like rugs and curtains, which can help mitigate reflections. For a balanced audio experience, fine-tune the equalizer settings by adjusting specific frequencies. Additionally, consider measuring sound quality with a decibel meter app to achieve ideal performance. Exploring further details and tips can significantly enhance your soundbar setup.
Key Takeaways
- Position the soundbar at ear level directly below the TV to optimize audio clarity in rooms with vaulted ceilings.
- Utilize soundbars equipped with upward-firing drivers to enhance sound reflection off high ceilings for a more immersive experience.
- Incorporate soft furnishings like rugs and curtains to absorb sound, which can significantly improve overall acoustics in the space.
- Take advantage of automatic calibration features integrated into many soundbars, allowing them to adjust settings based on room acoustics for optimal sound performance.
- Fine-tune the equalizer settings on your soundbar by reducing low and high frequencies to minimize distortion and enhance the clarity of dialogue.
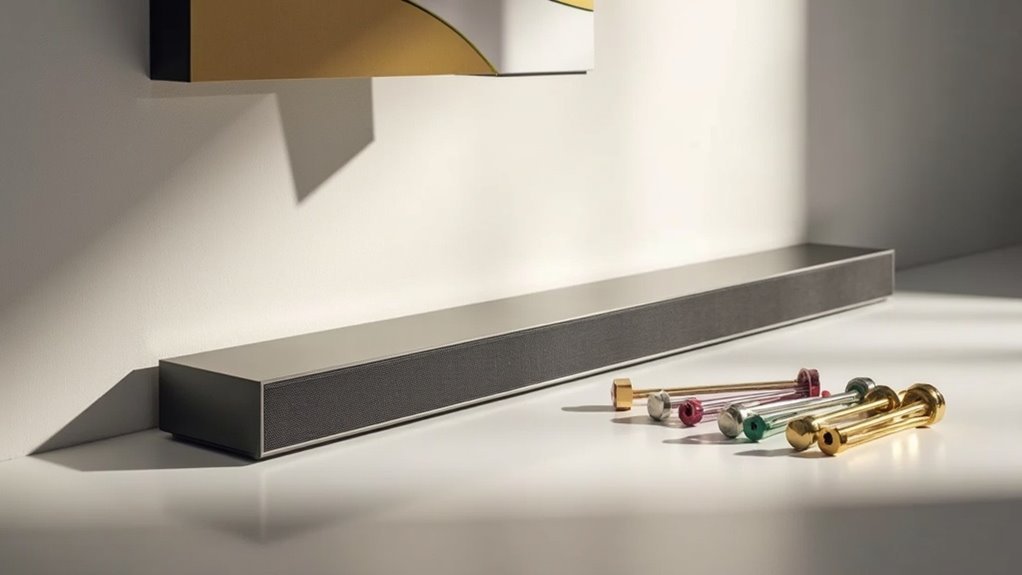
Optimal Soundbar Placement for Vaulted Ceilings
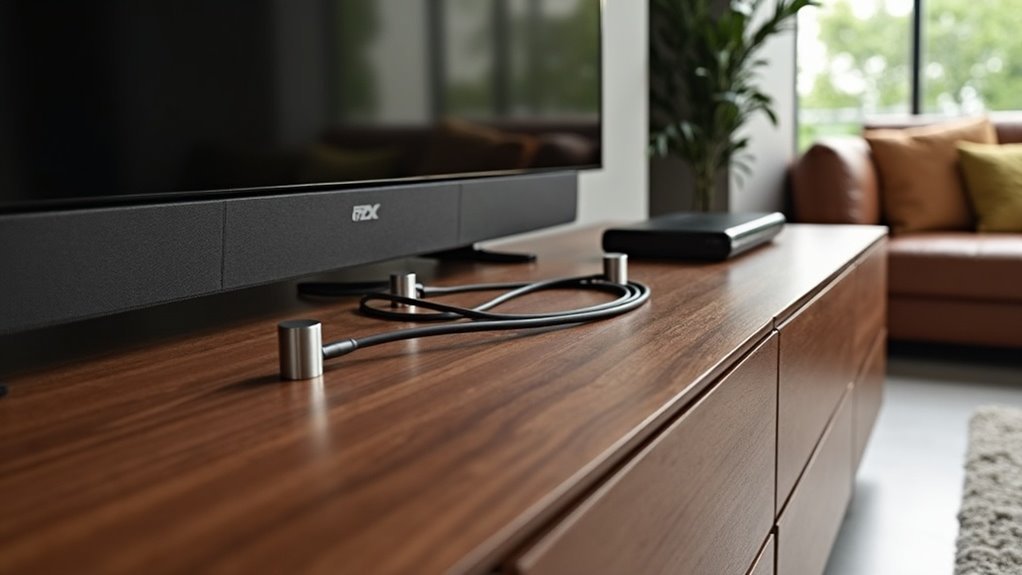
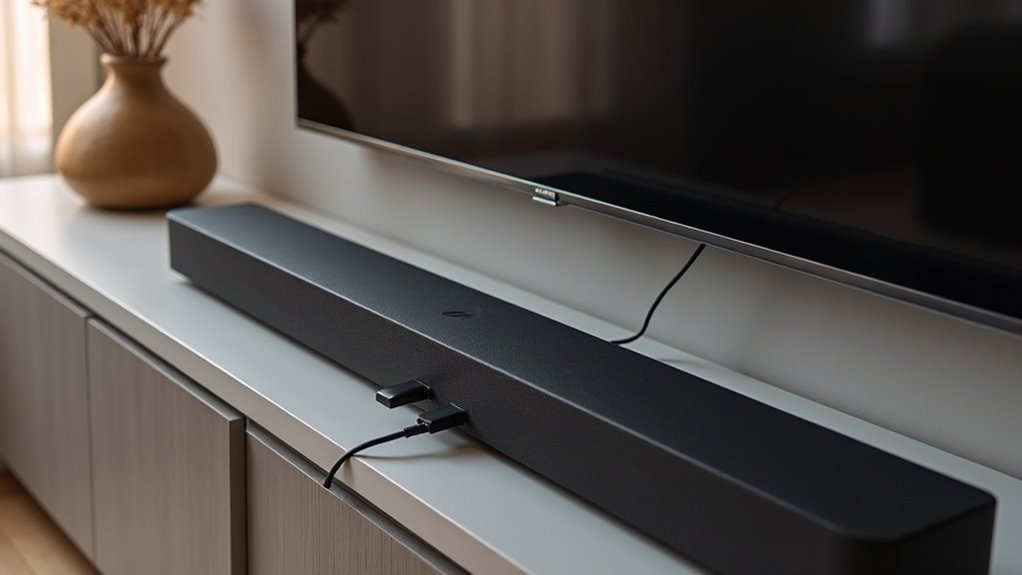
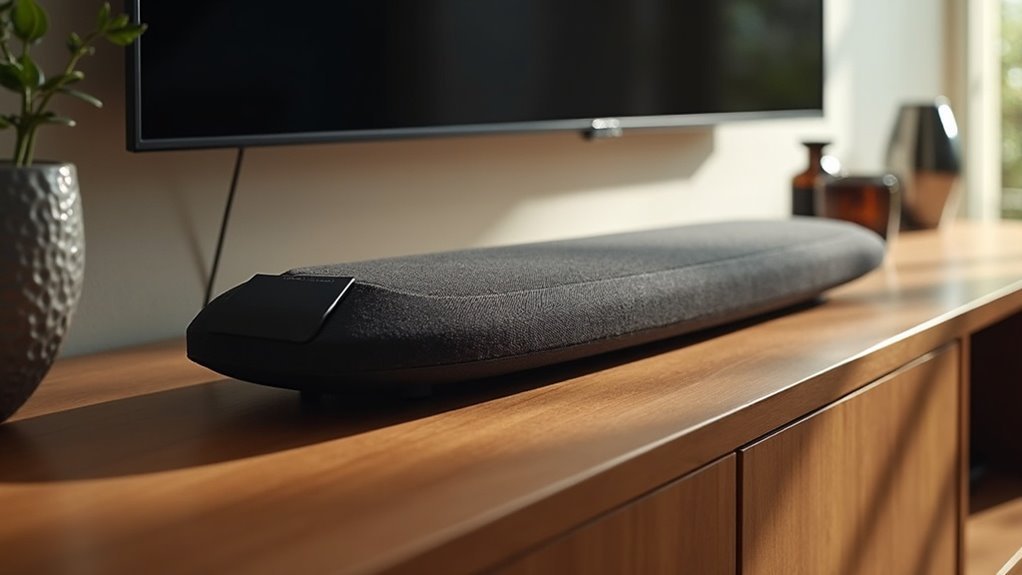
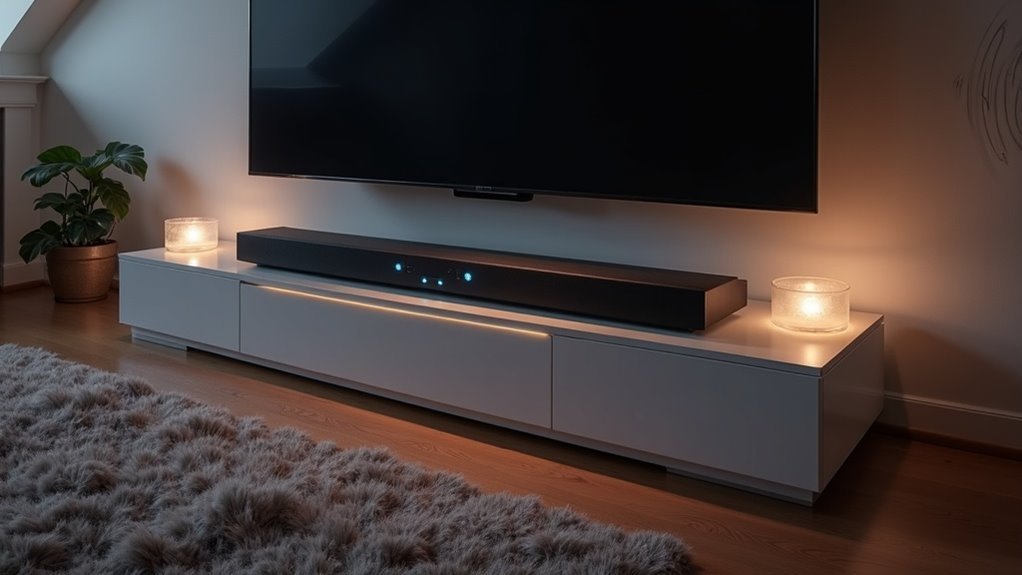
When setting up a soundbar in a room with vaulted ceilings, it’s essential to position it correctly to achieve the best sound quality. Center the soundbar directly below the TV at ear level when seated to enhance clarity and prevent sound from dispersing too high.
Avoid placing it too far back or in corners, as this can distort sound and create echoes. Ensure there are no obstructions, such as furniture, that could hinder sound projection.
For an optimal audio experience, consider a soundbar with upward-firing drivers to take advantage of sound reflections from the vaulted ceiling, immersing you fully in your audio experience.
Utilizing Automatic Calibration Features
To maximize your soundbar’s performance, it’s essential to utilize its automatic calibration features, which analyze your room’s acoustics and adjust settings accordingly.
These advanced systems enhance audio clarity by measuring sound reflections from hard surfaces and fine-tuning equalizer settings for optimal sound output. The calibration process is quick and ensures that unobstructed microphones accurately capture the sound environment.
- Automatically adjusts for room acoustics
- Compensates for audio reflections
- Offers preset modes for various environments
- Delivers the best sound profile effortlessly
- Improves overall listening experience
Adjusting for Room Acoustics With Soft Furnishings
While automatic calibration features enhance your soundbar’s performance, the physical environment also plays a significant role in audio quality.
Incorporating soft furnishings like rugs, curtains, and upholstered furniture can improve acoustics by mitigating sound reflections that affect your soundbar’s output. Thick rugs on hard floors absorb low-frequency sounds, enhancing the bass response of your soundbar and reducing echo.
Hanging curtains over windows or using fabric wall hangings dampens reflections, making dialogue and music clearer when using your soundbar in expansive spaces. Additionally, upholstered furniture absorbs sound energy, which is essential in high-ceiling rooms where sound can bounce around.
Experimenting with the arrangement of these furnishings allows you to finely tune your listening environment for ideal audio clarity from your soundbar.
Fine-tuning Equalizer Settings
How can you achieve the best sound quality from your soundbar? Fine-tune your equalizer settings by making specific adjustments to accommodate your room’s acoustics.
- Reduce frequencies around 150Hz to minimize booming bass from hard floors and vaulted ceilings, ensuring a more balanced sound.
- Lower the 10kHz range to soften treble and enhance clarity in dialogue, making it easier to understand spoken content.
- Make subtle adjustments of 3dB or less to prevent negative impacts on sound quality, keeping your soundbar’s performance optimal.
- Utilize frequency response tools like REW to tailor your sound profile specifically to your soundbar’s capabilities.
- Test familiar content to evaluate the effectiveness of your adjustments over time, allowing you to refine your settings for the best audio experience.
These steps will help you optimize your soundbar’s performance for an exceptional listening experience.
Testing and Evaluating Sound Quality
What methods can you use to accurately assess your soundbar’s performance? Start by utilizing a decibel meter app to measure sound levels from different positions in your room, taking note of reflections caused by vaulted ceilings and hard floors. Test with a variety of audio content to evaluate sound quality, paying particular attention to clarity and bass response. Conduct a crawling test for the subwoofer to find its ideal placement for optimal performance. After making necessary adjustments, listen carefully for any frequency discrepancies and fine-tune your equalizer settings to achieve a balanced sound.
| Test Method | Focus Area | Goal |
|---|---|---|
| Decibel Meter | Sound Level Consistency | Measure output variation |
| Audio Content | Frequency Handling | Assess dialogue clarity and bass |
| Crawling Test | Subwoofer Placement | Enhance bass response |