To route an optical cable cleanly to your soundbar, start by measuring the distance from your TV to the soundbar and gather your tools. Secure the cable along walls or furniture using clips, avoiding sharp bends. Keep it at least 12 inches away from power cords to reduce interference. Label both ends for easy identification and regularly check connections to ensure optimal performance. Proper installation guarantees peak audio quality for your soundbar setup. If you’re looking for more tips on maintaining a tidy soundbar arrangement, there’s plenty more to discover.
Key Takeaways
- Measure the distance between your TV and soundbar to determine the optimal cable length and routing path for a seamless audio experience.
- Use adhesive cable clips or Velcro straps to secure the optical cable along walls or furniture without sharp bends, ensuring a tidy setup.
- Maintain at least a 12-inch distance from power cords to minimize interference and guarantee high-quality sound.
- Route the cable along baseboards or behind furniture for a clean appearance, utilizing cable raceways if you prefer a more polished look.
- Label both ends of the optical cable for easy identification, and conduct regular maintenance checks to ensure your soundbar performs at its best.
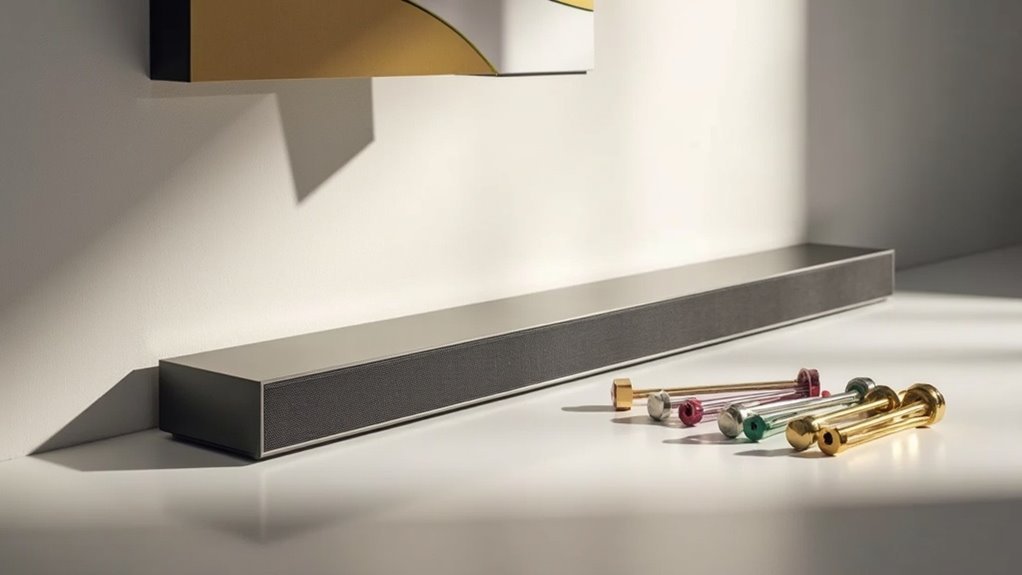
Choosing the Right Optical Cable Length
When selecting the appropriate optical cable length for connecting your soundbar to a TV, it’s essential to measure the distance between the two devices accurately.
Choose a length that comfortably accommodates your setup, typically ranging from 3 to 25 feet. Keep in mind that using a longer optical cable can lead to signal degradation, so aim for the shortest length that fulfills your requirements.
Select an optical cable length between 3 to 25 feet, prioritizing the shortest option to minimize signal degradation.
Additionally, ensure the cable features a durable outer jacket to withstand wear, particularly in tight spaces or along walls.
Lastly, check the bend radius to avoid sharp bends that could negatively impact audio quality.
Preparing the Cable for Installation
Before you start the installation of your soundbar, make certain you’ve selected the right length of optical cable.
Remove the plastic covers from both ends to guarantee a proper connection, and familiarize yourself with the rectangular connector design.
Understanding how to align the connectors with your soundbar and TV ports is essential for optimal audio performance.
Selecting the Right Cable
How do you ensure a seamless connection between your TV and soundbar? Start by selecting the right optical cable.
Make sure it’s the appropriate length, avoiding excessive slack or tension. Opt for a high-quality optical cable that supports the latest audio formats to prevent signal loss and enhance your soundbar experience.
Look for durable, flexible jackets that allow the cable to bend around furniture without damage. Most importantly, verify that the cable has properly polished ends; this guarantees ideal light transmission, resulting in superior audio quality for your soundbar.
Finally, consider using cable management solutions to keep your setup neat, organized, and free from tangles or hazards, enhancing both aesthetics and functionality.
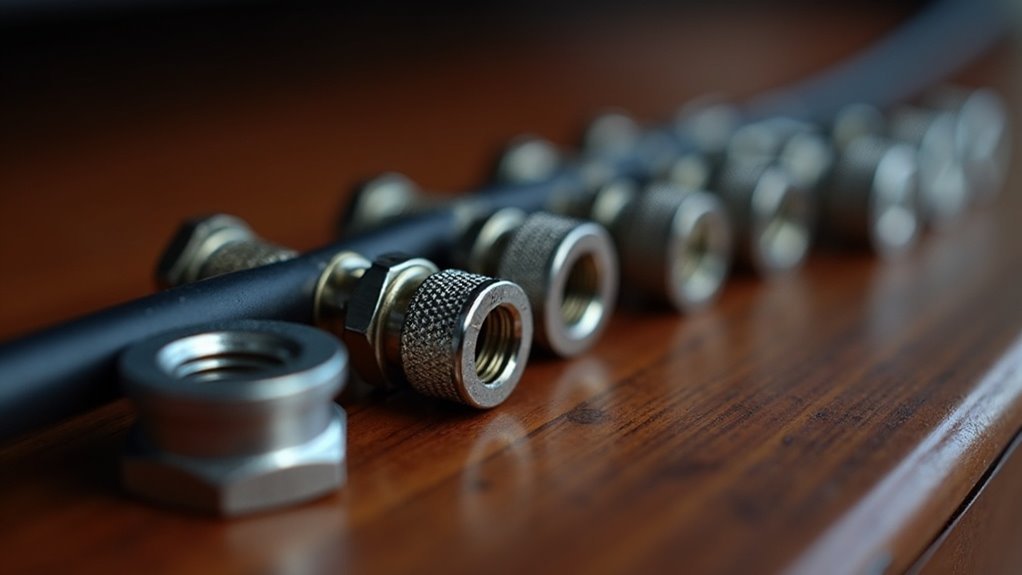
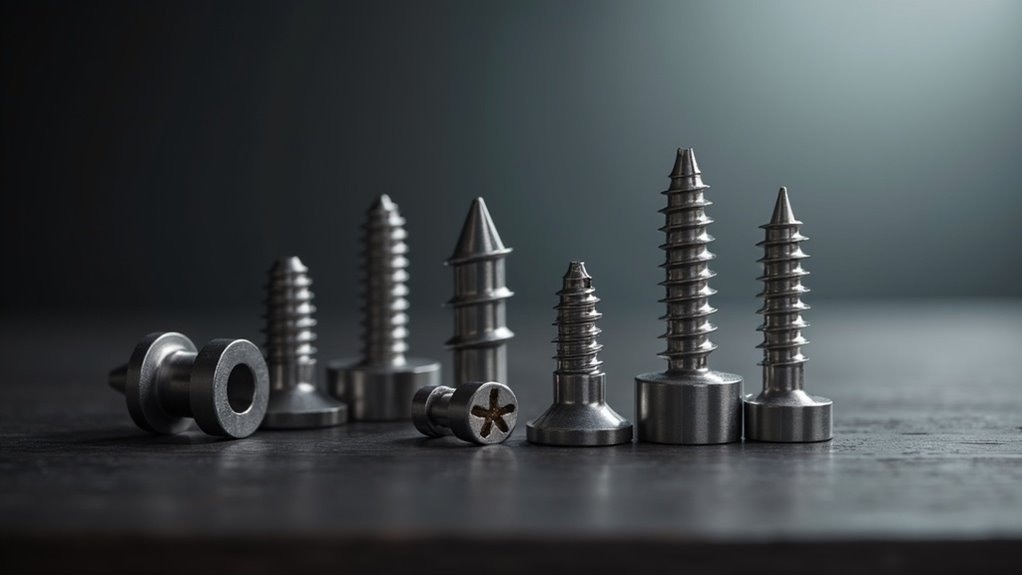
Removing Plastic Covers
After selecting the right optical cable for your soundbar, the next step involves preparing it for installation by removing the plastic covers from both ends.
These covers might be difficult to notice, so check carefully to avoid confusion during setup. Removing the plastic covers ensures proper connectivity and signal transmission, preventing any obstruction that could affect audio quality between your TV and soundbar.
Handle the cable with care to avoid damaging the connectors while you remove the covers.
Finally, inspect the ends of the optical cable for any debris or damage to confirm ideal connections before proceeding with the installation of your soundbar.
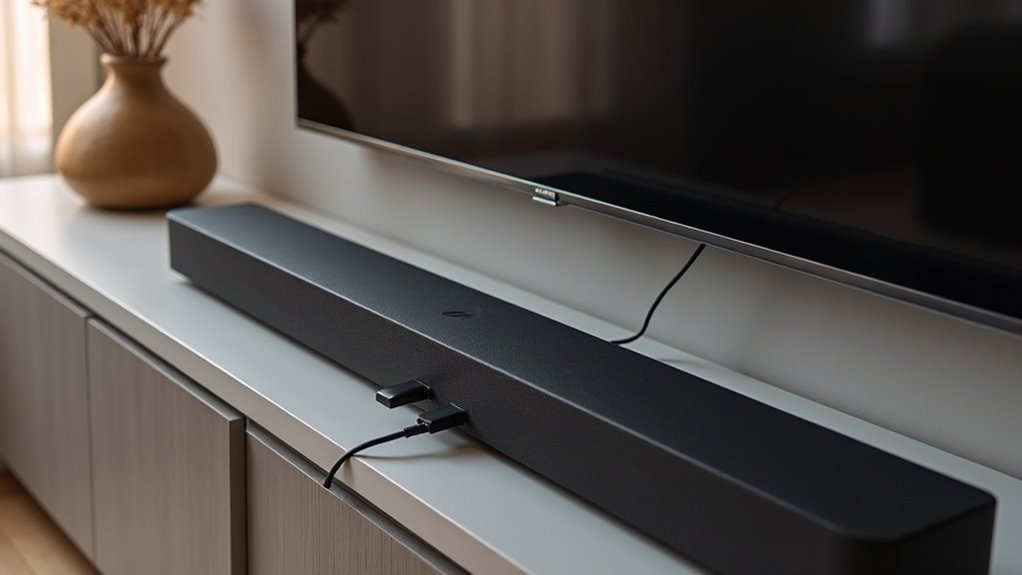
Understanding Connection Points
Understanding the connection points between your soundbar and TV is essential for a successful optical cable installation. Follow these steps to guarantee a seamless setup:
- Locate the optical output on your TV, labeled as “optical out” or “audio out.”
- Identify the optical input on your soundbar, usually marked as “audio input” or “optical input.”
- Carefully align the optical cable connectors during installation to prevent damage.
- Implement cable management solutions, such as clips or sleeves, to keep the optical cable organized and tangle-free.
Always power off both devices before installation to avoid electrical issues.
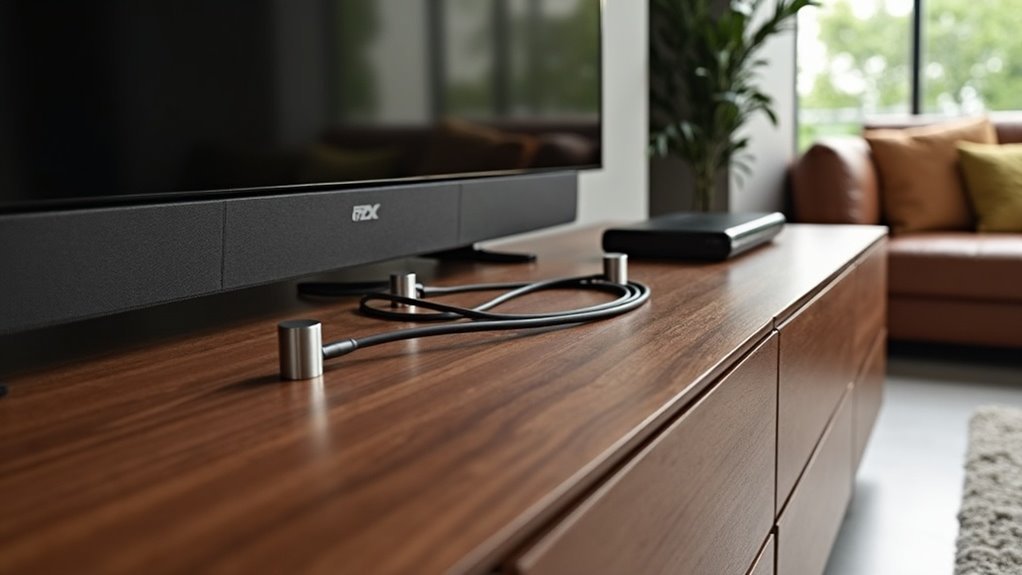
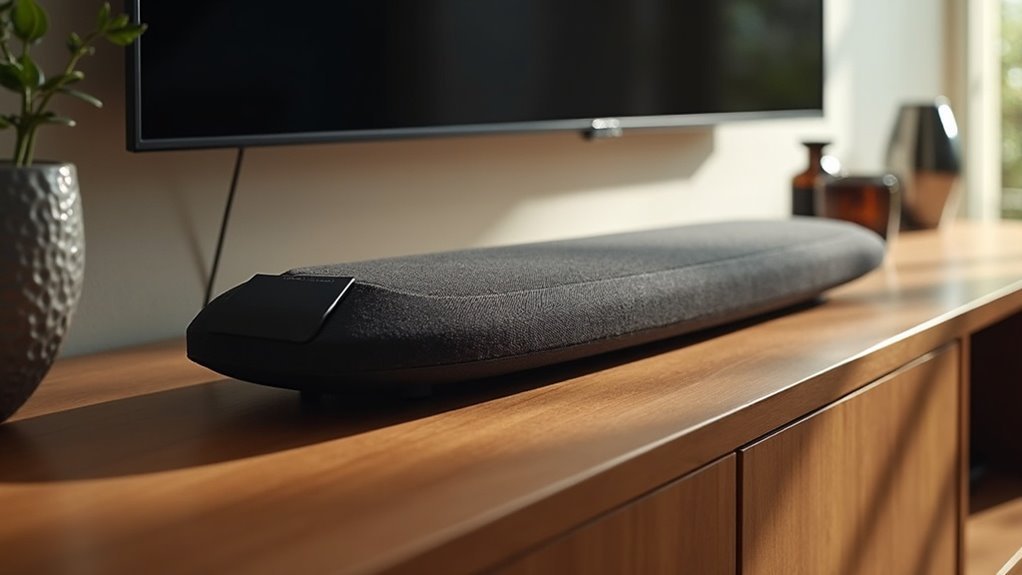
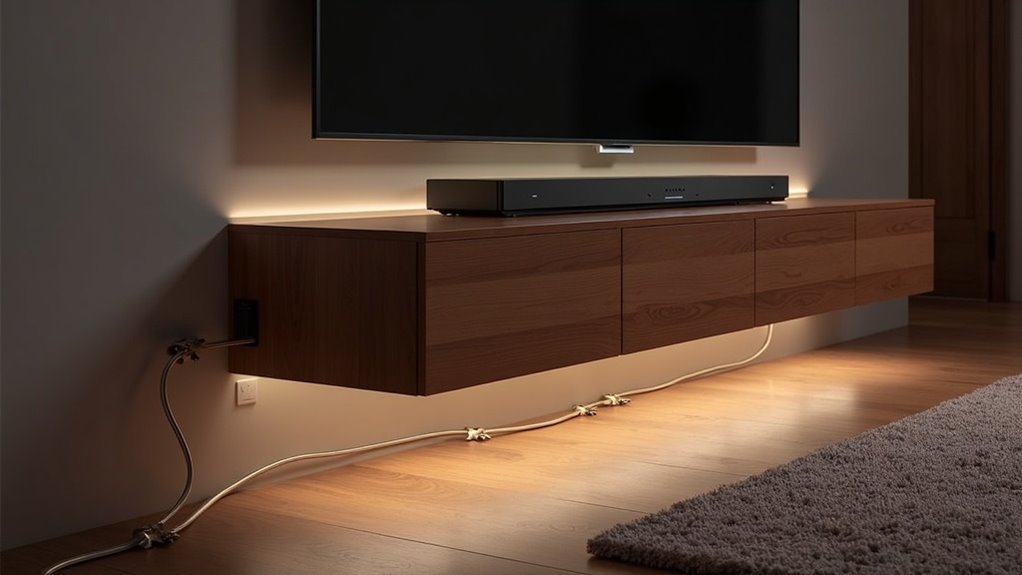
Securing the Cable Along Surfaces
To ensure your soundbar’s optical cable remains secure and organized, use adhesive cable clips to fasten it along walls or furniture surfaces. This prevents tangling and eliminates tripping hazards.
Route the cable along the edges of baseboards or behind furniture for a clean appearance. For a polished look, consider cable raceways that can be painted to match your wall color, ensuring your optical cable is well-protected.
Remember to avoid sharp bends, as these can negatively impact audio quality. Regularly check the connections and surfaces to verify they stay secure and free from wear, just as you’d with any other soundbar connections.
Avoiding Damage to the Cable
Protecting your optical cable connected to your soundbar from damage is essential for maintaining audio quality. Follow these tips to ensure your cable remains in prime condition:
- Use cable clips or adhesive organizers to secure the optical cable along walls or furniture edges, keeping it neat and out of the way.
- Avoid tightly coiling or twisting the cable; keep it loosely routed and straight to prevent stress on the connections.
- Don’t place heavy objects on top of the cable, as this can crush it and degrade performance, affecting your soundbar’s audio output.
- Keep the cable away from heat sources like radiators or direct sunlight to prevent material degradation that could impact sound quality.
Regularly inspect your cable for wear and replace it if you notice any damage to ensure optimal performance from your soundbar.
Reducing Interference With Power Cords
To reduce interference from power cords while routing your optical cable to a soundbar, proper cable management is essential.
Keep your optical cable organized using clips or sleeves, ensuring it maintains at least a 12-inch distance from power cords. This minimizes the risk of electromagnetic interference and helps maintain peak audio quality for your soundbar experience.
Proper Cable Management
Effective cable management is essential for optimizing your soundbar’s performance and minimizing interference. To ensure your optical cable remains free from disruptions, follow these steps:
- Use cable clips or adhesive organizers to secure the optical cable along walls or furniture edges, keeping it neat and out of sight.
- Maintain a distance of at least 12 inches between the optical cable and power cords to reduce electromagnetic interference, which can affect sound quality.
- Bundle multiple cables together with Velcro ties, ensuring you don’t compress the optical cable too tightly to prevent damage.
- Consider routing the optical cable through cable management channels for a clean, professional look that complements your soundbar setup.
Implementing these practices will help maintain clear audio quality and enhance your overall soundbar experience.
Use Cable Sleeves
While setting up your soundbar, using cable sleeves can significantly enhance both organization and audio quality. By bundling your optical cable with other wires, you can create a cleaner look and reduce clutter around your entertainment setup.
It’s crucial to keep optical cables separate from power cords to minimize electromagnetic interference, which can negatively impact audio performance. Opt for high-quality cable sleeves that offer shielding to further safeguard against signal degradation.
Ensure the sleeve accommodates all bundled cables without being overly tight to prevent damage. Regularly inspect your cable routing to keep the optical cable free from kinks or sharp bends, ensuring optimal performance and longevity of your soundbar experience.
Organizing Excess Cable Length
When setting up your soundbar, managing excess optical cable length is essential for a tidy and functional space. Here are some effective strategies for cable management:
- Measure the distance between your soundbar and TV to minimize excess length.
- Use clips or cable sleeves to secure the optical cable neatly along walls or furniture near your soundbar.
- Route the cable behind furniture or along baseboards to keep it out of sight and enhance the look of your soundbar setup.
- If excess length remains, coil the cable loosely and secure it with Velcro straps to prevent damage while reducing bulk.
Remember to label both ends for easy identification during troubleshooting with your soundbar system.