To reduce cable clutter for your wall-mounted soundbar, start by planning your setup and identifying ideal cable routes. Utilize in-wall cable management kits and brush-style grommets to conceal wires, ensuring a sleek appearance. Label your cables for easy identification and assess their lengths to prevent excess slack. Bundle any visible cables with ties or sleeves to maintain organization. Prioritizing safety not only creates a tidy environment but also enhances the longevity of your soundbar and associated equipment. Discover more tips to streamline your soundbar installation process effectively.
Key Takeaways
- Utilize in-wall cable management kits to conceal cables and create a sleek, professional appearance for your soundbar setup.
- Incorporate brush-style grommets during installation to efficiently secure and hide cables.
- Organize and label all cables to make identification easier and prevent tangling.
- Measure cable lengths in advance to avoid excess slack and keep your soundbar area tidy.
- Arrange furniture thoughtfully to obscure visible wiring while enhancing the overall look of your space.
Importance of Cable Management for Soundbars
When setting up a soundbar, effective cable management is crucial for achieving an organized and visually appealing home theater setup. A solid cable management system allows you to conceal wires, enhancing the sleek look of your space.
This organization not only minimizes tripping hazards, making your living area safer—especially for homes with children and pets—but also helps to prolong the lifespan of your equipment by reducing wear and tear from movement.
Moreover, having organized cables makes troubleshooting simpler, allowing for quick identification of connection issues without the frustration of tangled wires. This ensures a smoother and more enjoyable viewing experience with your soundbar.
Planning Your Soundbar Setup
To set up your soundbar effectively, begin by sketching your room layout to determine the optimal placement for your soundbar and other devices.
Ensure that the soundbar is positioned at an ideal height and distance from the TV to enhance your viewing experience.
Additionally, plan your cable routes to minimize clutter.
Consider the placement of any additional devices to keep cables short and neatly organized, and use furniture to help conceal any visible wiring.
This will help create a clean and immersive sound environment in your space.
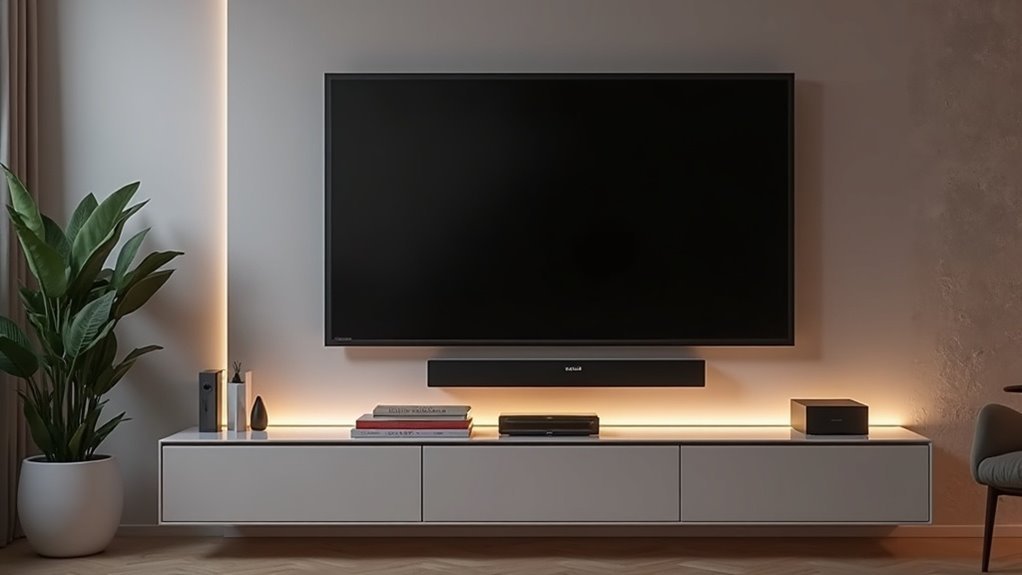
Device Placement Considerations
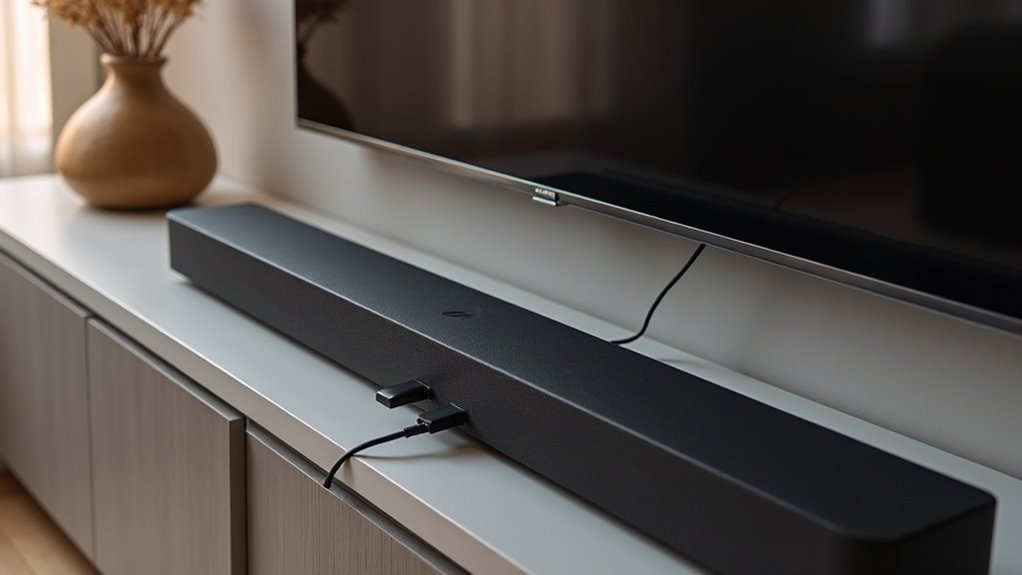
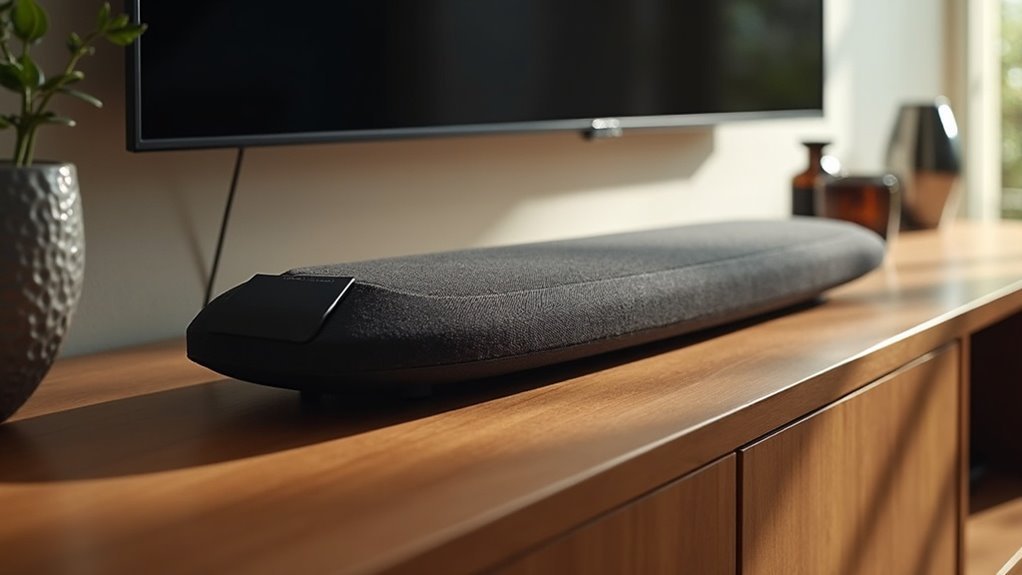
Choosing the right placement for your soundbar can greatly enhance both aesthetics and functionality in your home theater setup. Position it directly below your wall-mounted TV to minimize visible cables and create a streamlined look. Evaluate the proximity of power outlets to reduce cable lengths and avoid tangling, ensuring an efficient setup. Additionally, placing streaming devices nearby can limit the need for long HDMI cables running across the room, contributing to a tidy environment. To achieve a clean appearance, consider utilizing wall-mounted brackets or shelves with built-in cable management systems that effectively conceal cables behind them.
| Considerations | Benefits |
|---|---|
| Proximity to power | Reduces cable length |
| Location of devices | Limits cable clutter |
| Wall-mounted solutions | Hides cables for clean look |
Optimal Cable Routing
While planning your soundbar setup, it’s essential to map out the cable routing for both functionality and aesthetics.
Consider these key factors for ideal cable routing:
- Sketch your room layout, pinpointing where your soundbar and other devices will be located.
- Identify existing power outlets to minimize cable length and ensure optimal performance.
- Use an in-wall cable management kit to achieve a clean and professional look for your soundbar installation.
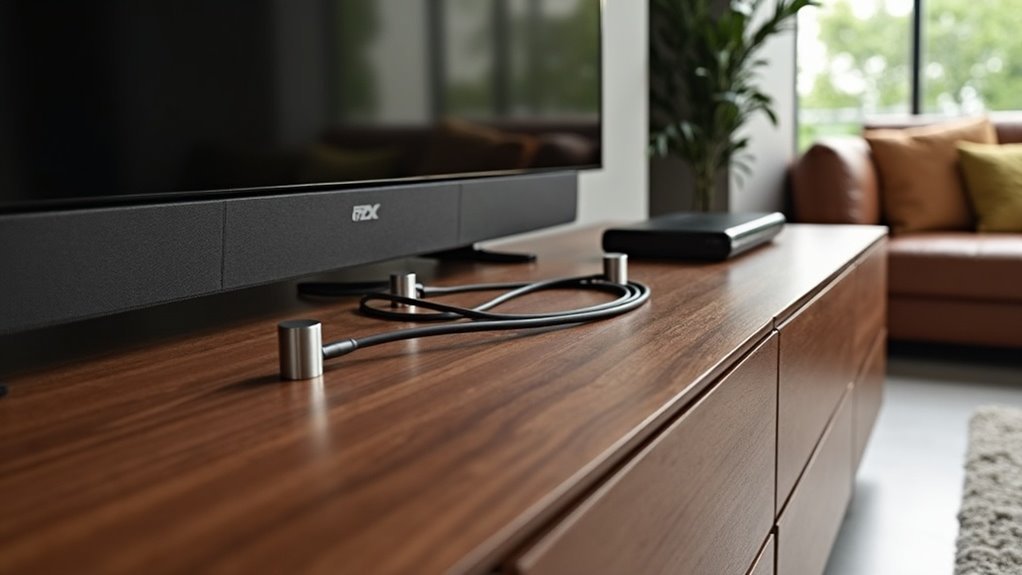
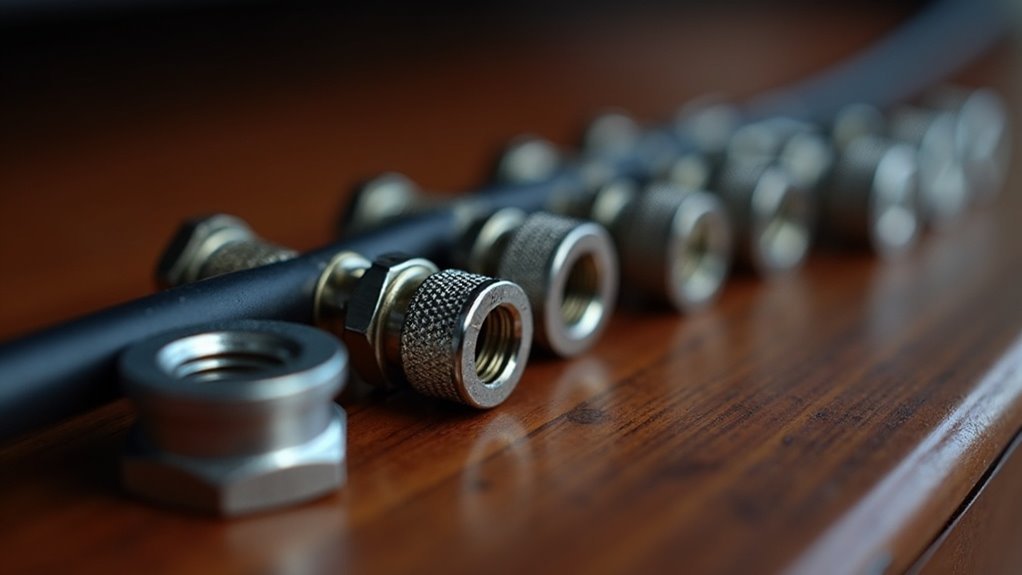
- Implement brush-style grommets to keep cables secure and hidden during installation.
- Label all cables at both ends for easy management and troubleshooting.
Choosing the Right Cable Management Solutions
When selecting cable management solutions for your soundbar, start by assessing the length of your cables to ensure they fit your setup without any unnecessary slack.
Next, consider effective concealment methods, such as in-wall kits or raceways, to maintain a clean and tidy appearance in your entertainment area.
Evaluate Cable Length Options
How do you guarantee your soundbar setup remains tidy and organized? Start by evaluating cable length options to maintain a clean look.
Here are some tips specifically for soundbars:
- Measure the distance from your soundbar to power outlets for optimal cable length.
- Use shorter, in-wall rated power cables designed for soundbars to minimize clutter.
- Choose an in-wall cable management kit tailored for soundbars to conceal cables effectively.
- Opt for brush-style grommets that allow for easy access while ensuring a secure installation for soundbar connections.
- Bundle visible cables associated with your soundbar using ties or sleeves for a streamlined and organized appearance.
Select Concealment Methods
To achieve an organized soundbar setup, selecting the right cable management solutions is crucial. Consider these options:
| Method | Benefits | Recommendations |
|---|---|---|
| In-wall power kit | Conceals cables, safe & tidy | Use Ultimate In-wall Kit |
| Cable raceways | Hides wires, paintable | Match decor for seamless look |
| Cable clips/trays | Secures cables, prevents tangles | Easy to install & adjust |
| Wireless audio solutions | Eliminates cables entirely | Enhance aesthetics & convenience |
Regularly assess and organize cables with reusable Velcro ties to maintain neatness and guarantee easy access for adjustments. These practices will help you create a sleek and effective soundbar setup, ensuring your audio experience is both impressive and visually appealing.
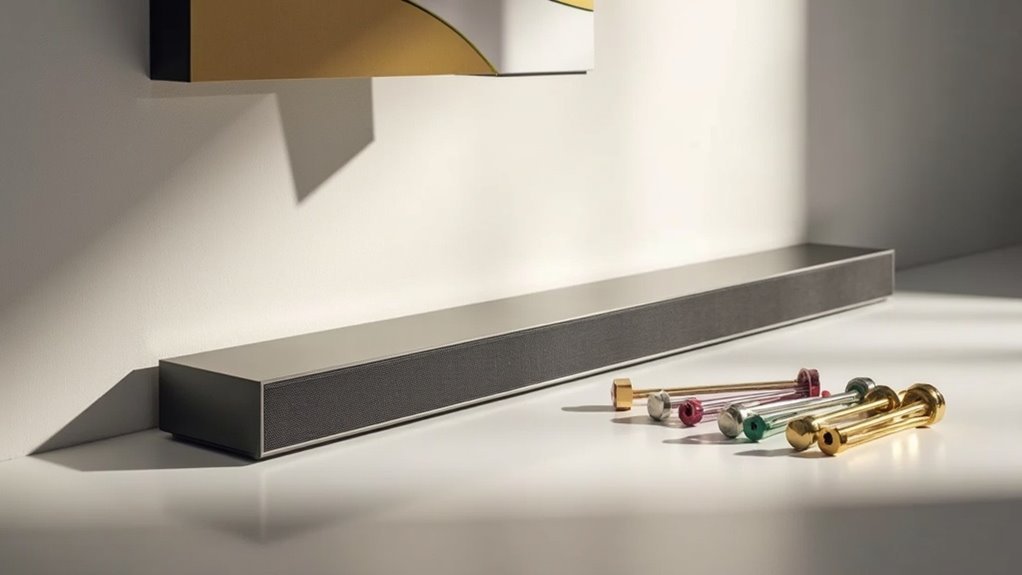
Step-by-Step Installation Guide
Installing your soundbar effectively requires careful preparation and a systematic approach. Follow these steps to guarantee a successful installation:
- Gather tools: drywall saw, screwdrivers, cutting templates, and a cable management kit.
- Mark and cut holes in the drywall for the top and soundbar modules.
- Securely install the modules, following the manual for alignment.
- Connect in-wall power cables and route HDMI and low-voltage cables through brush-style grommets to hide them.
- Attach the soundbar module snugly behind the soundbar, then test all connections for functionality before cleaning your work area.
This organized approach will enhance your soundbar experience.
Tips for Organizing Cables Behind the Wall
While organizing cables behind the wall for your soundbar setup might seem challenging, a systematic approach can simplify the process and enhance your audio experience.
Start by using an in-wall cable management kit, like the Ultimate In-wall Cable Management Kit, to effectively conceal power and audio cables connected to your soundbar. Utilize the brush-style grommets to secure cables during installation, ensuring a clean look.
Carefully plan your cable routing to minimize visible lengths, taking advantage of the kit’s pre-wired in-wall rated power cables specifically designed for soundbar setups. Employ the provided cutting templates for precise openings to accommodate your soundbar’s connections.
Finally, regularly check and label cables behind the wall to maintain organization and easily identify connections for future adjustments or upgrades to your soundbar system.
Maintaining a Clean and Tidy Appearance
A well-organized cable setup not only enhances functionality but also greatly contributes to the overall aesthetics of your soundbar installation.
To maintain a clean and tidy appearance, consider implementing these strategies specifically tailored for soundbars:
- Use an in-wall cable management kit to achieve a sleek, seamless look that complements your soundbar.
- Install brush-style grommets to keep cables secure and organized, ensuring they blend well with your home decor.
- Choose a soundbar with a slim profile to minimize visibility and maintain a modern appearance.
- Bundle and label cables for easy identification, making it simpler to manage your sound system.
- Regularly assess your setup and adjust cables with ties or sleeves to prevent tangling and maintain order.
These methods guarantee a polished, organized environment, allowing your soundbar to shine without unnecessary clutter.
Safety Considerations When Installing
Ensuring safety during your soundbar installation is essential, particularly in homes with children or pets. Wall mounting your soundbar can significantly reduce safety concerns, notably lowering the risk of tipping over.
Concealing cables behind the wall minimizes tripping hazards and keeps cords out of reach, preventing accidental pulls. Always use in-wall rated power cables to comply with National Electrical Code and UL safety standards, ensuring a secure electrical connection.
Concealing cables behind the wall enhances safety by minimizing tripping hazards and preventing accidental pulls, ensuring a secure electrical connection.
Proper cable management reduces wear and tear on wires, which can lead to electrical hazards. A tidy setup not only enhances the aesthetic appeal of your soundbar installation but also makes cleaning easier, reducing dust accumulation that may pose a fire risk.
Prioritizing safety will ensure you enjoy your soundbar experience without unnecessary worries.
Exploring Additional Cable Management Accessories
When it comes to achieving a clean and organized soundbar setup, incorporating additional cable management accessories can make a significant difference.
Here are some effective solutions to consider:
- SANUS On-Wall Cable Hider for concealing up to 8 cables, keeping your setup tidy.
- SANUS Streaming Device Panel to discreetly hide small devices that accompany your soundbar.
- Brush-style grommets from the In-Wall Cable Management Kit, allowing for easy access while maintaining a sleek look.
- Adhesive cable clips for streamlined wire management, ensuring cables stay in place.
- In-Wall Power & Cable Management Kit to conceal both power and low-voltage cables for a seamless appearance.
Utilizing these options not only enhances the aesthetics of your soundbar installation but also promotes a safer and more efficient setup for wall-mounted sound systems.