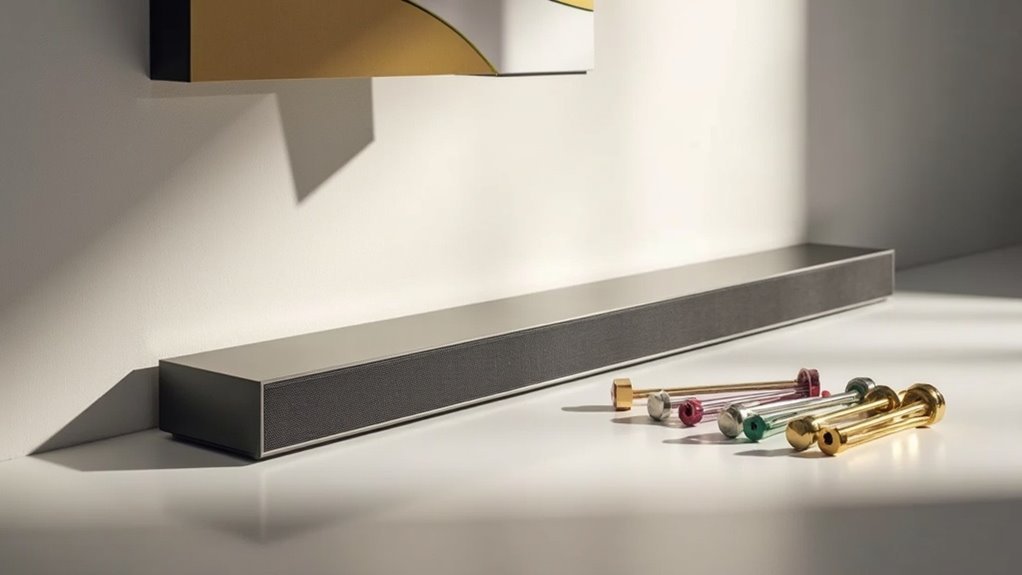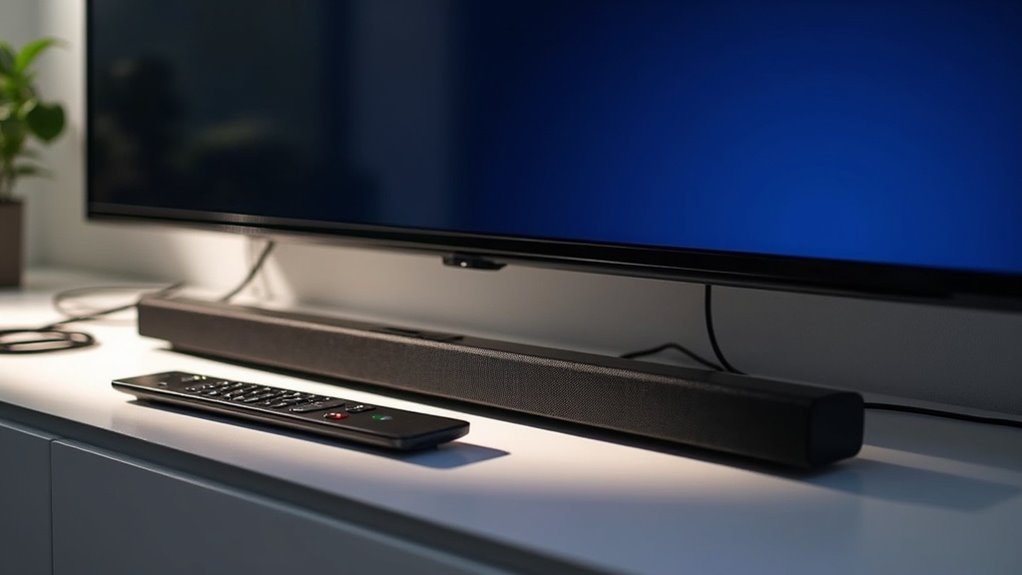
To connect your soundbar to a cable remote, begin by linking your soundbar to the TV using either an optical cable or HDMI ARC. After establishing the connection, navigate to your TV’s audio settings and select the appropriate output for your soundbar. Ensure that your soundbar is powered on and set to the correct mode for optimal sound quality. If you encounter any difficulties, consider troubleshooting the remote settings or looking into options for a replacement remote. For more detailed guidance on achieving a seamless soundbar setup, explore our extensive resources.
Key Takeaways
- Ensure the soundbar is properly connected to the TV using HDMI ARC or optical cable for optimal audio output.
- Access the settings of your cable remote to program it for controlling the soundbar seamlessly.
- Refer to the soundbar’s manual for specific codes or pairing instructions that are compatible with your cable remote.
- Navigate to the TV’s settings to set the audio output to the soundbar, ensuring an effortless transition and control experience.
- If you encounter persistent issues, consider using a universal remote that supports both cable box and soundbar functionalities for added convenience.
Setting Up the Audio Output on Your TV
To connect your soundbar effectively, start by setting up the audio output on your TV.
Begin by configuring your TV’s audio output to ensure a seamless connection with your soundbar.
For your Samsung TV, go to the Settings menu and select “Sound,” then “Sound Output.”
Make sure your soundbar is connected via HDMI ARC or an optical cable.
If you’re using HDMI ARC, enable the Anynet+ feature to control the soundbar through your TV remote.
For optical connections, switch your soundbar to D.IN mode.
After selecting your soundbar in the sound output settings, you’ll be able to control the volume and power functions directly from your TV remote, enhancing your audio experience with high-quality sound from your soundbar.
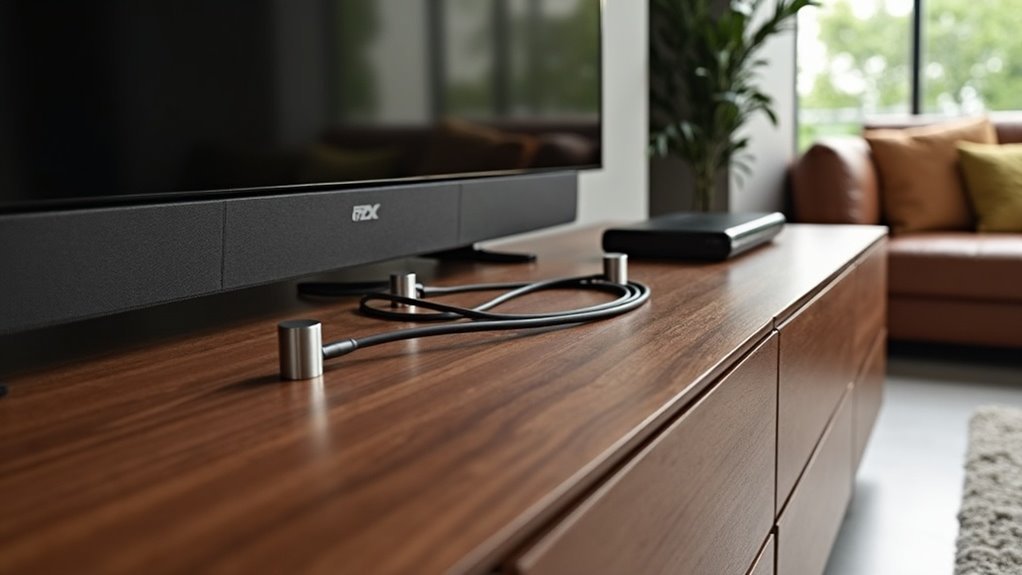
Connecting the Soundbar With a Digital Optical Cable
Connecting your soundbar with a digital optical cable is a straightforward process that enhances your audio experience. First, connect the optical cable from the soundbar’s input to your TV’s optical output. Be sure to remove any plastic caps from the ends of the cable to ensure proper signal transmission. Next, set your soundbar to D.IN mode using the remote control, and adjust your TV’s audio settings to select the optical output. This step will direct audio to your soundbar instead of the TV speakers, providing better sound quality. If your soundbar supports Auto Power Link, make sure to enable it for easy control of power and volume using your TV remote.
| Step | Action |
|---|---|
| 1. Connect Optical Cable | From soundbar to TV |
| 2. Remove Caps | Ensure proper signal transmission |
| 3. Set Soundbar Mode | Use remote to select D.IN |
| 4. Adjust TV Settings | Select optical output |
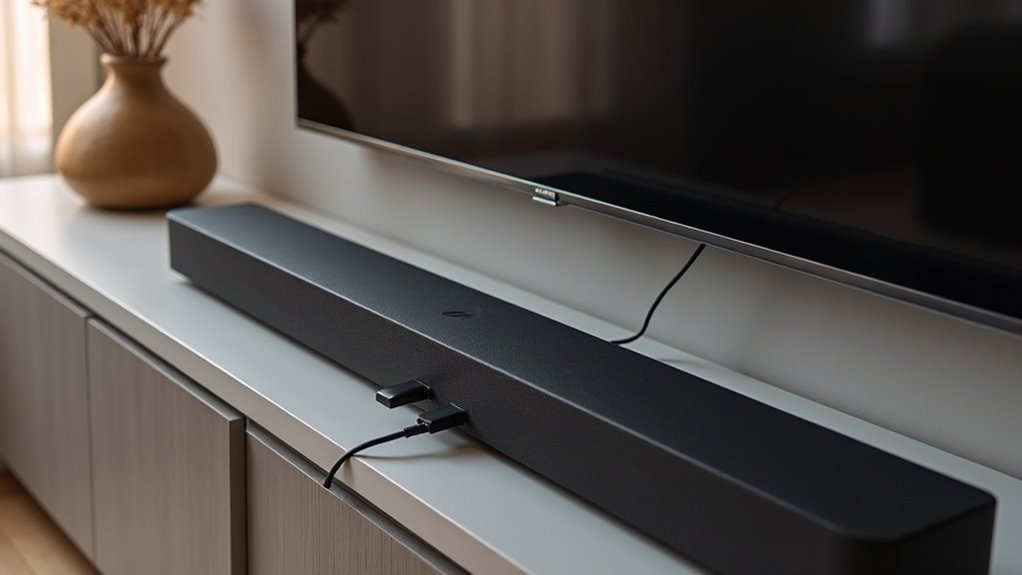
Connecting the Soundbar Using HDMI and ARC
If you want to enhance your audio experience with your soundbar, using HDMI and ARC is a great option.
Start by connecting an HDMI cable from your soundbar’s HDMI OUT port to your TV’s HDMI ARC port. Ensure that the CEC feature is enabled on both your soundbar and TV for easy volume control and power syncing.
Set the soundbar to D.IN mode, and it should automatically switch to TV ARC within seconds for optimal audio output.
Lastly, check your TV settings to confirm that the audio output is directed to the soundbar, allowing your TV remote to seamlessly control the soundbar’s volume and power.
Enjoy the rich sound experience that your soundbar provides!
Troubleshooting Remote Control Issues
When your soundbar doesn’t respond to your cable remote, it can be frustrating, but there are several steps you can take to resolve the issue.
First, ensure your soundbar is powered on and properly connected via HDMI (ARC) or optical port. Check your TV’s audio output settings; they should be set to the soundbar, not the TV speakers.
If it still doesn’t work, try replacing the remote control batteries. Additionally, you may need to reset your remote settings or reprogram it according to the manufacturer’s instructions.
For more detailed troubleshooting steps, consult your soundbar’s user manual or visit the manufacturer’s website for specific guidance tailored to your model.
Replacing Your Soundbar Remote
Losing or damaging your soundbar remote can be a hassle, but replacing it’s often straightforward.
Start by visiting the relevant website dedicated to soundbars and enter your soundbar’s model number to find compatible replacement options. Be sure to check the availability, as some soundbar remotes may not be in stock.
If you don’t find a replacement, reach out to customer support for assistance.
Alternatively, consider a universal remote that can control multiple devices, including your soundbar.
Remember to keep your model number handy for future reference, especially when dealing with HDMI (ARC) or IR codes.