To connect your soundbar with an ARC adapter, use a High Speed HDMI cable to link the soundbar’s HDMI OUT to your TV’s HDMI ARC port. Ensure that both your TV and soundbar support CEC and are powered on. Set your soundbar to the appropriate input mode, typically labeled as D.IN or HDMI ARC, and enable ARC in your TV settings. After setting this up, test the connection by playing audio. If you run into any issues, additional troubleshooting advice is available to help you resolve them.
Key Takeaways
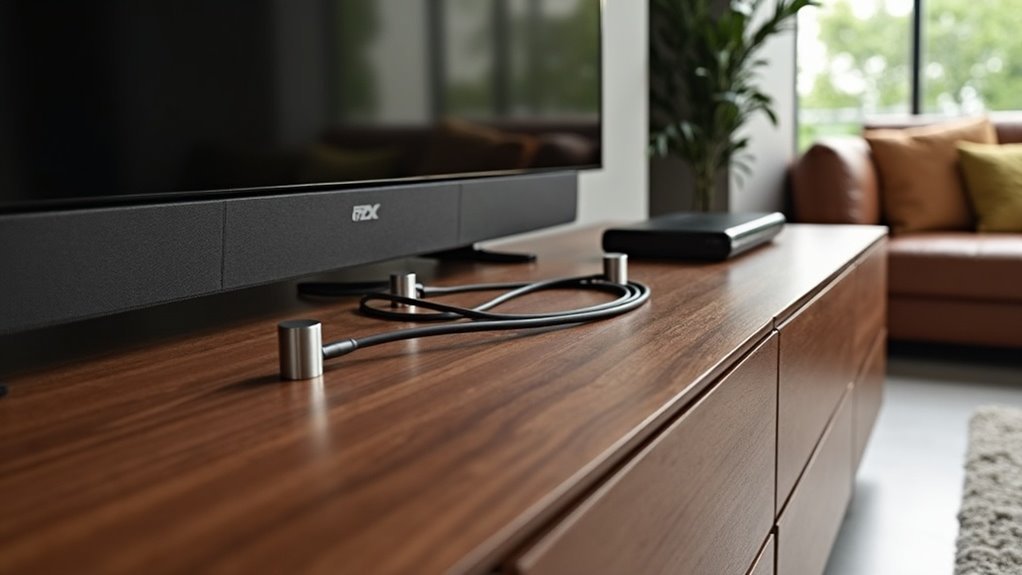
- Use a High Speed HDMI cable to connect your soundbar’s HDMI OUT to the TV’s HDMI ARC port.
- Make sure both your TV and soundbar are powered on and set to the correct input mode (D.IN or HDMI ARC).
- Enable the HDMI ARC feature in your TV settings to optimize audio performance for an enhanced sound experience.
- Check the compatibility of your soundbar with your TV’s ARC functionality to ensure seamless operation.
- Test the connection by playing audio from your TV and adjusting the audio settings of your soundbar as needed for the best sound quality.
Understanding ARC and Its Benefits
When you’re setting up your home entertainment system with a soundbar, understanding ARC (Audio Return Channel) and its benefits can significantly enhance your audio experience.
ARC, introduced with HDMI 1.4 in 2009, allows audio signals to flow from your TV back to your soundbar through a single HDMI cable. This not only reduces cable clutter but also supports higher bandwidth audio formats, resulting in superior sound quality that complements your soundbar’s performance.
With Consumer Electronics Control (CEC) enabled, you can control your soundbar and other devices using one remote, simplifying your setup.
For even better performance, eARC, introduced with HDMI 2.1 in 2018, supports uncompressed audio and lip-sync compensation, further elevating your soundbar experience.
Required Equipment for Connection
To successfully connect a soundbar with an ARC adapter, you need specific equipment to ensure optimal performance. Verify you have the following:
- High Speed HDMI cable that supports HDMI ARC functionality
- CEC-compatible TV and soundbar for seamless communication
- Soundbar powered on and set to the correct input mode (such as D.IN or HDMI ARC)
Once you have this equipment, you can proceed to enable the HDMI ARC feature in your TV’s settings.
After gathering your equipment, activate the HDMI ARC feature in your TV settings for optimal audio performance.
This setup is essential for achieving the best audio transmission and control between your devices, allowing your soundbar to deliver an enhanced audio experience.
Locating the HDMI ARC Port
To locate the HDMI ARC port on your TV for connecting a soundbar, check the back or side of the television for a port labeled “ARC” or “eARC.”
This port is typically grouped with other HDMI inputs. For precise identification and placement, refer to your TV’s user manual.
Additionally, ensure that your TV’s ARC port is compatible with your soundbar by confirming that both devices support ARC functionality.
This connection will enhance your audio experience by allowing for easier control and improved sound quality.
Identifying ARC Port Location
Although locating the HDMI ARC port may seem straightforward, it’s crucial to identify the correct input for optimal soundbar performance.
Follow these steps to ensure you’re using the right port for your soundbar:
- Check the back or side of your TV for a port labeled “ARC” or “E-ARC” to connect your soundbar.
- Refer to your TV’s manual or on-screen settings for a diagram showing HDMI input locations specifically for soundbars.
- Look for labels or stickers near the HDMI ports that indicate which one supports ARC functionality, ensuring seamless integration with your soundbar.
Checking Device Compatibility
How can you ensure your soundbar and TV are compatible with HDMI ARC before making the connection?
Start by locating the HDMI ARC port on your TV, typically labeled as “ARC” or “eARC.”
Ensure that your soundbar has an HDMI OUT port that supports ARC functionality.
Not all soundbars and TVs support HDMI ARC, so check their specifications to confirm compatibility.
Use a High-Speed HDMI cable that supports ARC for optimal audio performance.
After connecting, make sure to enable HDMI ARC in your TV settings, which may involve activating CEC (Consumer Electronics Control) features in the audio settings menu.
Connecting the Soundbar to the TV
Connecting your soundbar to the TV requires a few essential steps to guarantee superior audio performance.
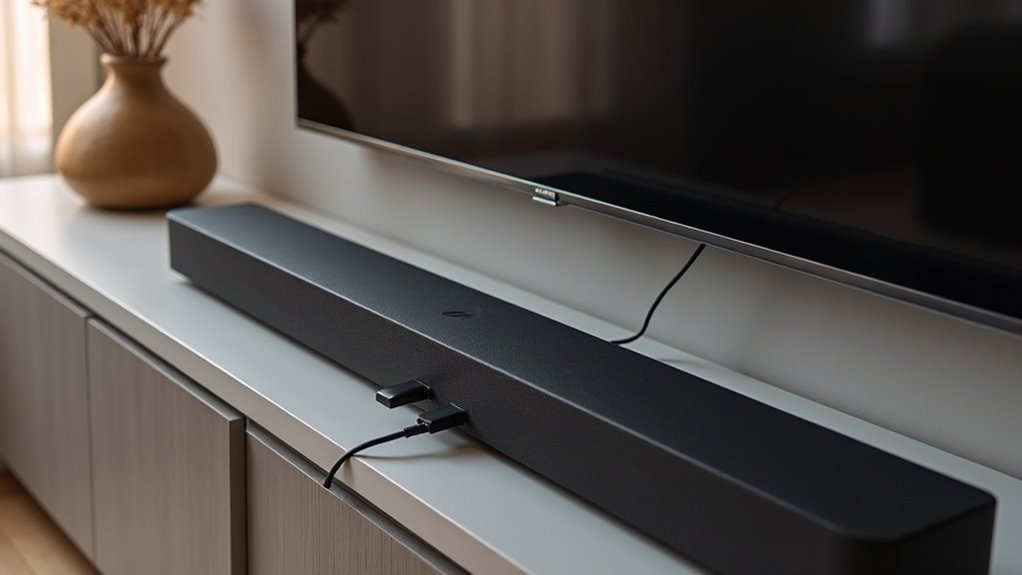
First, use a High Speed HDMI cable to connect the soundbar’s HDMI OUT port to the HDMI IN (ARC) port on the TV. Verify both devices are powered on, and select the D.IN mode on the soundbar to activate ARC.
Remember to:
- Confirm the TV supports ARC functionality.
- Toggle the Anynet function on the soundbar with your remote.
- Adjust the TV audio settings to external speakers.
Enabling HDMI ARC on Your TV
To enable HDMI ARC for your soundbar, start by accessing the Settings menu on your TV and selecting System options.
Make sure to activate the Control other devices (CEC) feature, as this is essential for ARC functionality.
Finally, locate the HDMI ARC setting within the CEC menu and enable it to ensure seamless audio output from your soundbar.
Access TV Settings
Have you checked your soundbar settings yet? To enable HDMI ARC, follow these steps:
- Access the main screen with your remote and navigate to the Settings menu.
- Select the System option, then find Control other devices (CEC).
- Locate the HDMI ARC setting and toggle it on.
Keep in mind that HDMI ARC is often disabled by default on many soundbars, so enabling it’s essential for proper functionality.
Once activated, system audio control allows you to manage your soundbar’s volume and mute directly from your TV remote, enhancing your audio experience while using HDMI.
Enable CEC Functionality
Enabling CEC functionality on your soundbar is essential for activating HDMI ARC, which enhances your audio experience.
Start by accessing the Settings menu from your main screen. Next, navigate to the System option and select Control Other Devices (CEC) to locate the HDMI ARC settings.
Be sure to turn on the HDMI ARC feature, as it’s usually disabled by default. This HDMI feature not only activates surround sound but also provides seamless audio management across connected devices, including your TV.
Keep in mind that some manufacturers may label CEC differently, so refer to your soundbar’s documentation for specific terms.
Activate HDMI ARC
Before you can fully enjoy the capabilities of your soundbar with HDMI ARC, you’ll need to activate it on your TV.
Follow these steps to enable the Audio Return Channel:
- Access the main menu on your TV and navigate to the Settings option.
- Select System and locate the Control other devices (CEC) menu to enable HDMI ARC functionality.
- Ensure your soundbar is connected to the designated ARC HDMI port for proper audio transmission.
Most TVs have HDMI ARC disabled by default, so it’s essential to manually enable it.
Consult your TV’s user manual for specific instructions, as some brands may refer to HDMI ARC by different names.
This step will enhance your soundbar experience, allowing for seamless audio playback from your TV.
Testing the Soundbar Connection
Once you’ve connected the soundbar using the ARC adapter, it’s essential to test the connection to ensure proper functionality.
Start by powering on both the TV and soundbar, allowing them to recognize each other. Then, select the appropriate input mode on the soundbar, usually labeled D.IN or HDMI ARC.
Power on your TV and soundbar to establish a connection, then select the correct input mode on the soundbar, such as D.IN or HDMI ARC.
Play audio from the TV to verify that the sound is being output through the soundbar rather than the TV speakers.
Lastly, check the TV’s audio settings to ensure it’s configured to output through the soundbar.
If you encounter any issues, try power cycling both devices by unplugging them for 30 seconds before reconnecting.
Troubleshooting Common Issues
Testing the soundbar connection can sometimes reveal issues that need addressing. To troubleshoot effectively, follow these steps:
- Verify the Anynet function is activated on your soundbar by pressing the Anynet button on the remote.
- Set your TV audio settings to output to external speakers, ensuring that the soundbar can properly send audio.
- Perform a power cycle: turn off both devices, unplug them, and wait 30 seconds before reconnecting.
If problems persist, consult the user manual for firmware updates and install them via a USB flash drive.
For ongoing issues, don’t hesitate to contact customer support for further assistance.