To install a soundbar on concrete, start by selecting a spot directly beneath your TV for optimal sound projection. Gather the necessary tools, including a hammer drill with masonry bits, concrete anchors, and a level. Begin by creating pilot holes, then insert the anchors, and securely mount your soundbar. For the best audio performance, connect the soundbar to your TV using HDMI, optical, or Bluetooth. Lastly, remember to adjust the audio settings on both your TV and soundbar to enhance your listening experience; additional tips for setup are available on this website.
Key Takeaways
- Choose an optimal location for your soundbar, ideally directly beneath the TV, considering room acoustics and furniture arrangement to enhance sound quality.
- Use a hammer drill with masonry drill bits to create precise holes in the concrete wall for mounting your soundbar securely.
- Select high-quality concrete anchors to ensure a stable and secure installation of the soundbar, preventing any potential damage or accidents.
- Confirm the mounting bracket is straight using a level tool before securing it to the wall, ensuring that your soundbar is positioned for the best audio experience.
- Connect the soundbar to the TV via HDMI, optical, or Bluetooth, and adjust the audio settings for optimal performance, maximizing your home theater experience.
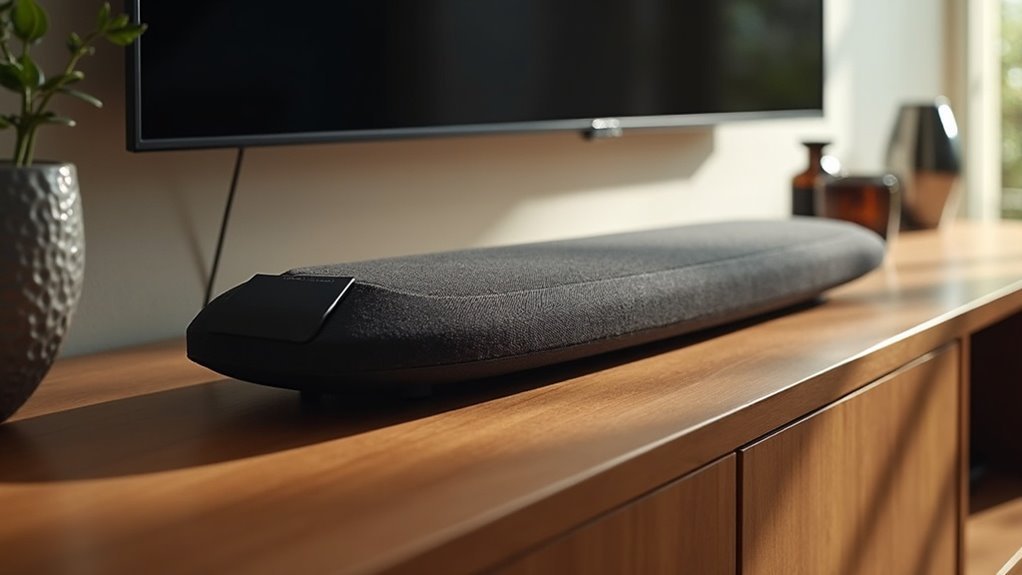
Choosing the Right Location for Your Soundbar
When selecting the perfect location for your soundbar, it’s crucial to consider both audio quality and visual alignment. The optimal placement is directly beneath your TV, ensuring maximum sound projection and enhancing your overall viewing experience.
To achieve the best audio experience, position your soundbar directly beneath your TV for optimal sound projection.
If that’s not an option, you might think about mounting it above the TV; just keep in mind that height can impact sound distribution.
For soundbar mounts on concrete walls, evaluate the room’s acoustics and the arrangement of your furniture to achieve the best audio performance.
Additionally, ensure the chosen location allows easy access to power outlets and connection ports for a seamless setup and future adjustments to your sound system.
Essential Tools for Installation
Installing a soundbar on concrete requires a few essential tools to ensure a successful and secure setup.
You’ll need a hammer drill to create holes in the concrete, as it combines rotary action with hammering to penetrate tough surfaces. Use masonry drill bits specifically designed for concrete to ensure efficient drilling.
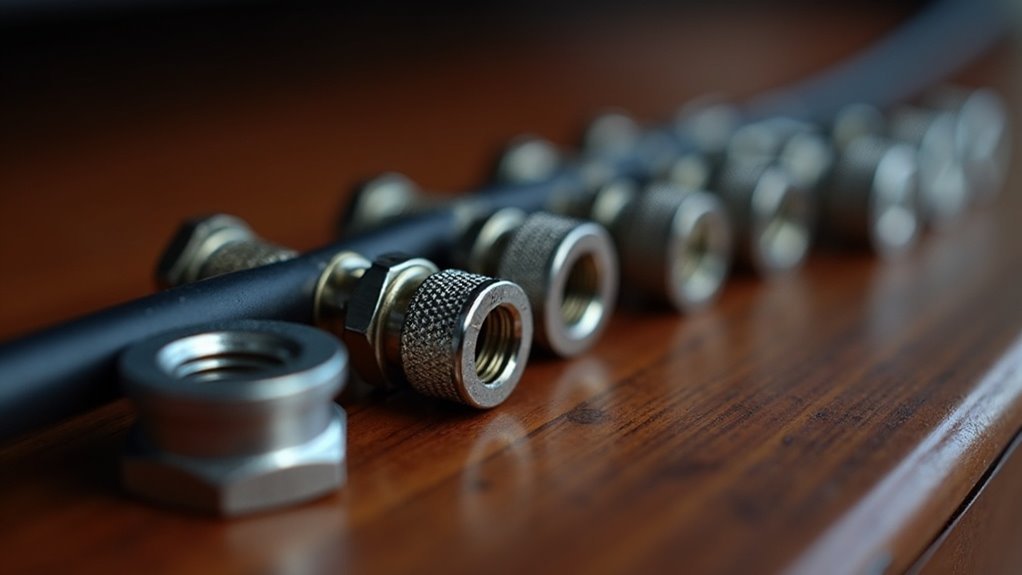
High-quality concrete anchors are vital for securely attaching your soundbar, providing stability for this important audio equipment.
Don’t forget a level tool to confirm your soundbar is mounted straight, enhancing both aesthetics and sound projection.
Finally, wear safety equipment like goggles and a dust mask to protect yourself from debris and dust during the installation process.
Preparing the Concrete Wall
Preparing the concrete wall is essential for a successful soundbar installation. First, assess the type of concrete wall to ensure it can support the weight of your soundbar.
You’ll need a hammer drill with a masonry bit to create precise holes for secure anchoring. Select high-quality concrete anchors that are specifically designed for the weight of your soundbar to ensure a stable installation.
Using a hammer drill with a masonry bit and high-quality anchors is essential for securely mounting your soundbar.
After drilling, clean the holes with a vacuum to remove any dust and debris, which will help improve the grip of the anchors.
Finally, use a level tool to confirm that the mounting bracket is straight, as this is crucial for optimal sound projection and overall aesthetics.
Proper preparation is key to enjoying the full benefits of your soundbar.
Step-by-Step Installation Process
Now that you’ve prepared the concrete wall, it’s time to gather the tools you’ll need for your soundbar installation.
Understanding the right mounting techniques for concrete will be essential for a secure setup, and effective cable management will ensure a clean finish for your sound system.
Let’s break down these steps to make your soundbar installation straightforward and efficient.
Tools Needed for Installation
To ensure a successful installation of your soundbar on a concrete wall, it’s important to use the right tools designed specifically for this sturdy material.
Unlike mounting on drywall, working with concrete requires precision and support.
Here’s a list of essential tools you’ll need:
- Hammer drill: This tool is crucial for creating holes in the concrete wall.
- Masonry drill bits: These are specifically designed to handle the toughness of concrete, ensuring clean and effective holes.
- Concrete anchors: Opt for high-quality anchors to guarantee a stable and secure installation for your soundbar.
- Level tool: This will help you verify that the mounting brackets are straight, ensuring optimal sound projection.
With these tools ready, you’re well-equipped for a secure and effective soundbar installation on your concrete wall!
Mounting Techniques for Concrete
Once you’ve selected the ideal location for your soundbar, you can begin the mounting process on the concrete wall.
Use a hammer drill with a masonry bit to create pilot holes, starting with a smaller bit before using the appropriate size for your concrete anchors.
Insert high-quality anchors flush with the wall to guarantee stability.
Align the wall mount bracket specifically designed for soundbars with the anchors and secure it using screws, checking for level alignment before tightening.
Finally, attach your soundbar to the mounted brackets, ensuring it’s secure and that all connections are organized neatly for an unobtrusive setup beneath your TV for optimal audio experience.
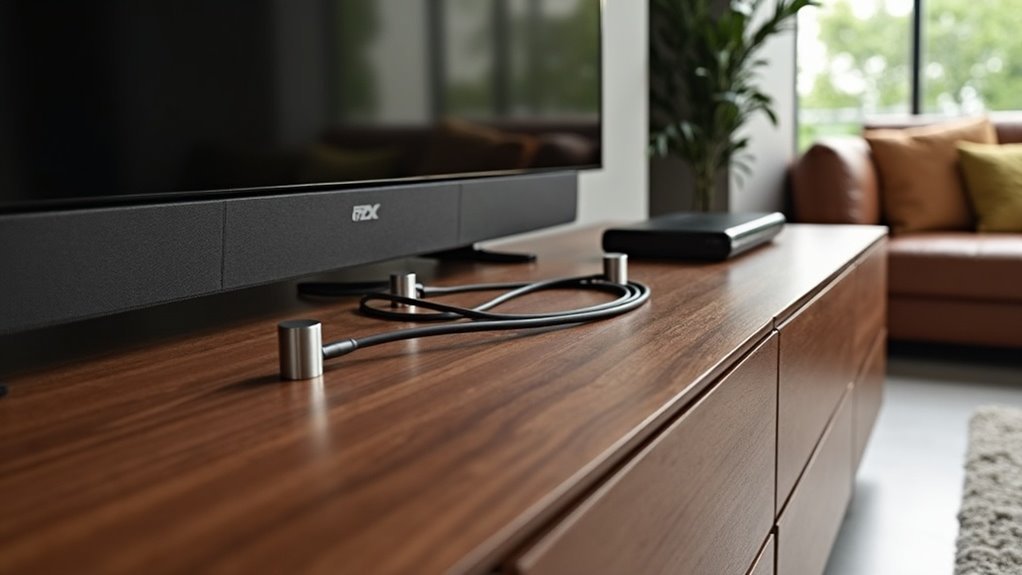
Cable Management Tips
While installing your soundbar, maintaining an organized appearance for the cables is essential for both aesthetics and functionality.
Effective cable management will keep your soundbar installation looking professional and simplify future adjustments. Here are some tips:
- Use cable management clips to secure cables along the wall where your soundbar is mounted.
- Consider adhesive cable raceways to conceal cables and keep them out of sight without damaging your walls.
- Organize excess cables with twist ties or Velcro straps to avoid clutter around your soundbar setup.
- Label cables at both ends to make troubleshooting easier if you need to make adjustments or repairs.
Securing the Soundbar Properly
Securing the soundbar properly is essential for achieving the best audio performance and preventing accidents.
To ensure optimal stability and sound quality, use the provided screws and anchors specifically designed for concrete to attach the soundbar mounting bracket securely to the wall.
Make sure the soundbar aligns correctly with the TV wall mount, eliminating any wobbling during use.
Tighten all screws firmly, but avoid overtightening to prevent damage to the soundbar or wall.
If needed, incorporate spacers or washers for a snug fit between the soundbar and brackets.
Finally, regularly check the soundbar’s stability, especially if you frequently adjust or move it for peak audio output.
Following these steps will enhance your soundbar experience and ensure safety in your setup.
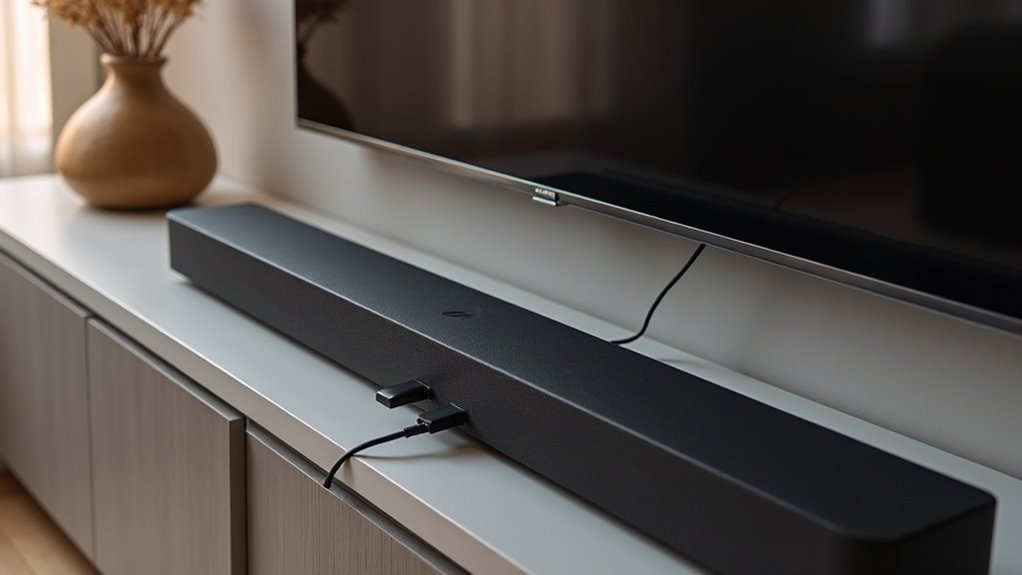
Connecting and Optimizing Audio Settings
To achieve the best audio experience from your soundbar, begin by choosing the right connection type, such as optical, HDMI ARC, or Bluetooth.
Once your soundbar is connected, enhance your listening experience by adjusting the sound settings—enable surround sound and fine-tune the equalizer based on the type of content you’re enjoying.
Additionally, be sure to check the audio delay settings to ensure perfect synchronization with your video for an immersive sound experience.
Audio Connection Types
How can you choose the best audio connection type for your soundbar? Understanding the different audio connection types can significantly enhance your soundbar setup. Here’s everything you need to know:
- HDMI ARC: This connection simplifies your setup with a single cable, allowing you to control both your soundbar and TV with one remote for added convenience.
- Optical Cables: A reliable option that delivers excellent sound quality, making it a great choice if HDMI ARC isn’t available on your devices.
- Bluetooth: Offers the freedom of wireless connectivity, allowing you to stream audio effortlessly from your smartphone or tablet to your soundbar.
- Quality Considerations: When choosing a connection type, consider your soundbar’s specifications, as well as your personal preferences for audio quality and ease of use.
Selecting the right connection type can greatly enhance your overall listening experience with your soundbar.
Adjusting Sound Settings
Once your soundbar is connected to the TV, enhancing the audio settings becomes essential for achieving the best sound experience.
Start by accessing the sound settings on your TV and enabling the surround sound mode if available. This feature significantly boosts your audio for both movies and music.
Next, adjust the equalizer (EQ) settings on your soundbar to match the type of content; for instance, increase the bass for music and enhance dialogue clarity for films.
Don’t forget to utilize audio delay adjustments to sync the soundbar’s output with your TV, particularly during intense scenes.
Lastly, regularly check for firmware updates to ensure your soundbar maintains peak performance and delivers the best audio experience.